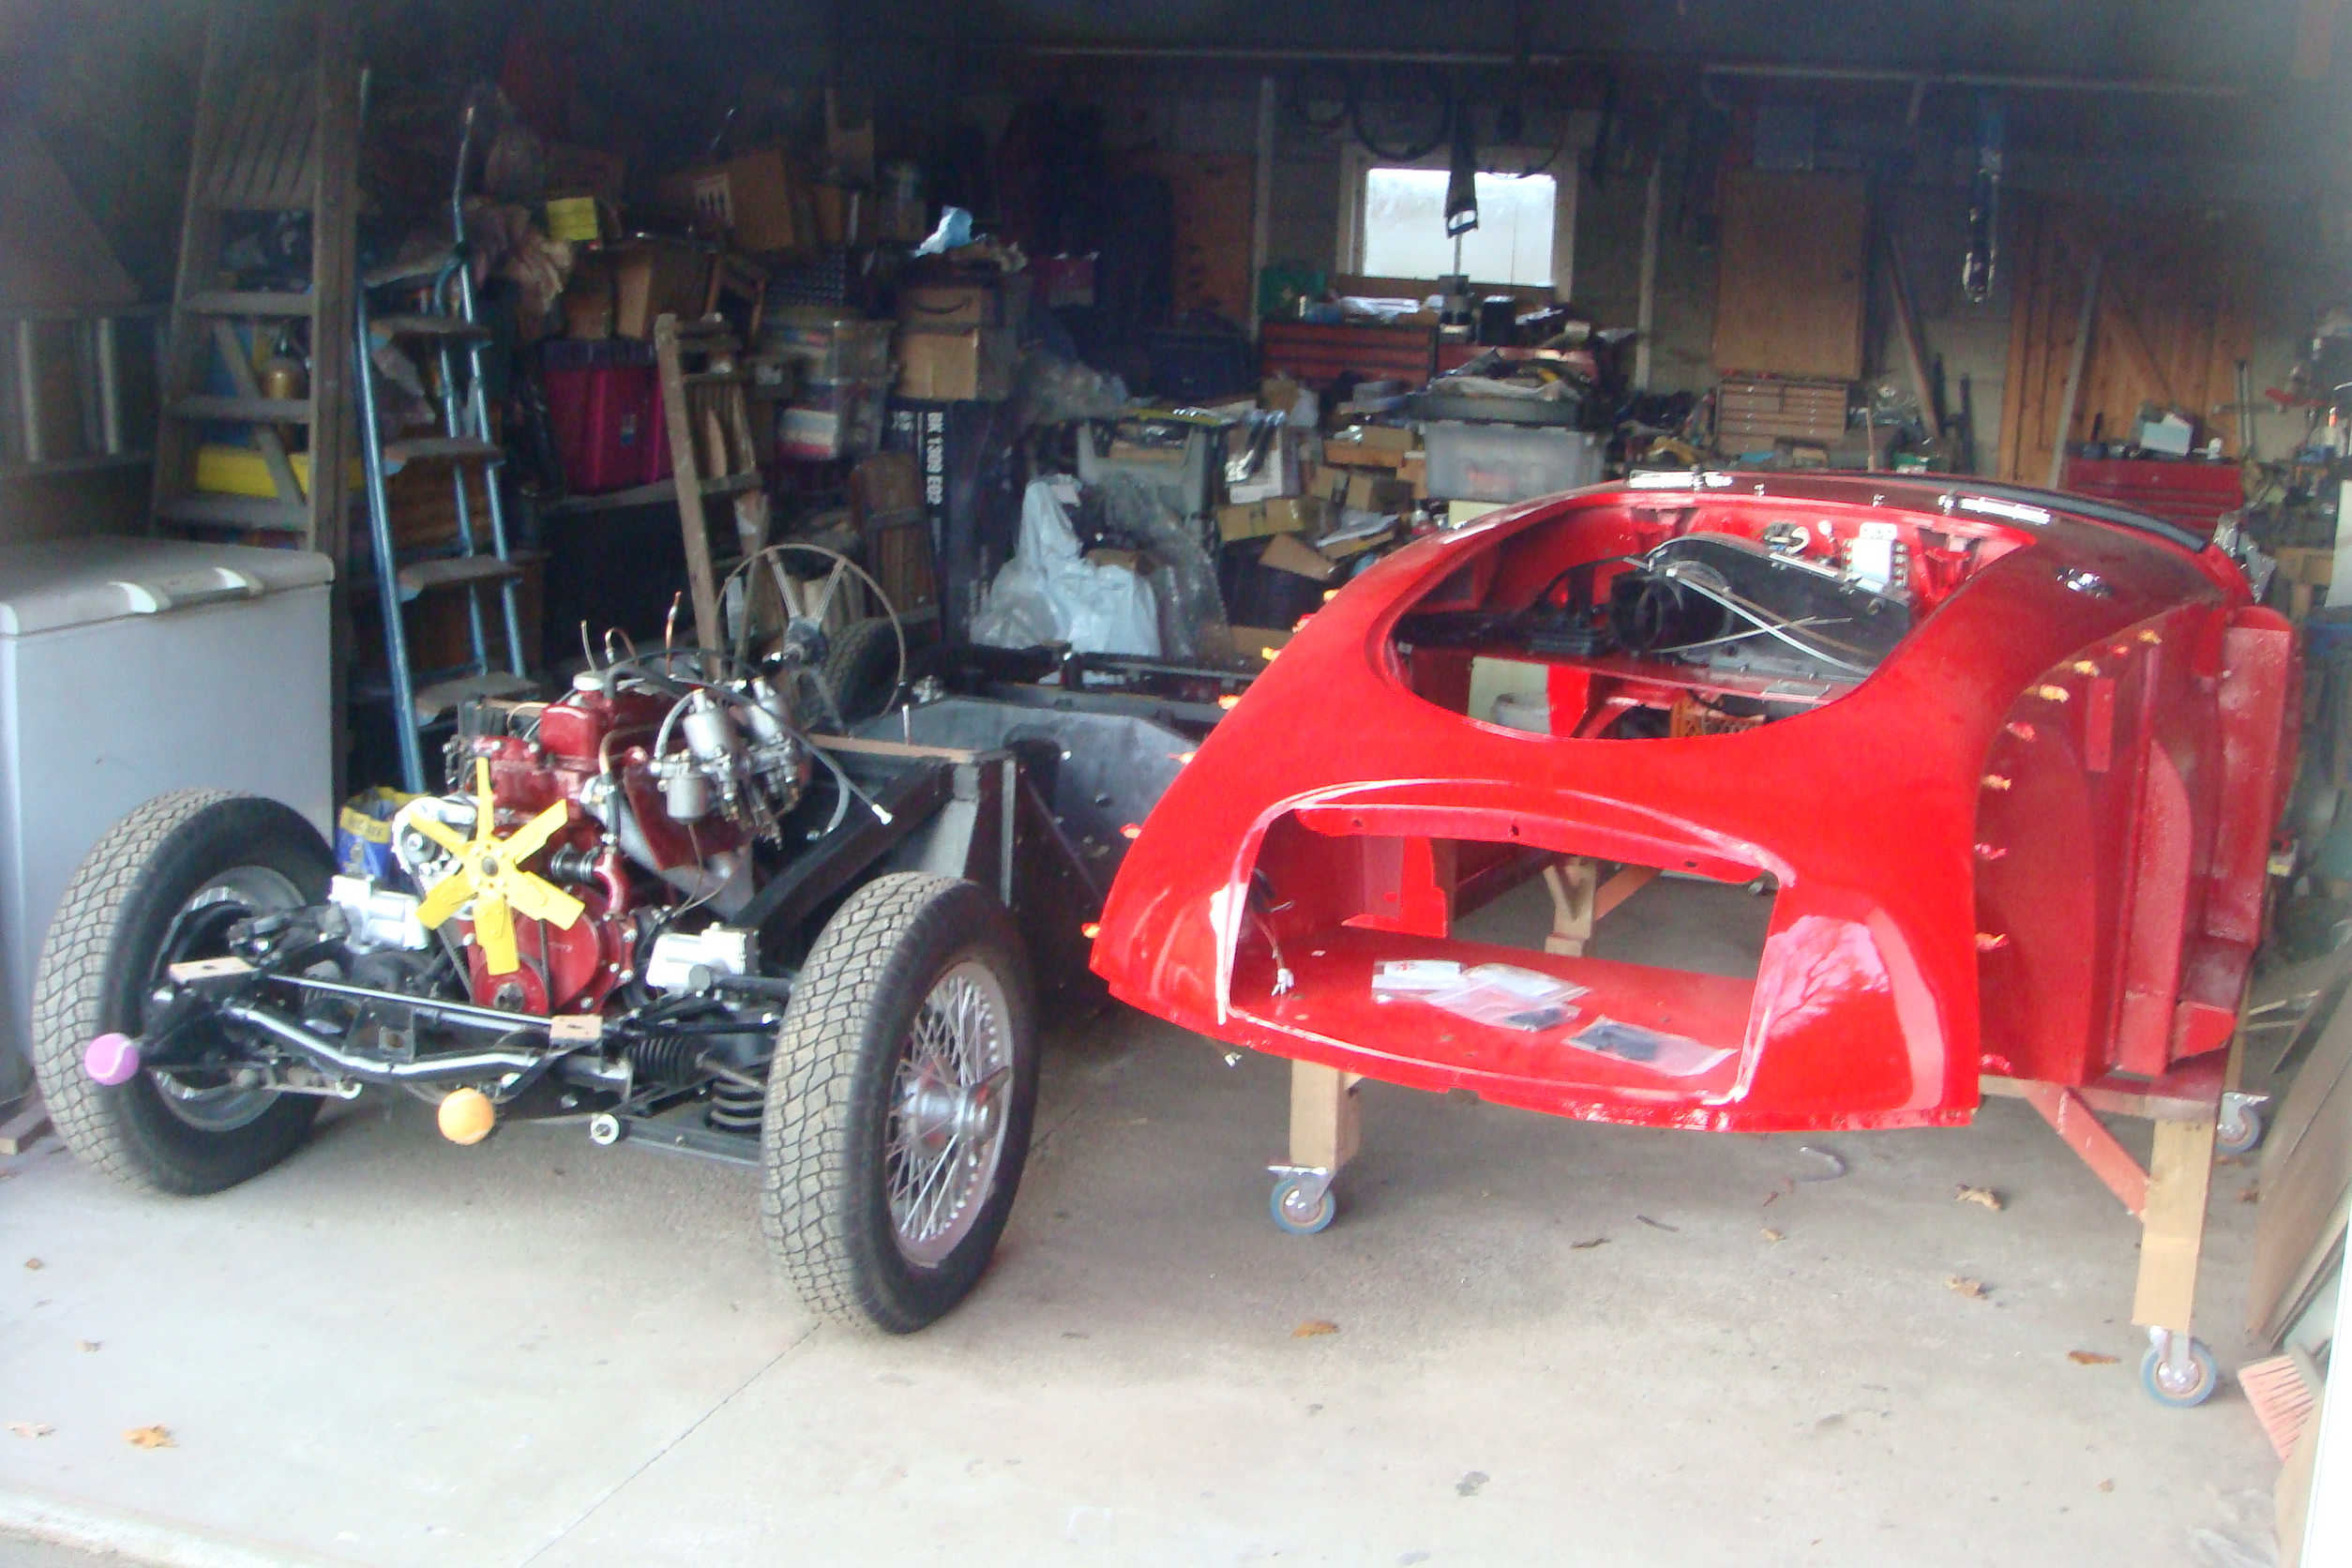
At last, the newly sprayed panels were coming back home from the paint sprayer - this process had taken a lot longer than originaly expected as the sprayer was fitting this in around his other work. The first to be received was the body tub and dashboard. Before marrying the tub back on the chassis a few jobs would be easier completed with the body off the chassis - viz. install the wiring harness (including fuse box, DC10 relay, etc.), install the wiper motor and wipers, fit the heater, and populate / install the dashboard. nothing too complicated but definately easier off the chassis.
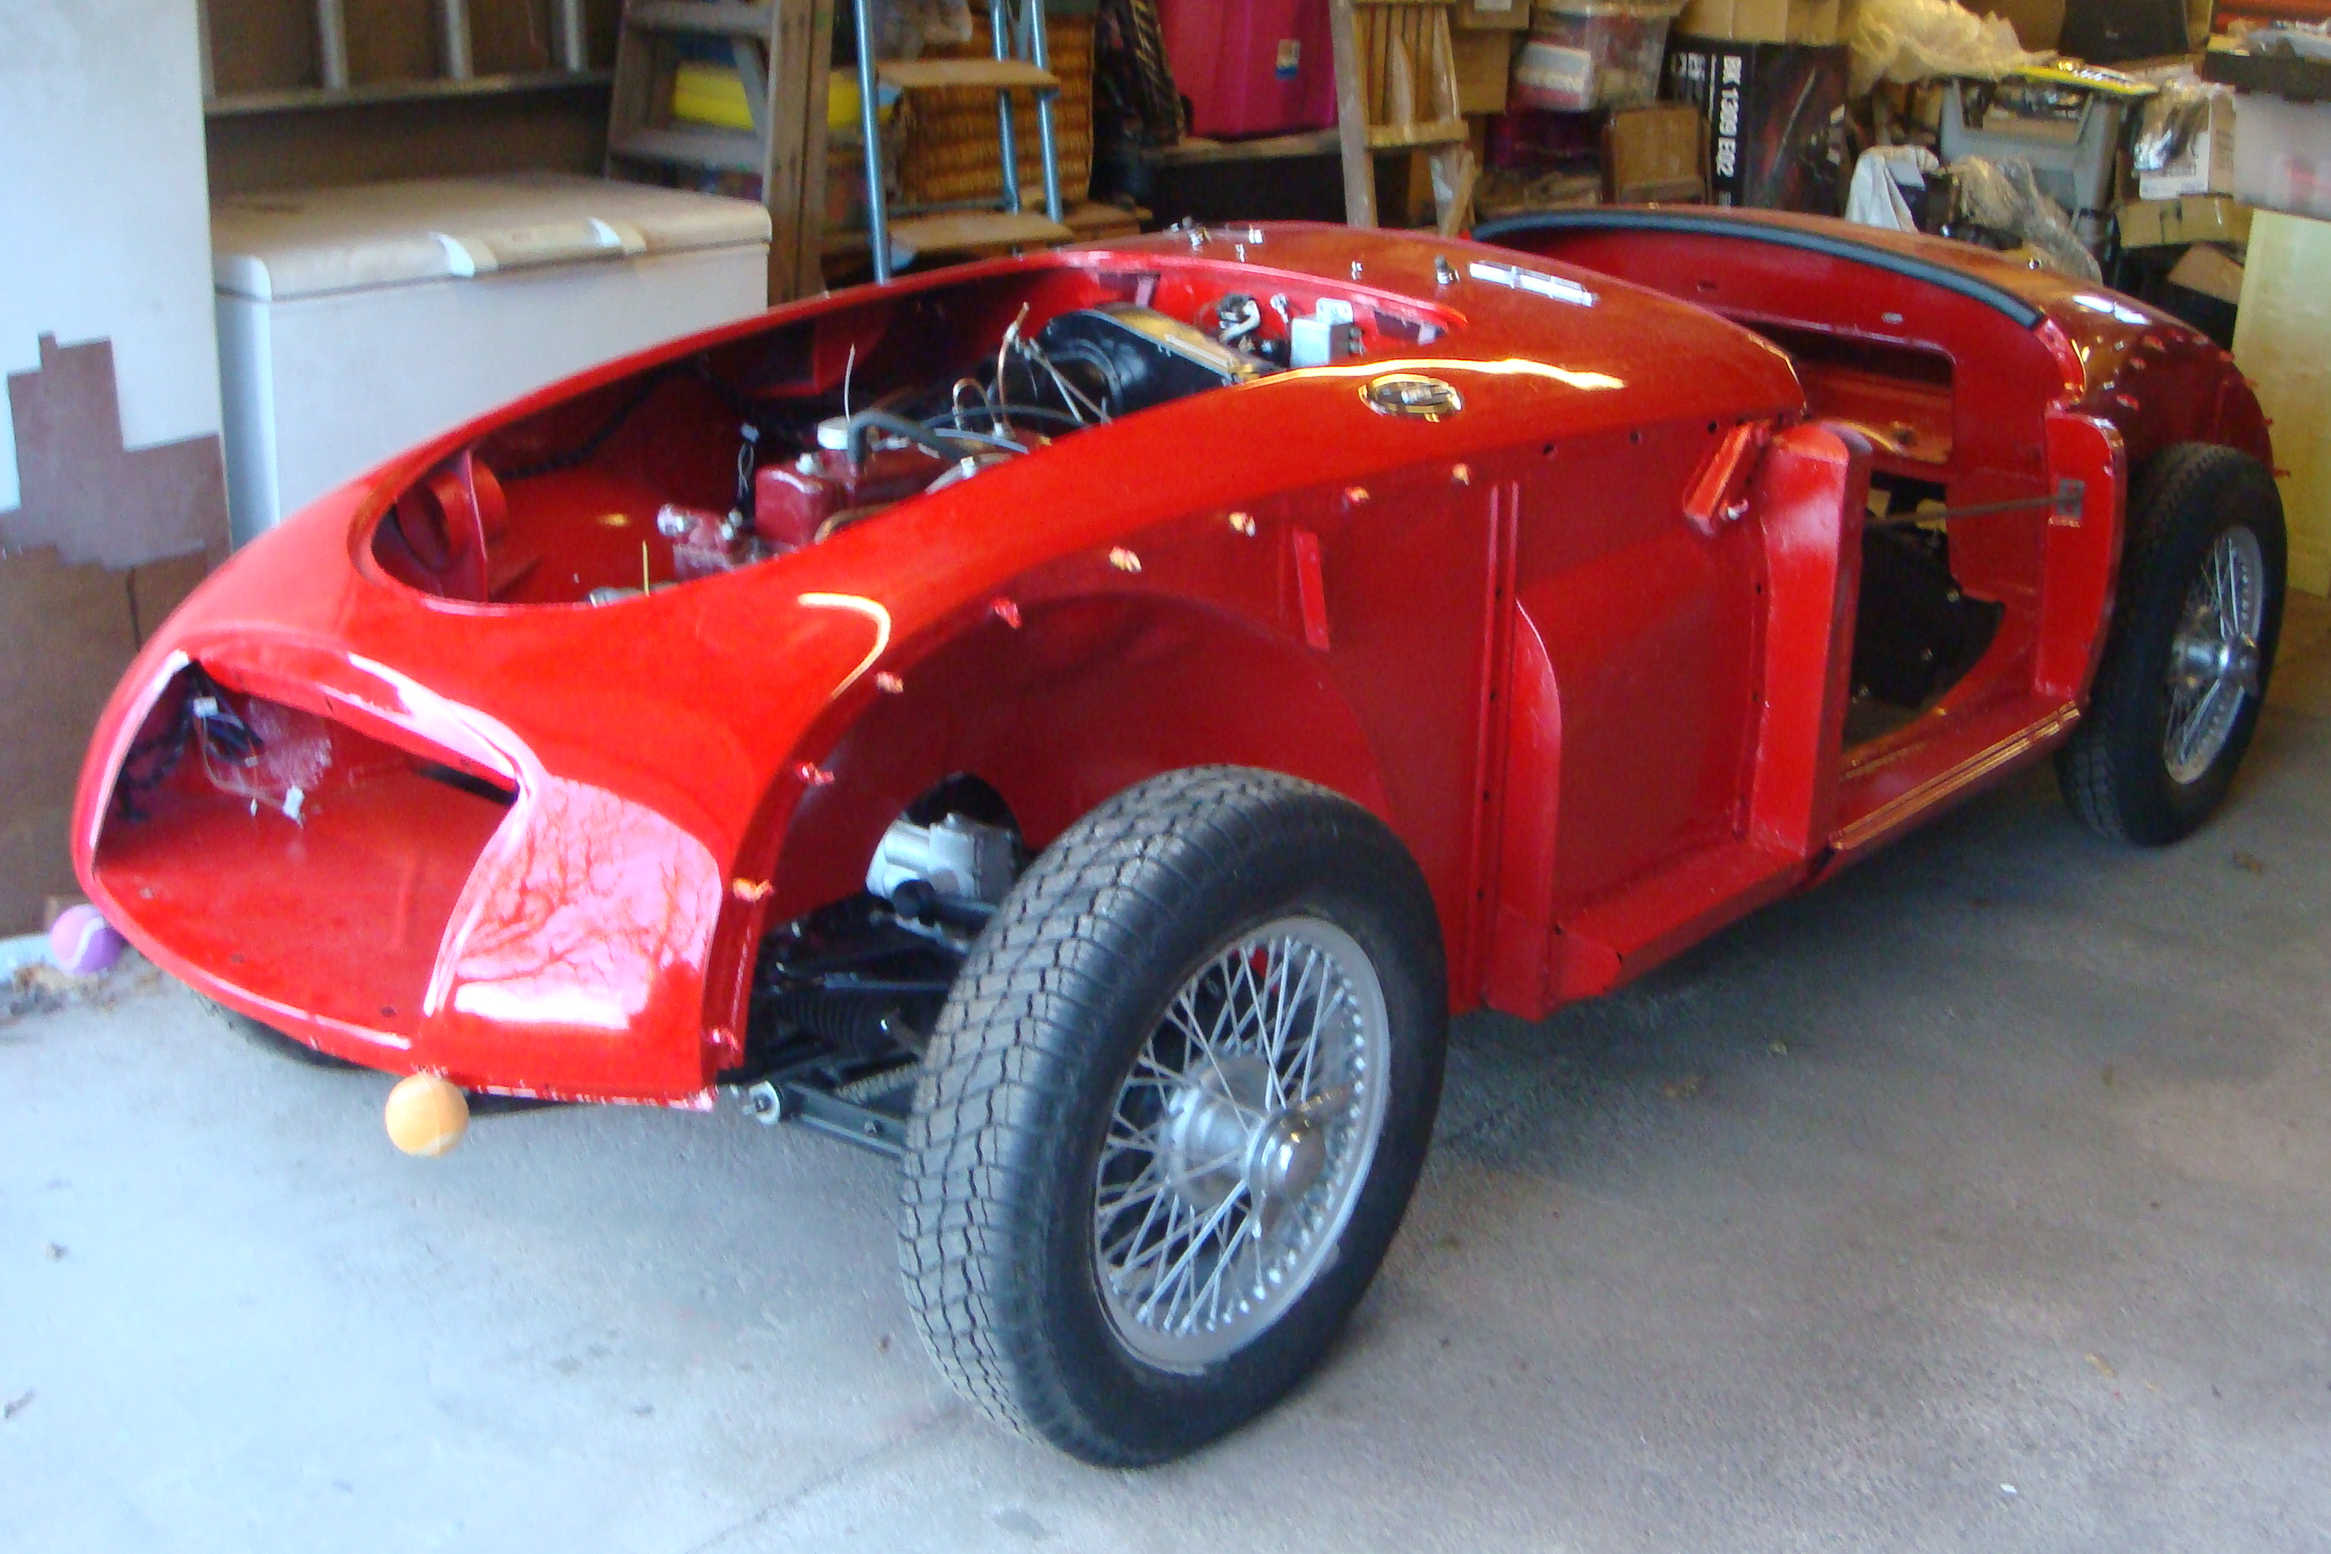
Then, with the help of a few friends, the delicate job (albeit with a certain amount of grunt and gentle persuasion) the body was lifted onto the chassis and bolted down - a job that went a lot easier than I was expecting.

Click thumbnail
With body married to the chassis again comes connecting the remaining services.
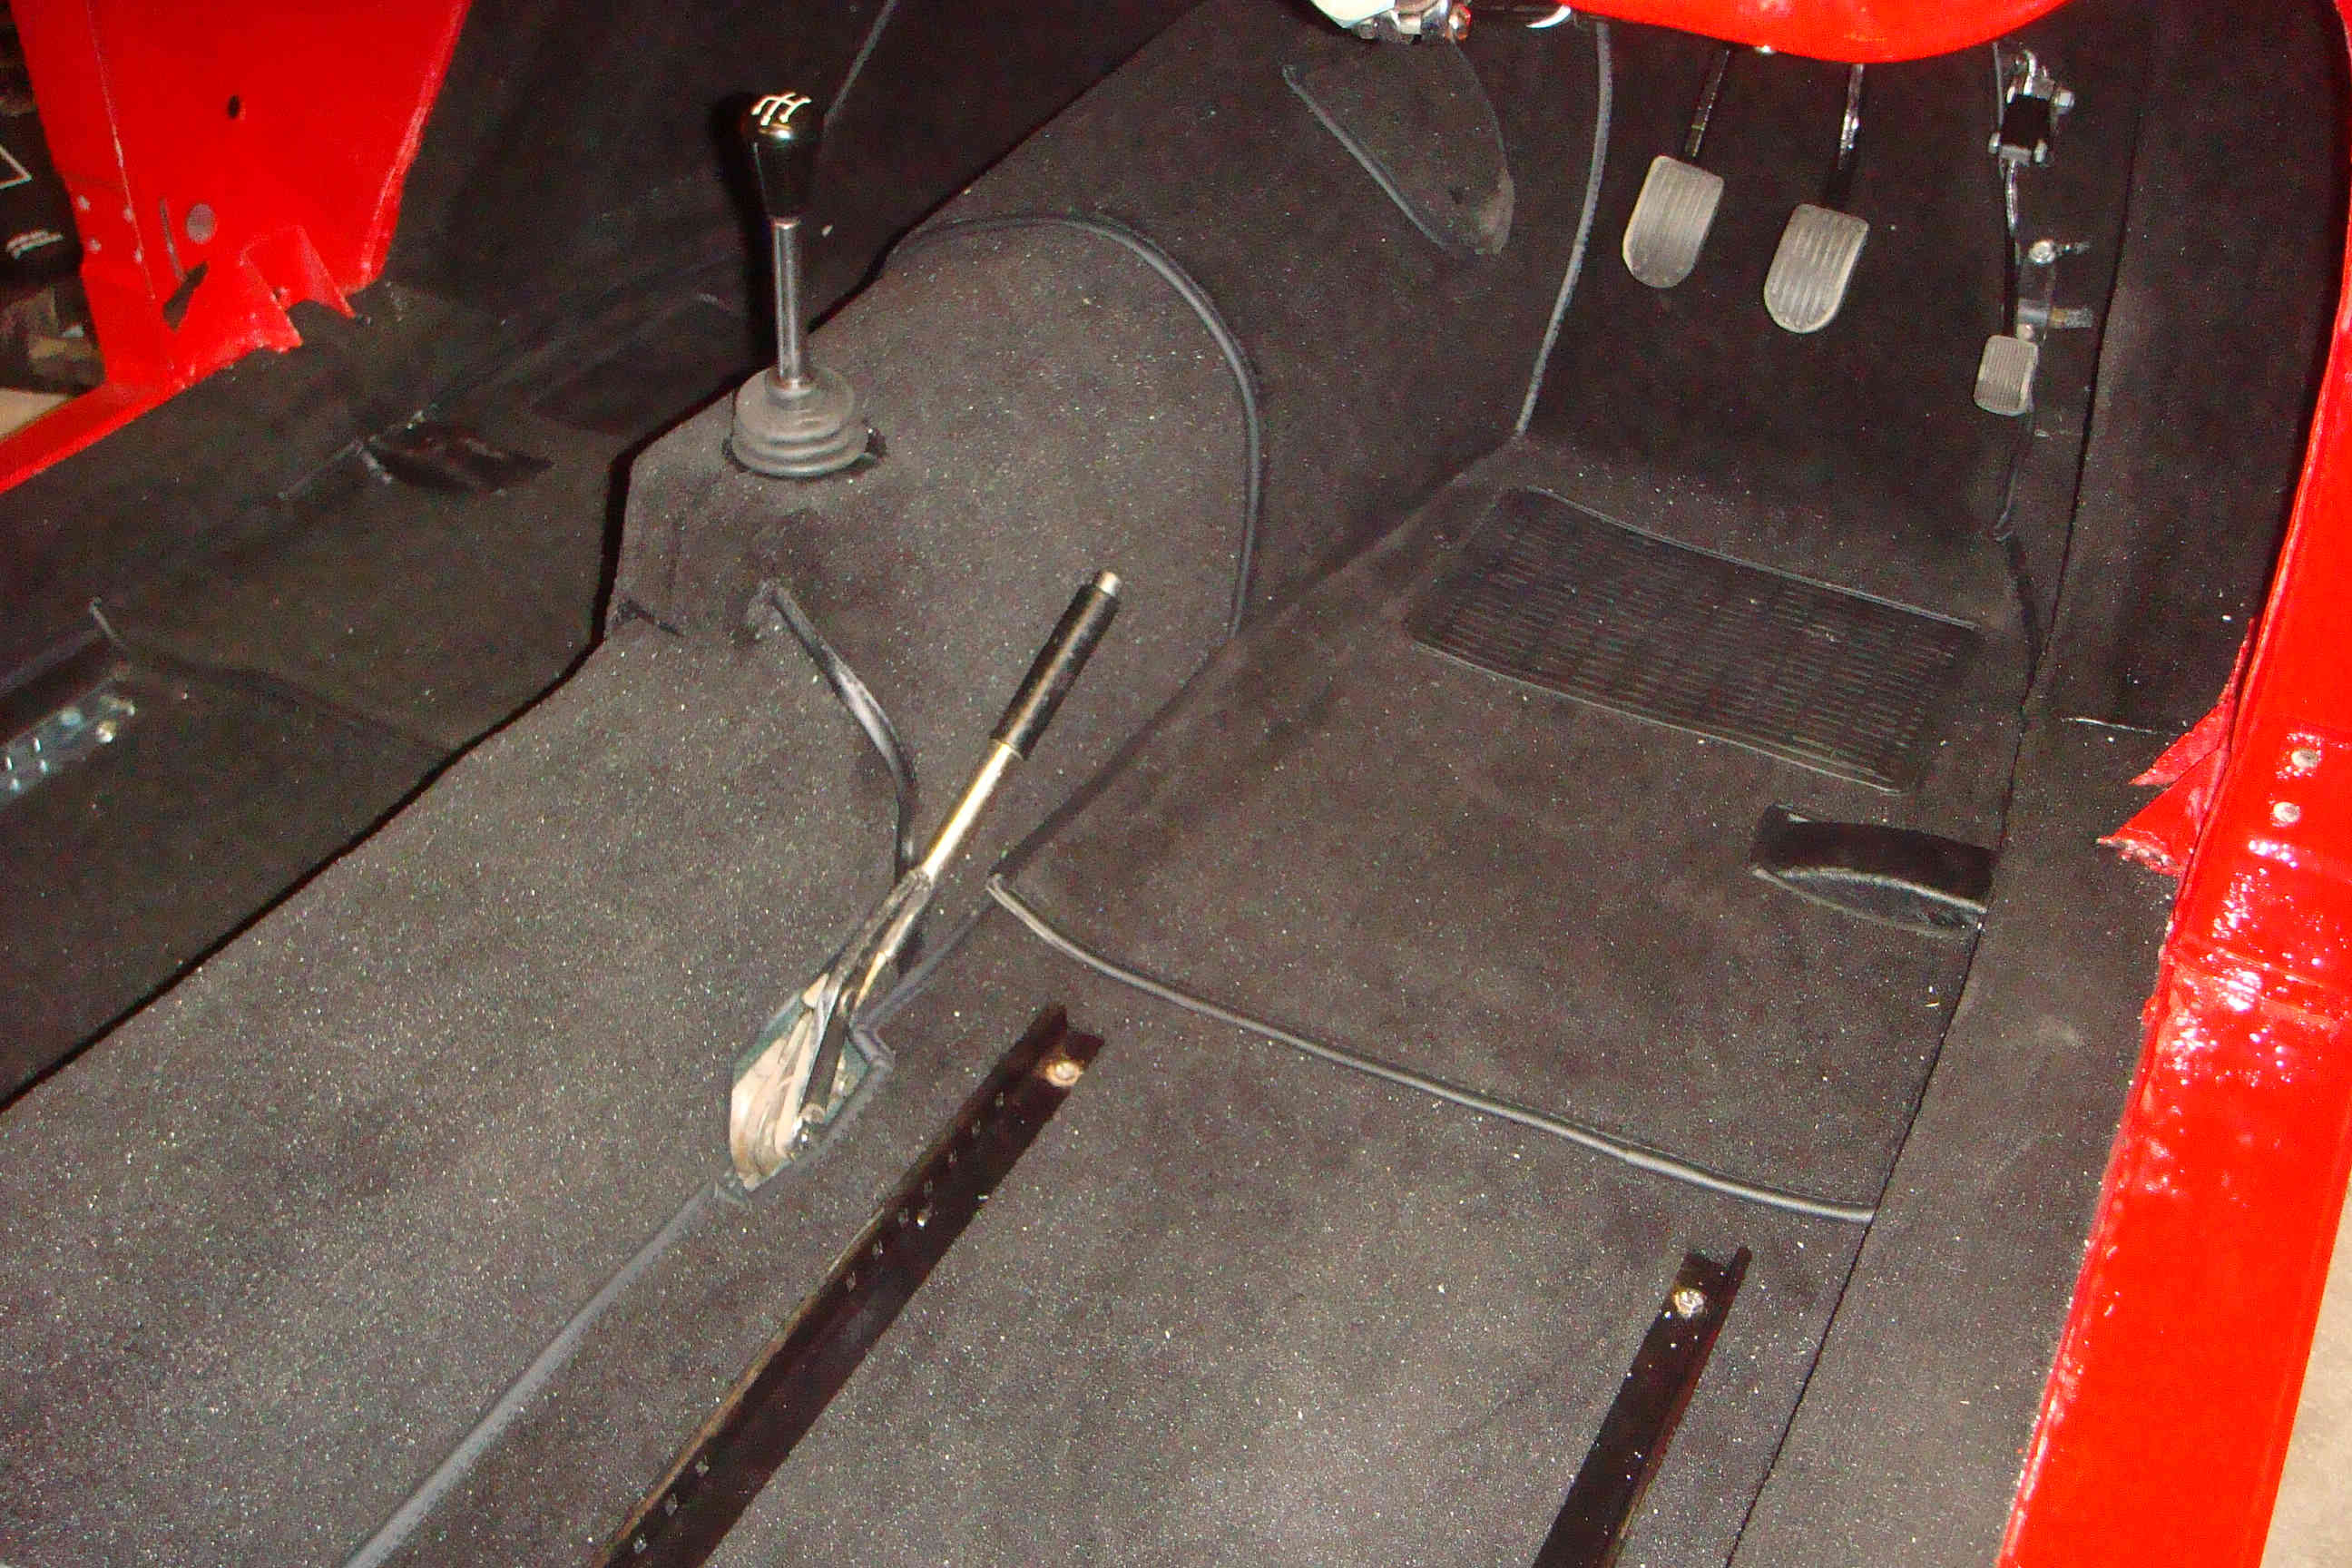
Hydraulics
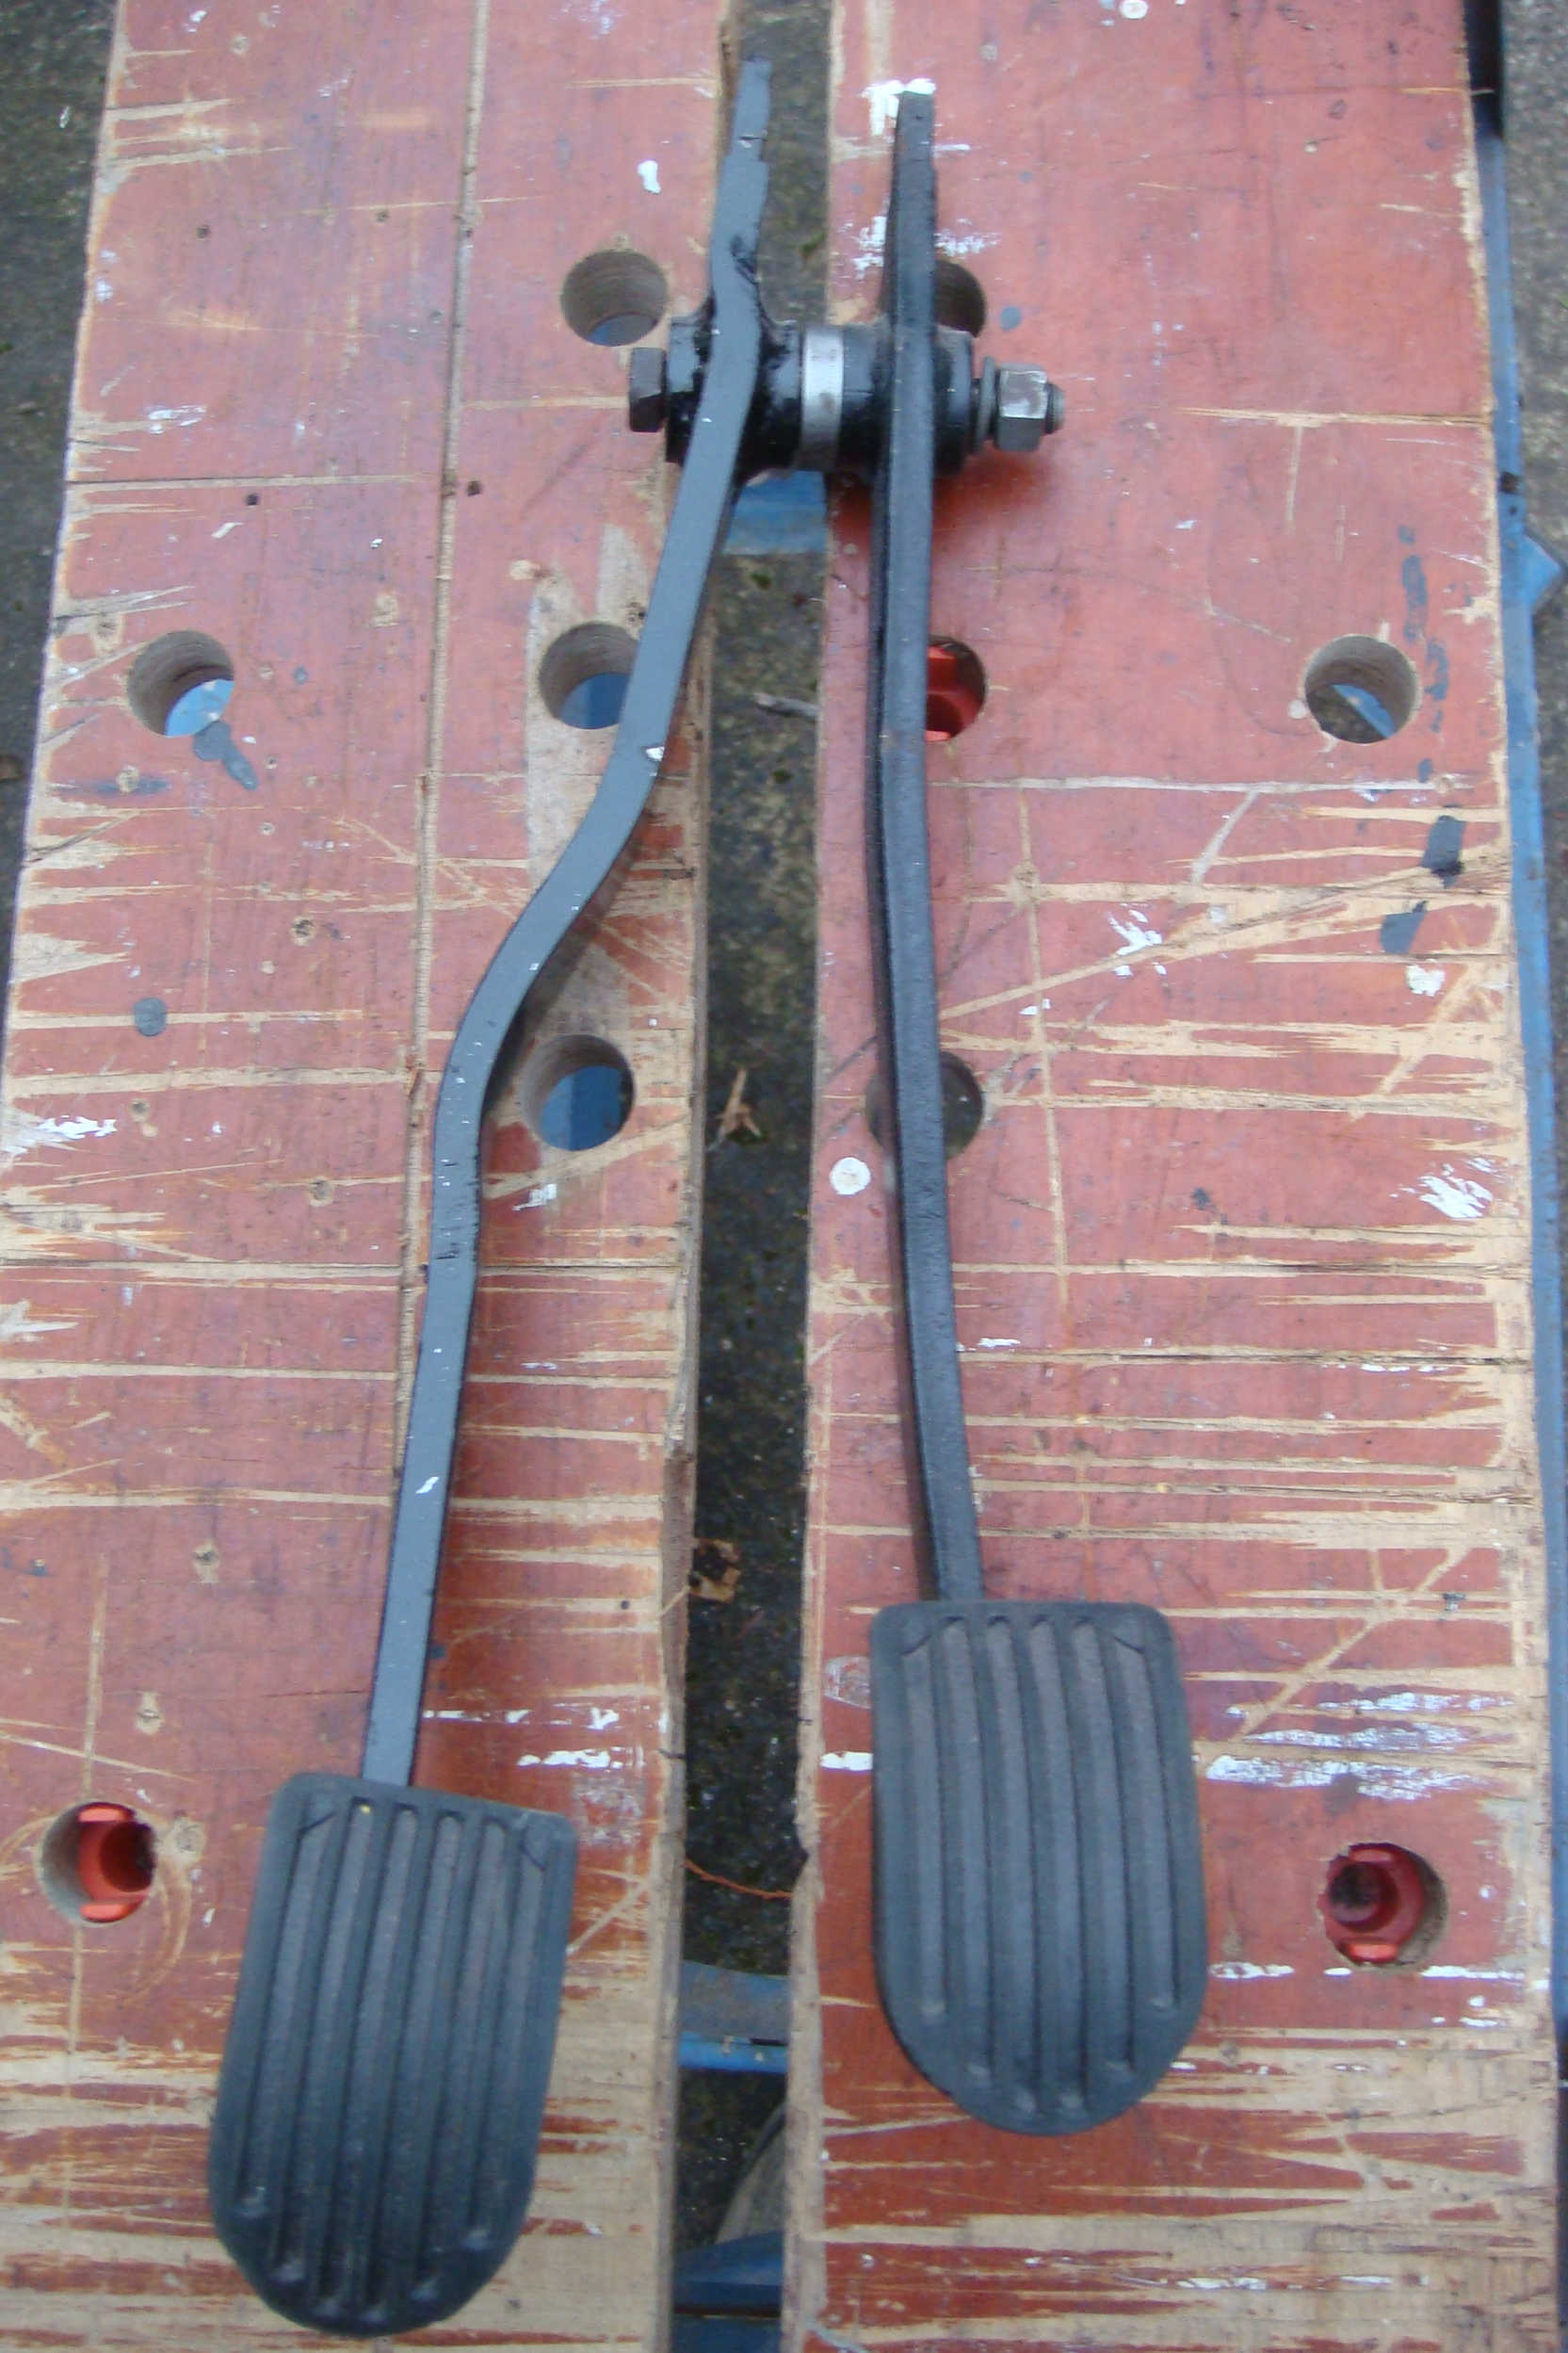
The master cylinder and pedals had already been trial fitted to the chassis but these had to be removed before the marriage as they bolt through the bodywork into the chassis. If you recall the clutch pedal had to be replaced for a RHD version. The only ones available were for a later version MGA whose pedals are slightly longer so the clutch pedal was longer than the original brake pedal. I'd tried to procure a later version brake pedal (without success) so decided to extend the existing one.
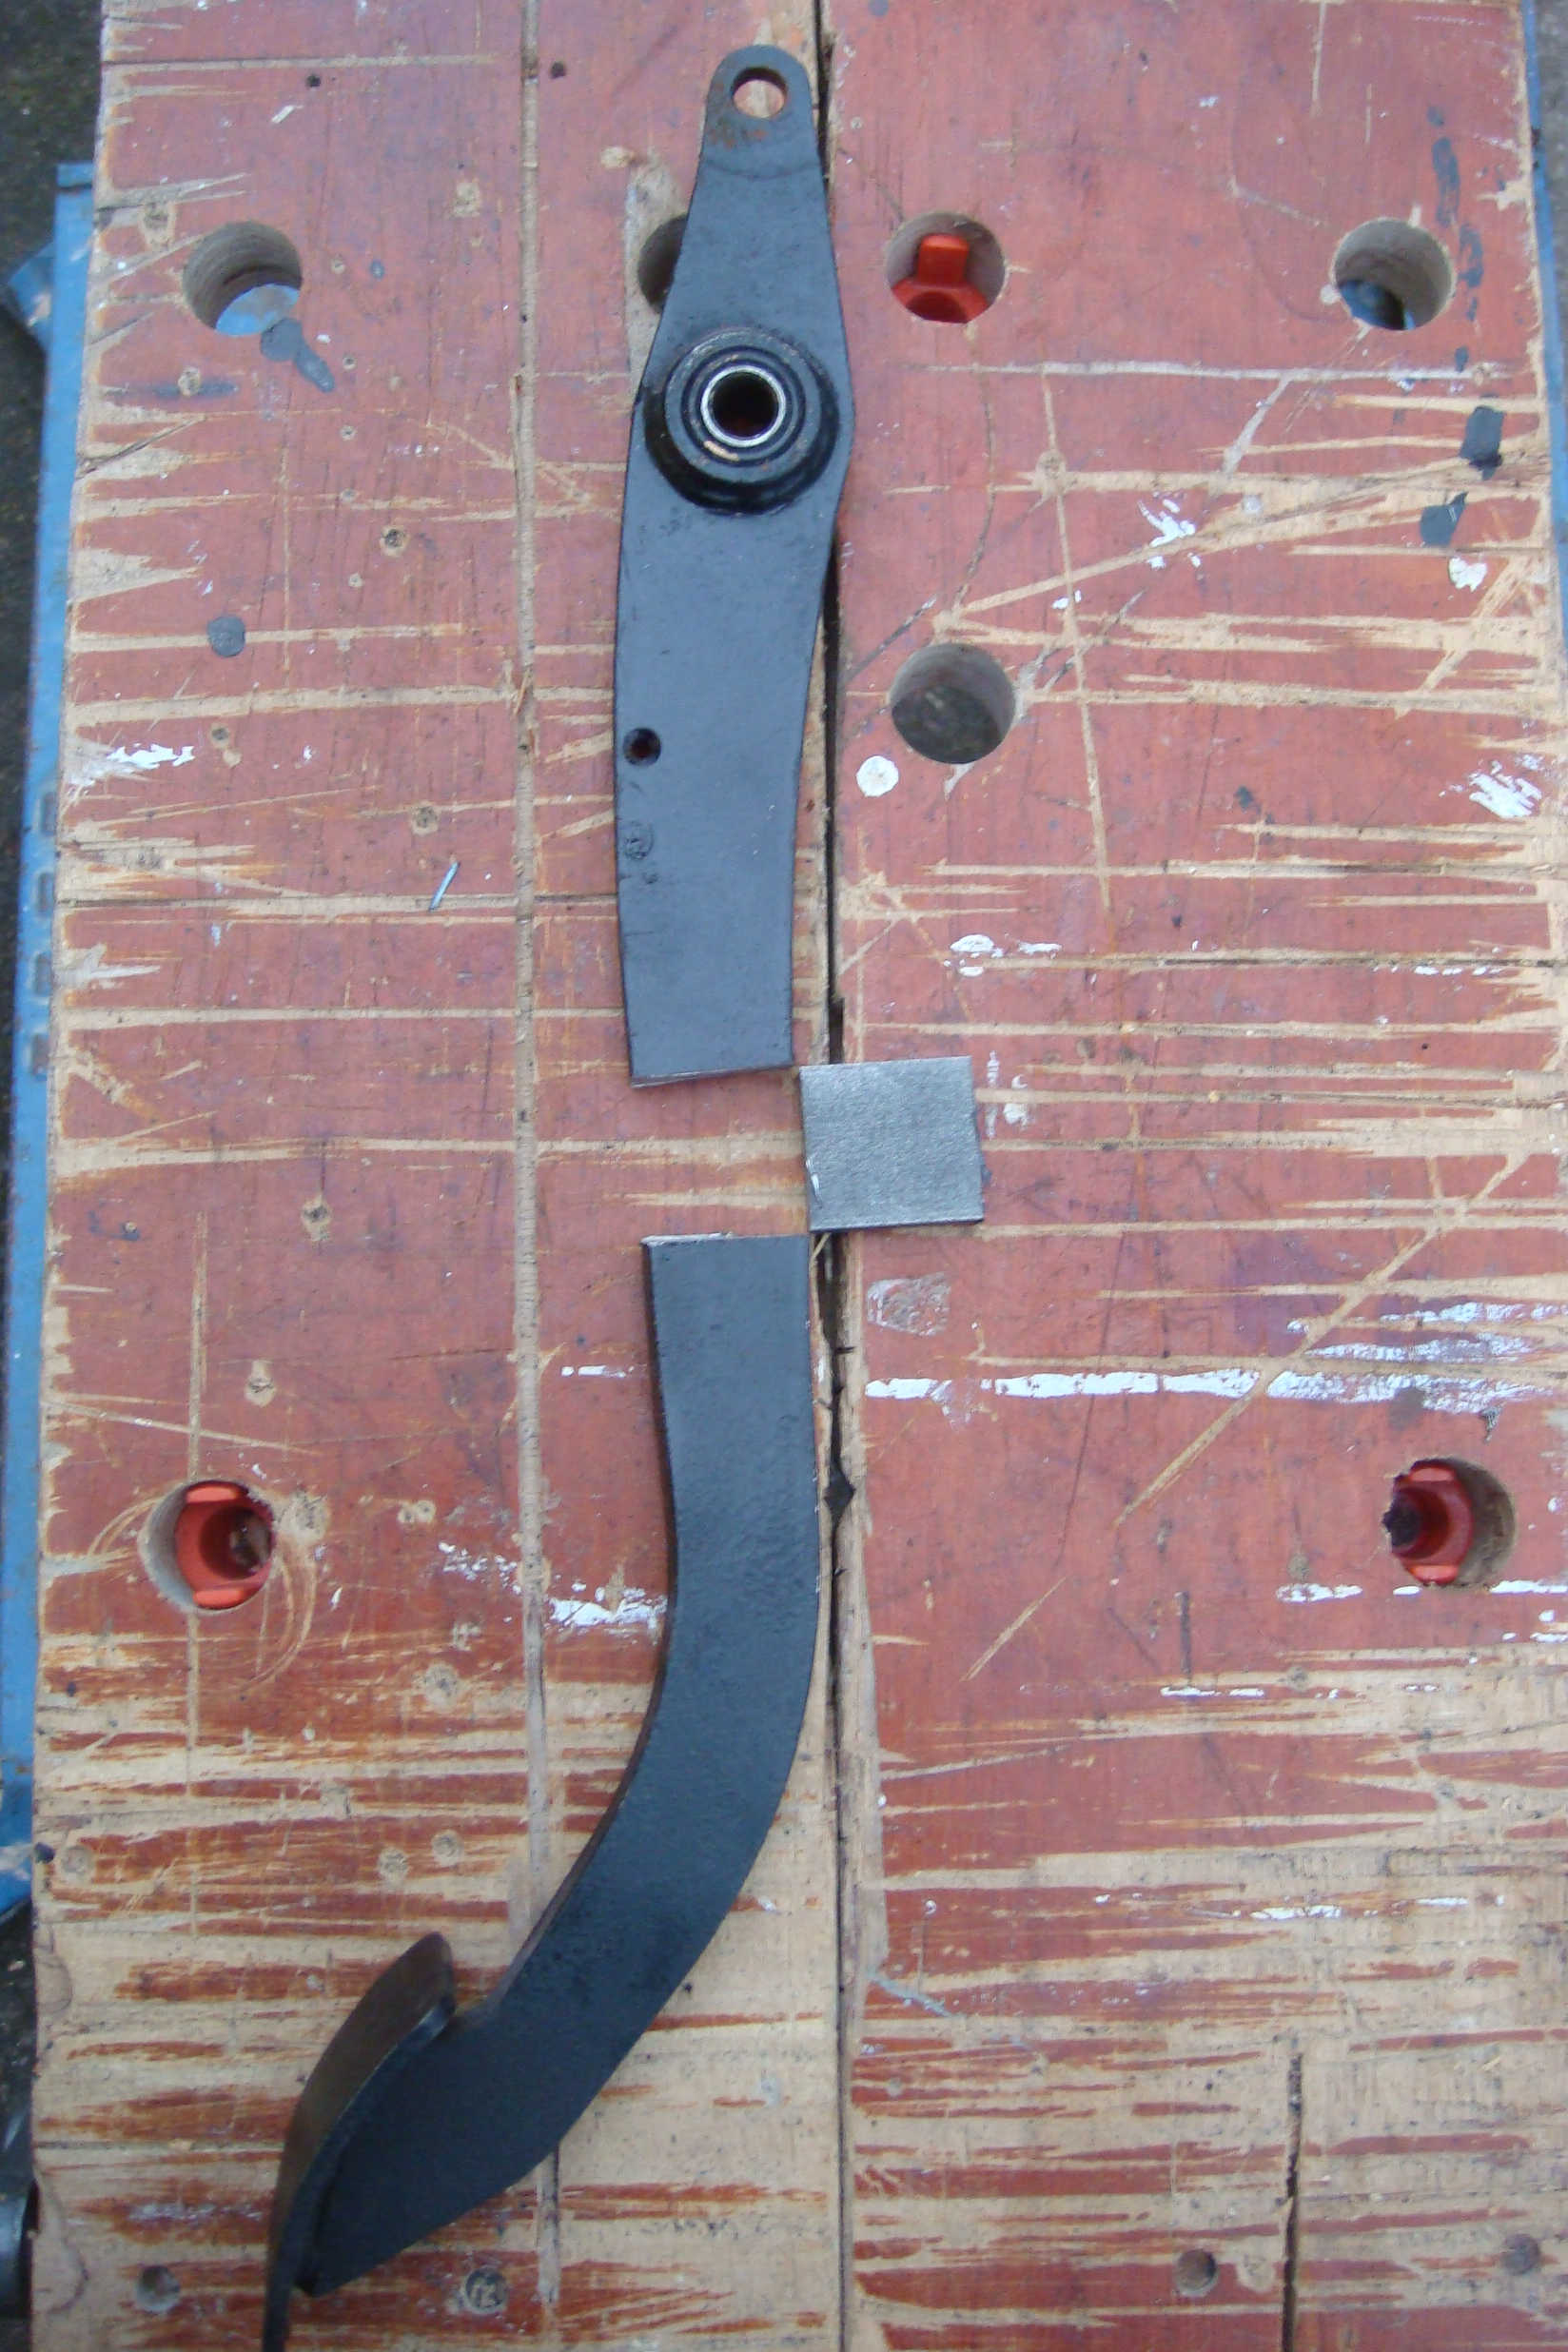
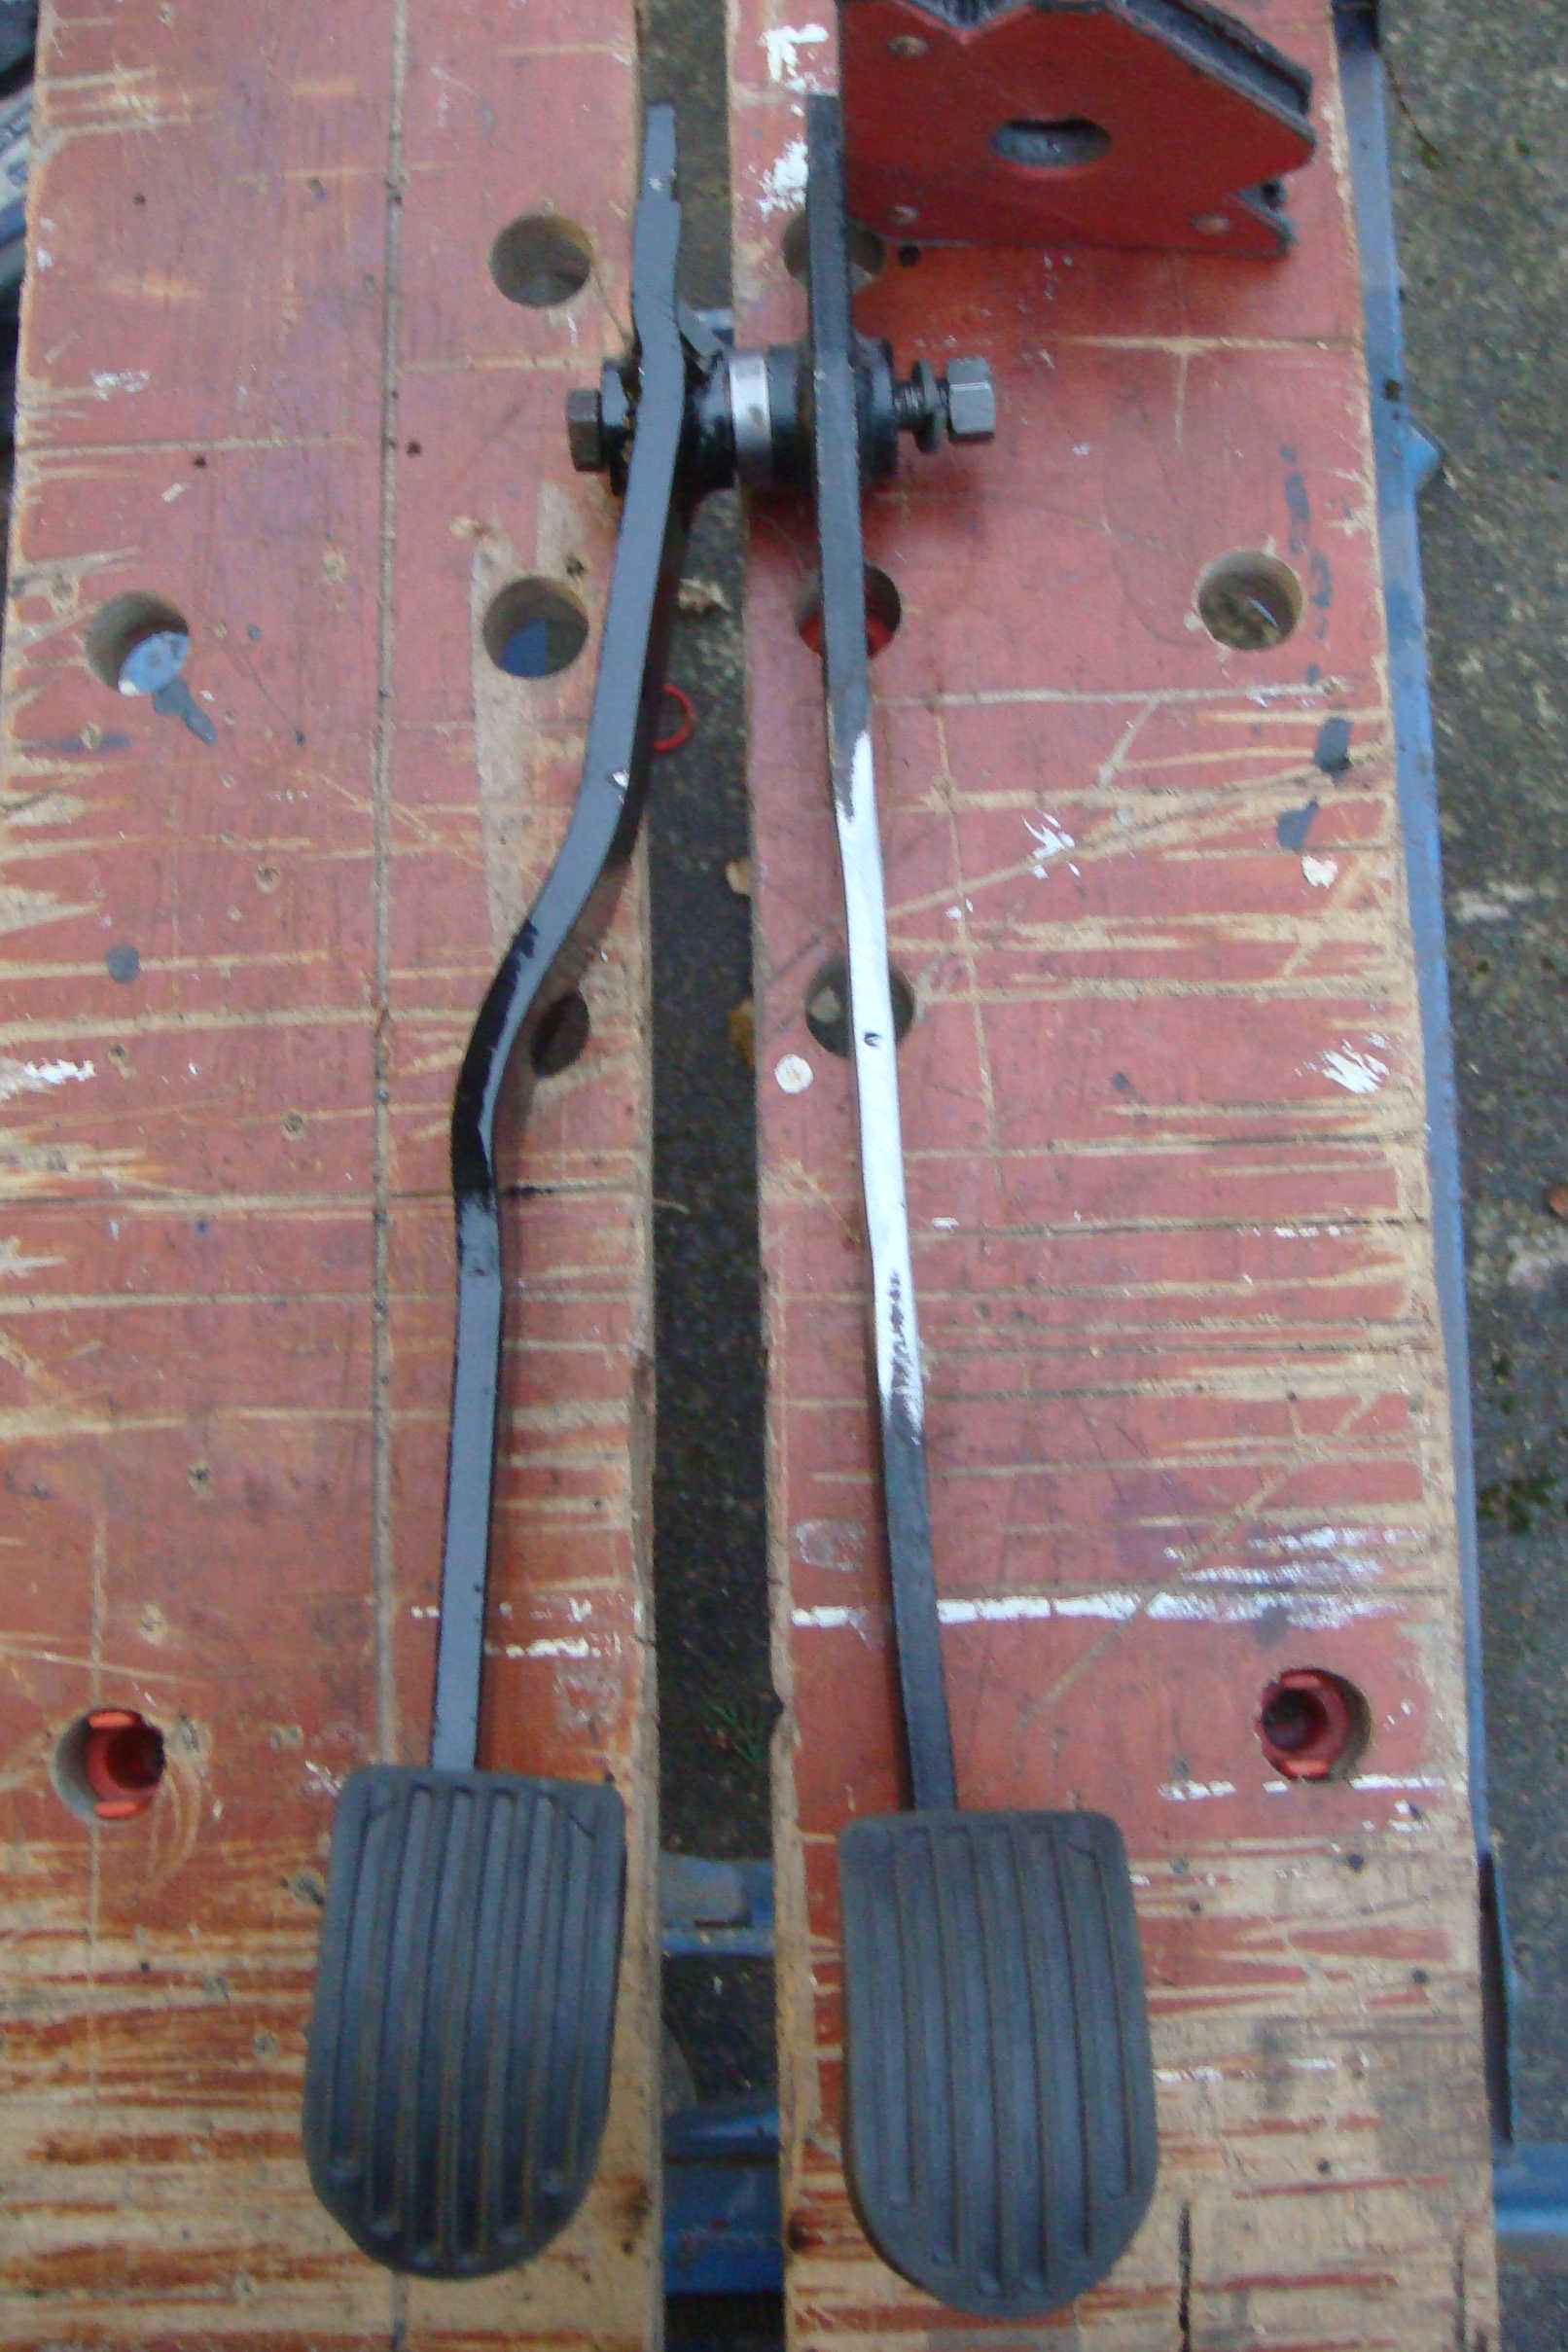
Click thumbnail
Bleeding a new dry system is something I always struggle with. In particular the clutch was proving a pain as is well documented elsewhere. The solution that appeared to work for me (or so I thought) was to reverse bleed the slave cylinder by filling a large syringe with fluid, connect it to the slave bleed nipple and force the fluid (plus any remaining air) back uphill to the master cylinder - that way any bubbles are going with the flow upwards instead of fighting the flow. That still was not good enough to engage the clutch - it appears there was still a small bubble in the slave sufficient to preven full movement. Back to square one with old school two man (one man and his wife) bleeding (depress pedal, release nipple, close nipple, release pedal, repeat) but with the addition of pushing the slave pin back to expell just a fraction more air. This was sufficient to get the clutch working and was able to go up through the gears up to 40mph on axle stands.
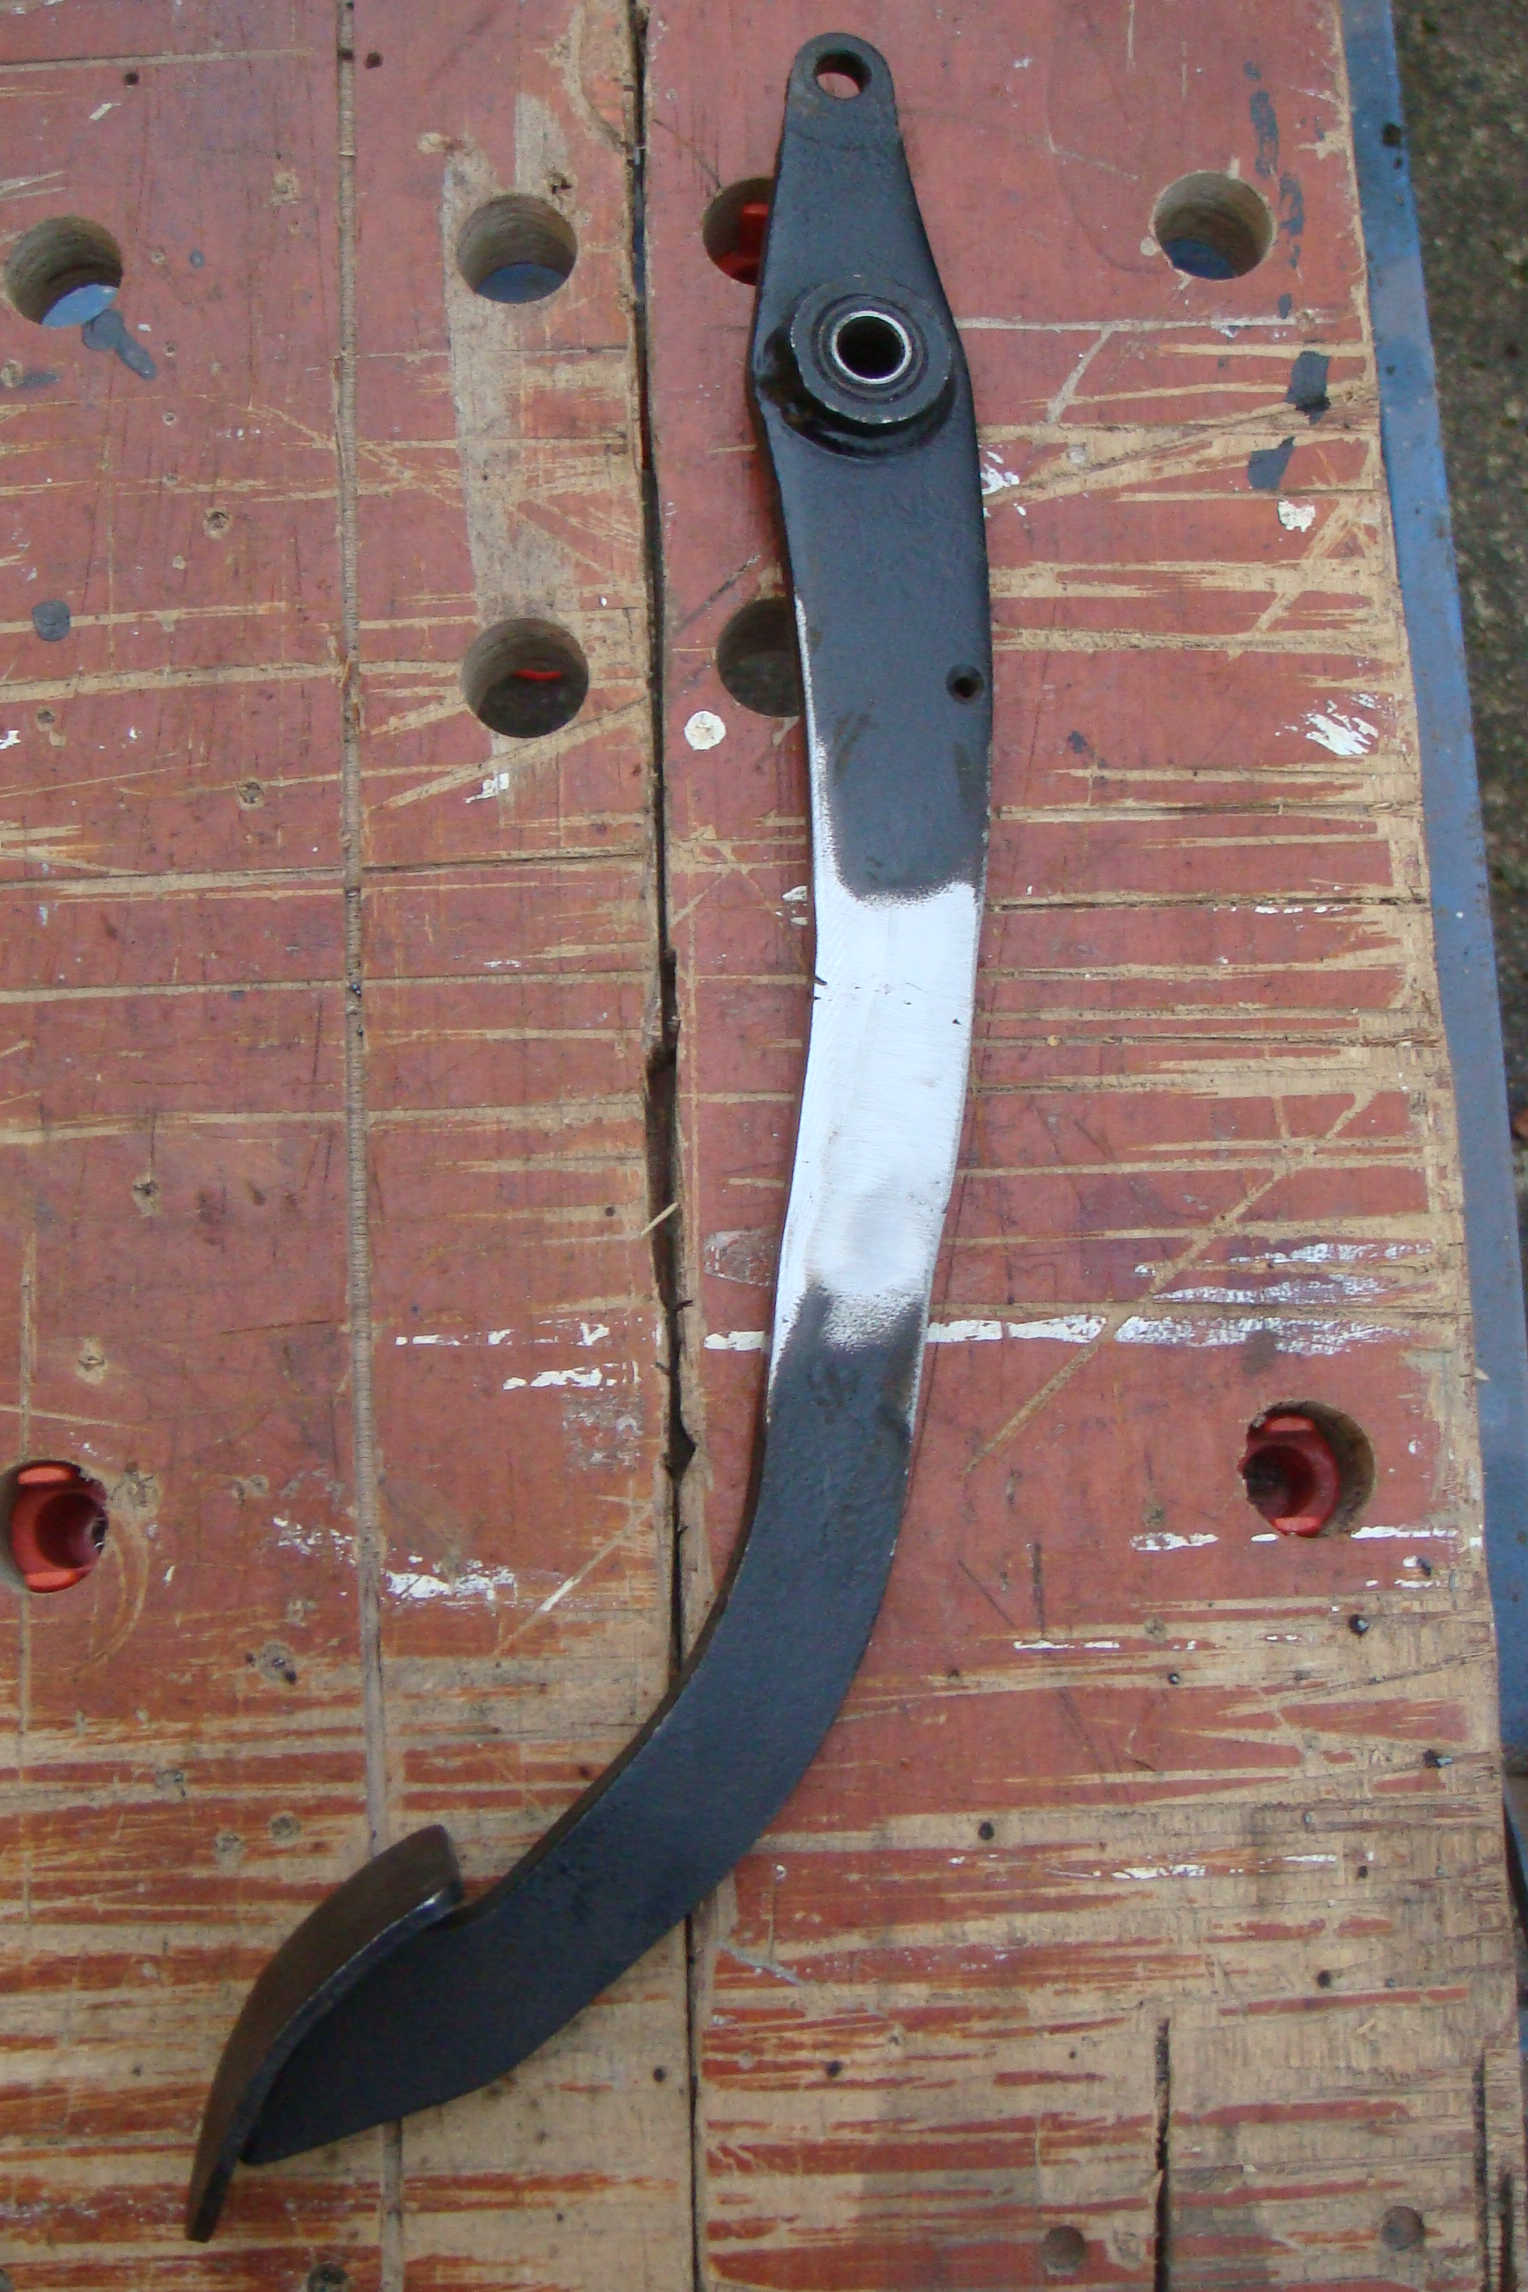
[Update: 14/4/2023] Although I was able to go through the gears it was by no means perfect with a goodly crunch when engaging and often impossible to select first and reverse. I suspected that I was not getting enough travel of the clutch pedal - measuring a friend's MGA showed he had 28mm of travel at the master cylinder piston whereas I was only getting 17mm. I thought the pedal itself was the culprit and posted a a question on mgexp.com which confirmed I should be getting more travel at the master cylinder. Peter Ryle posted a picture of his aftermarket RHD pedal which was more angular than mine so did not bottom out on the steering column and bracket. I also found an article on Barney's site about aftermarket pedals being too thick so not allowing enough travel. I got to work with my cutter, welder & grinder to increase the bends on the pedal shaft as well as reducing the thickness - this gave me 25mm of travel at the MC which is sufficient to enable smooth gear changes.
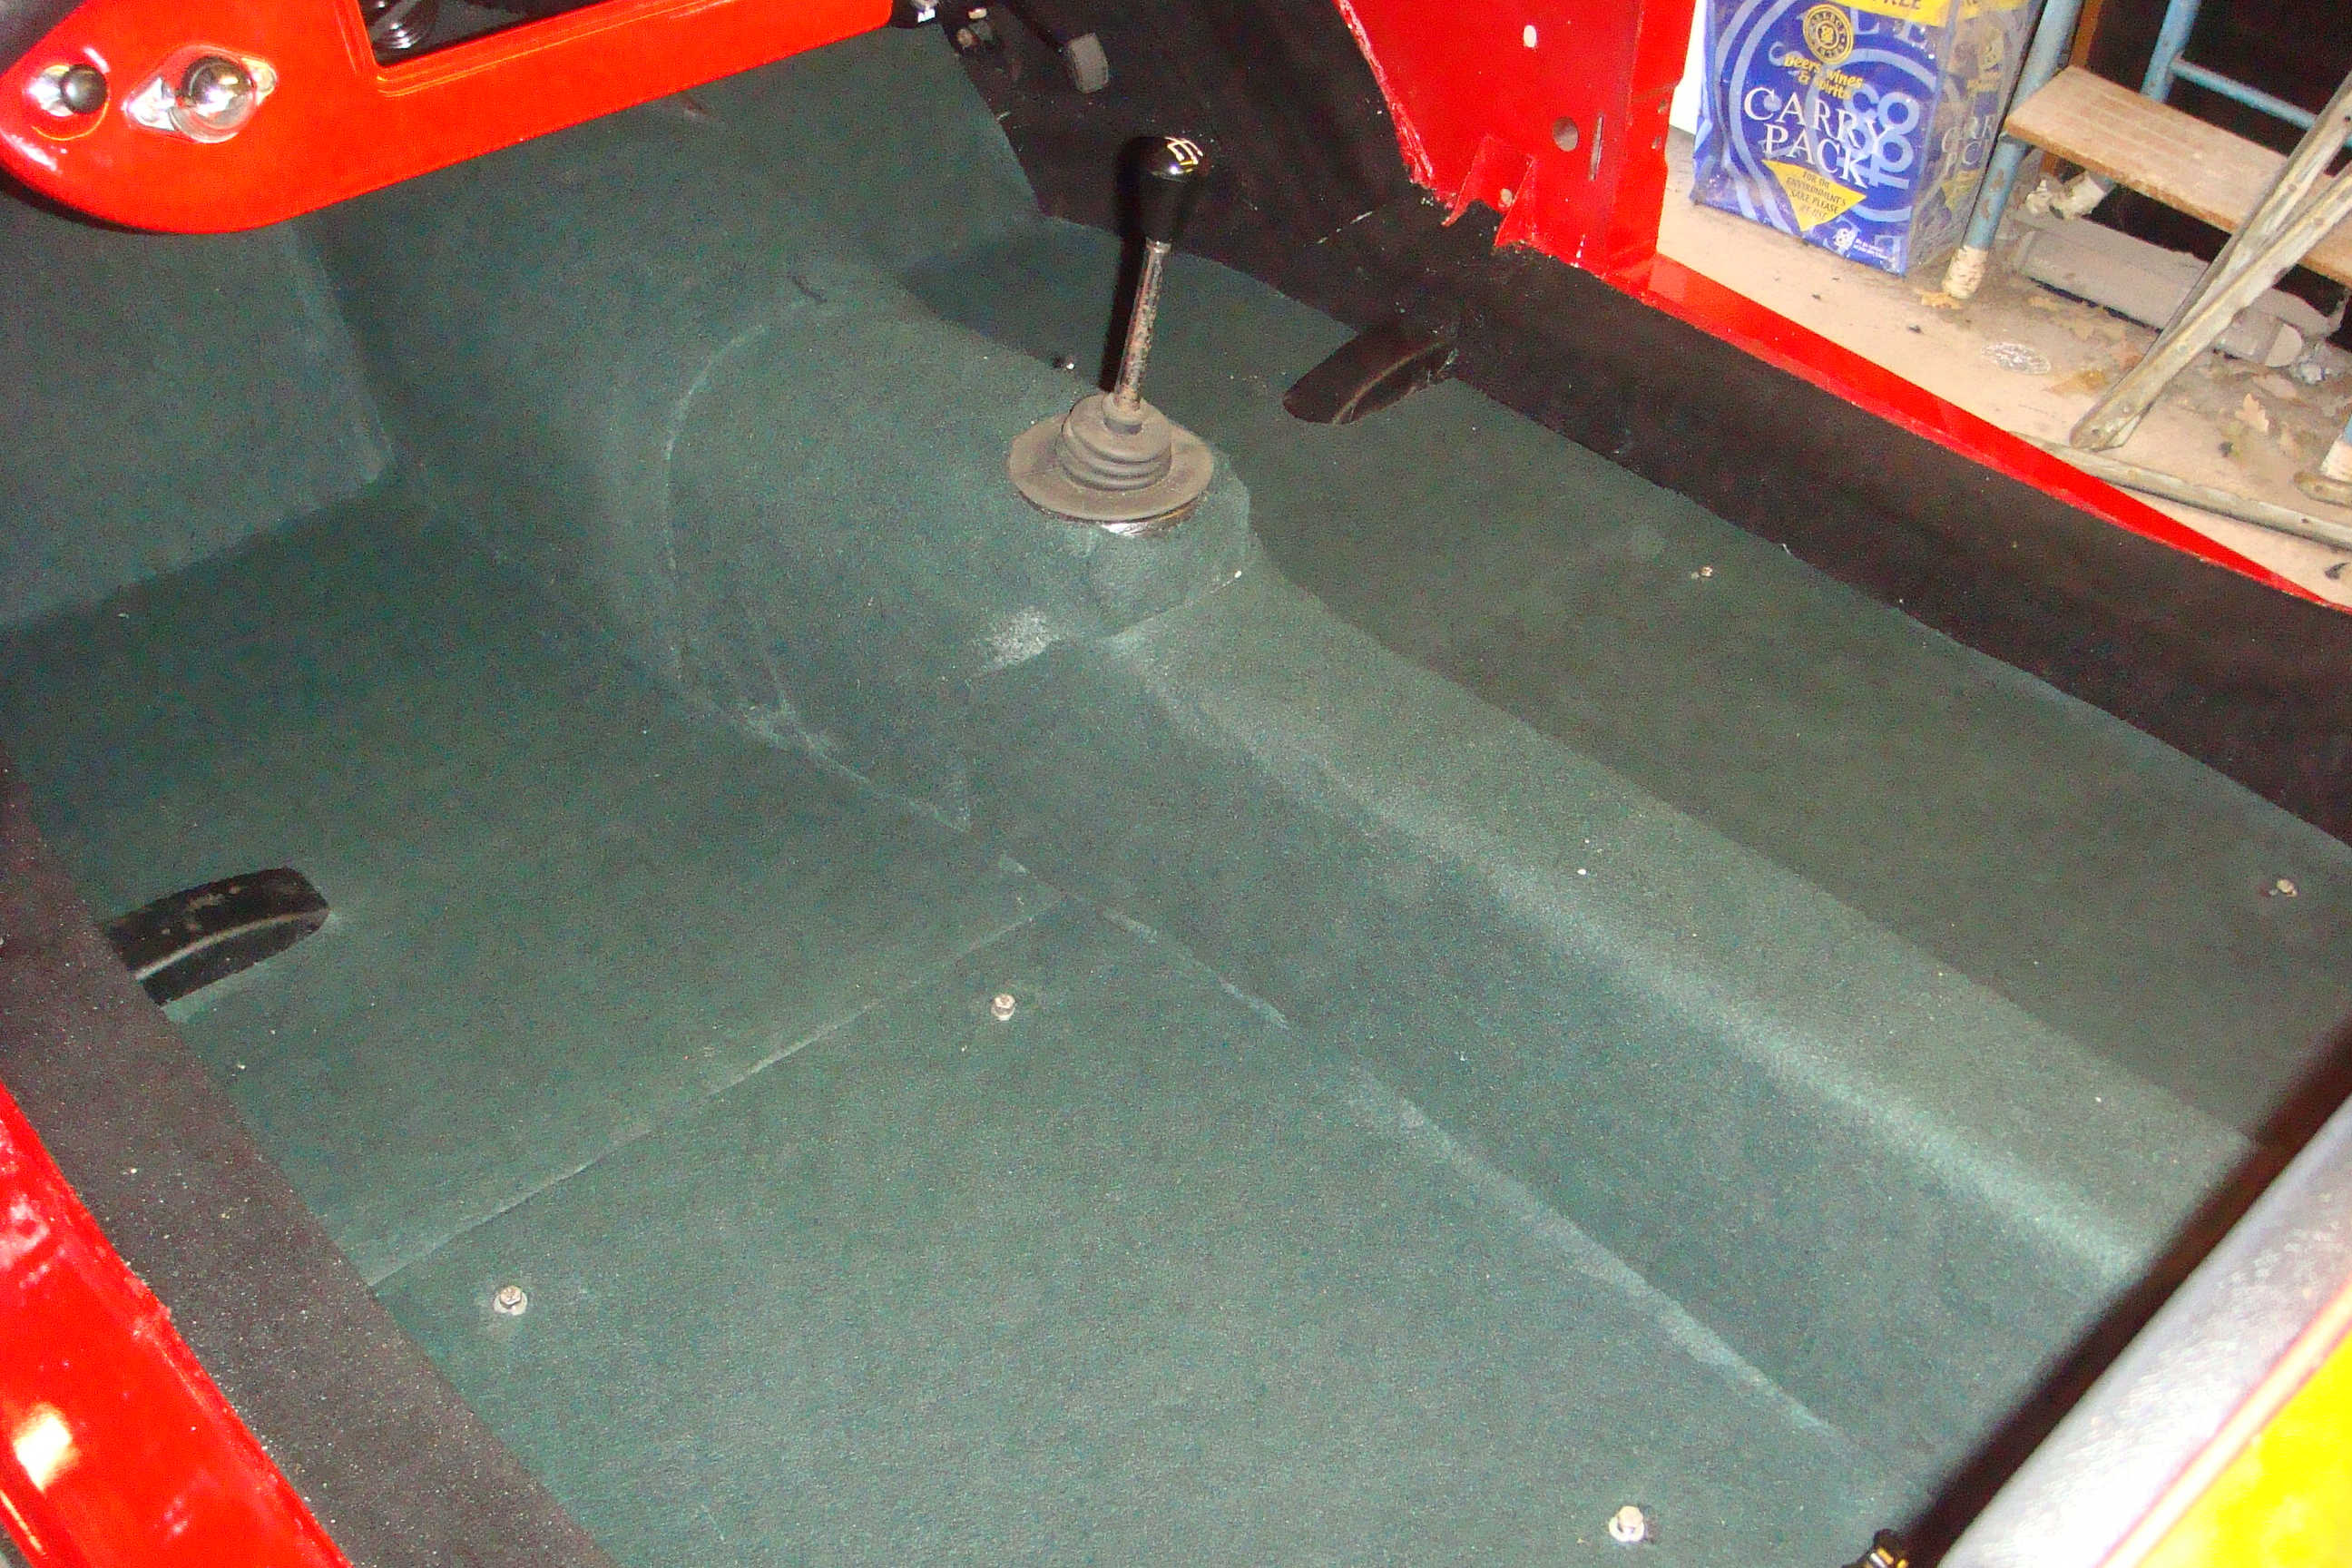
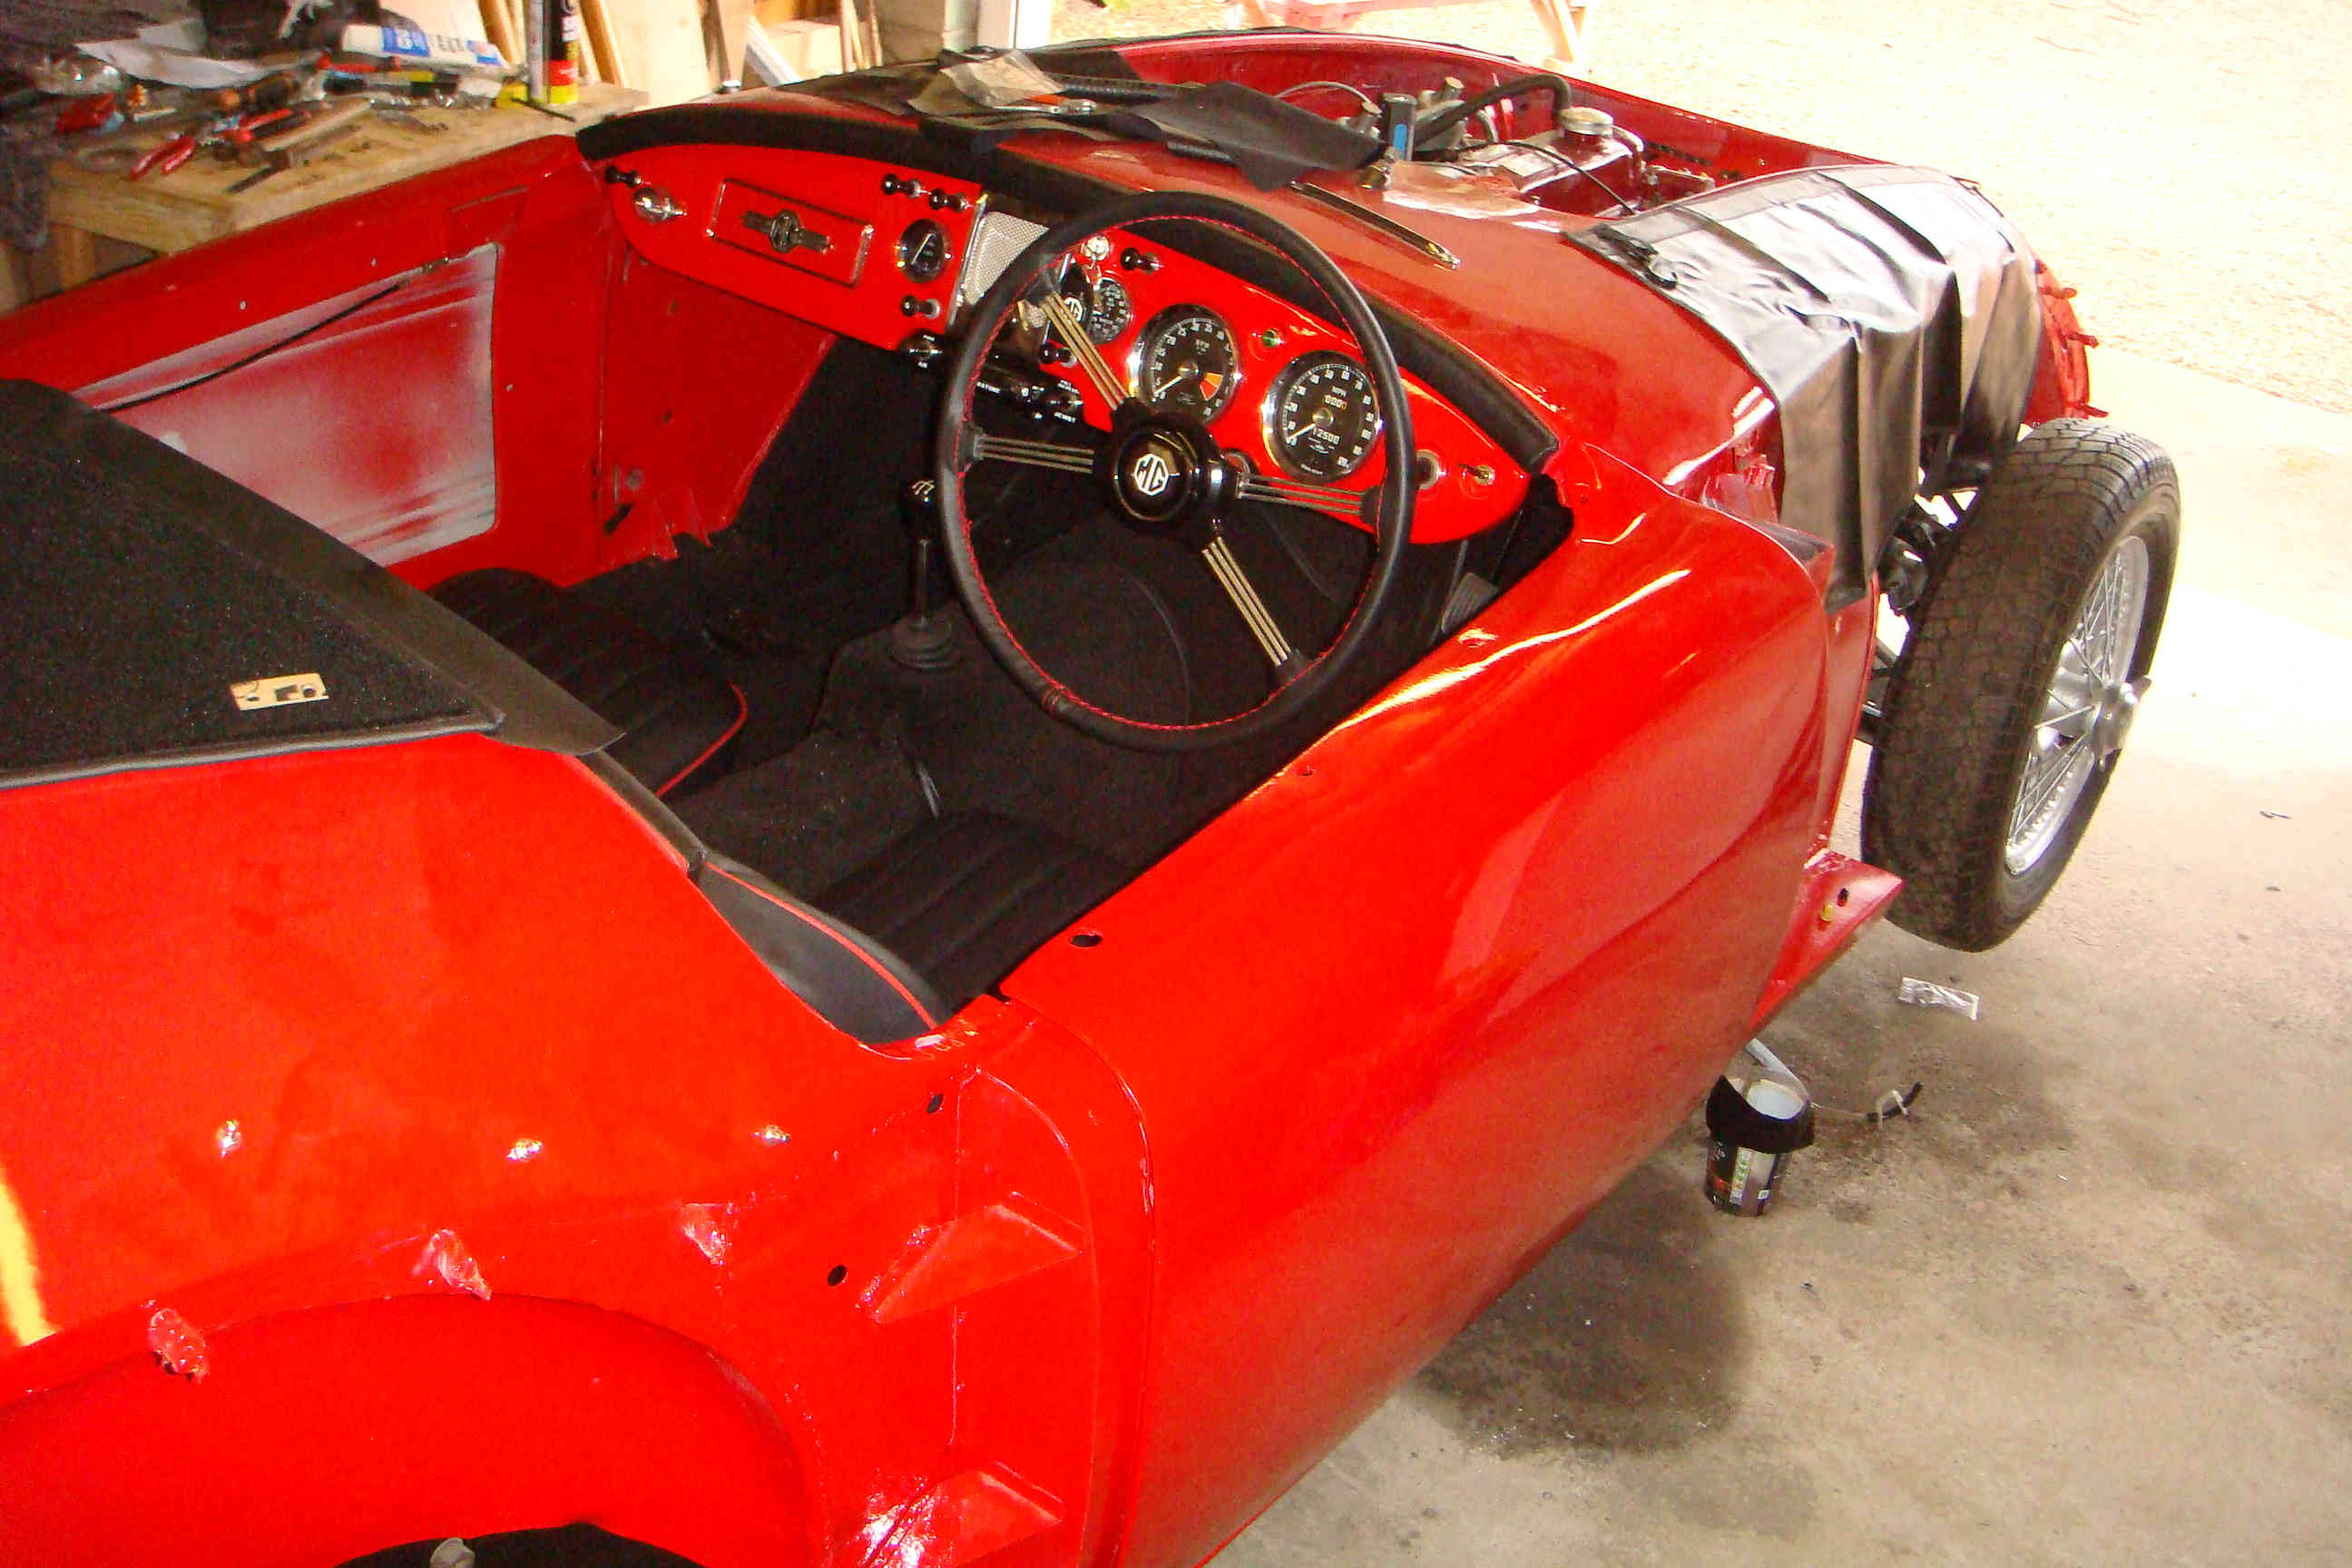
Carpet
I purchased a carpet set, complete with felt underlay. The carpet fit was fairly good but the set had obviously cut with room for trimming so it was not as simple a job to fit - practically every piece had to be trimmed but better that way than not having it big enough. The set included carpetting for the battery cover and rear bulkhead - not original but why not have a bit of luxury?
Click thumbnail
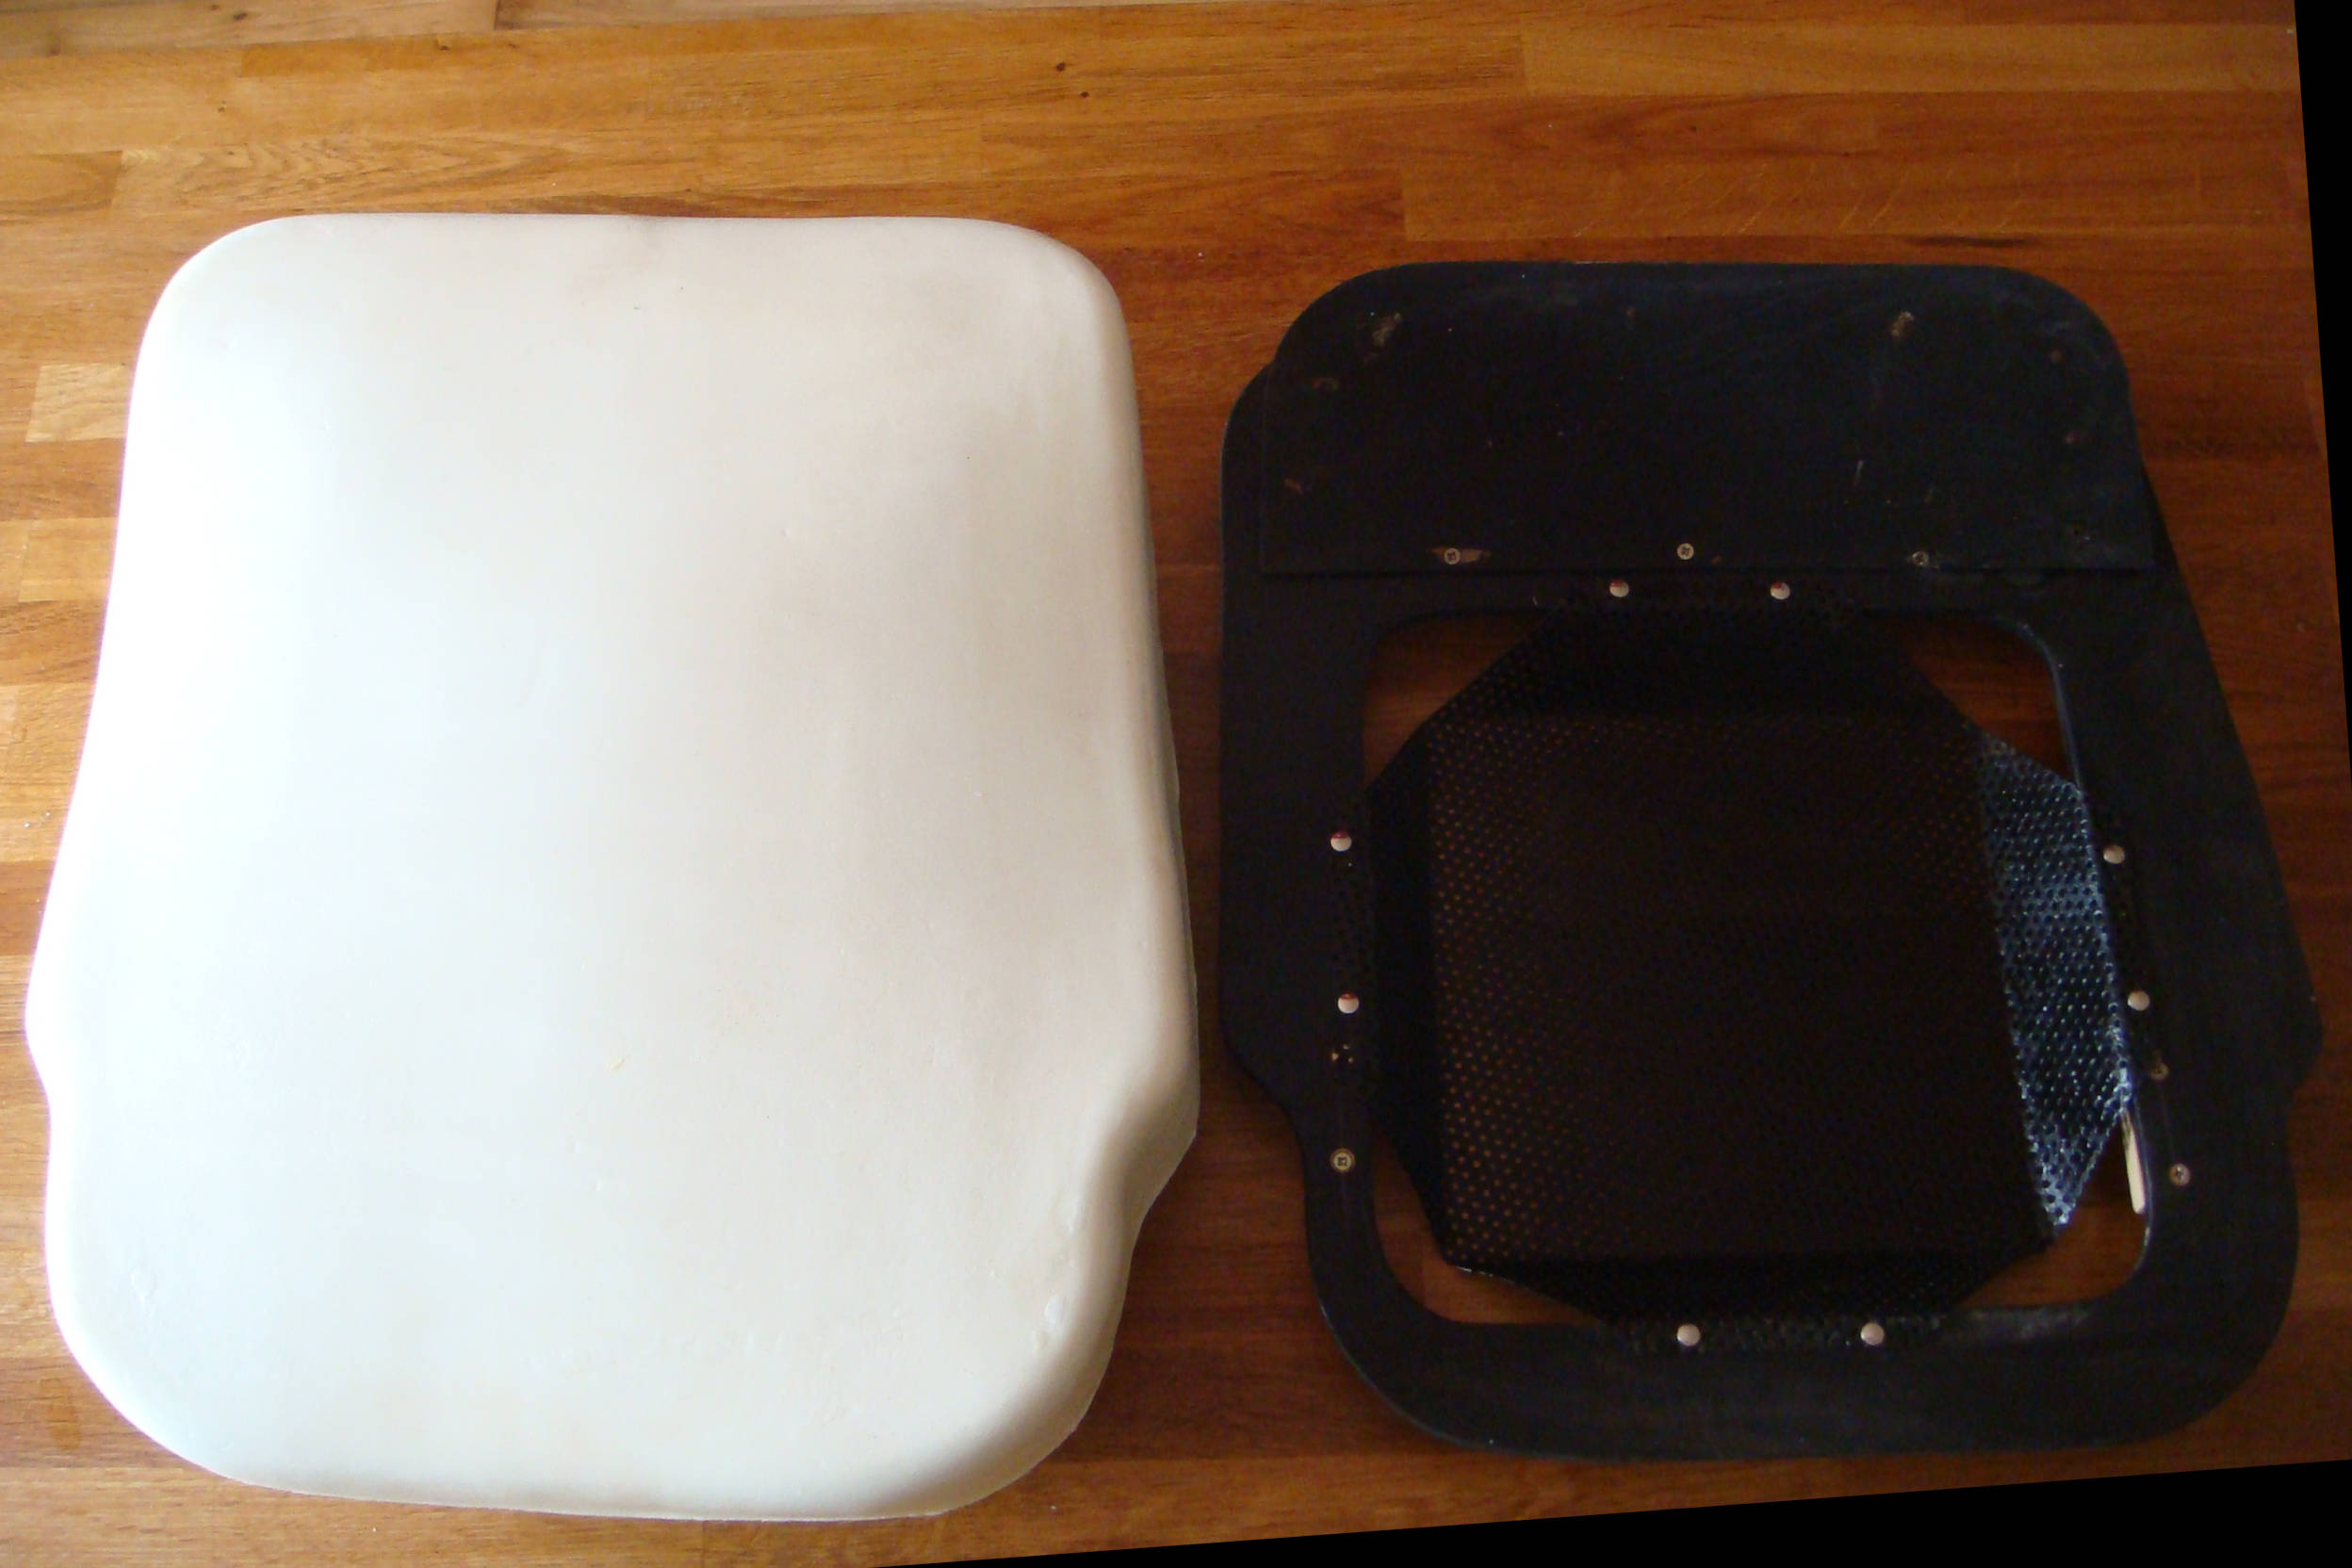
Seats
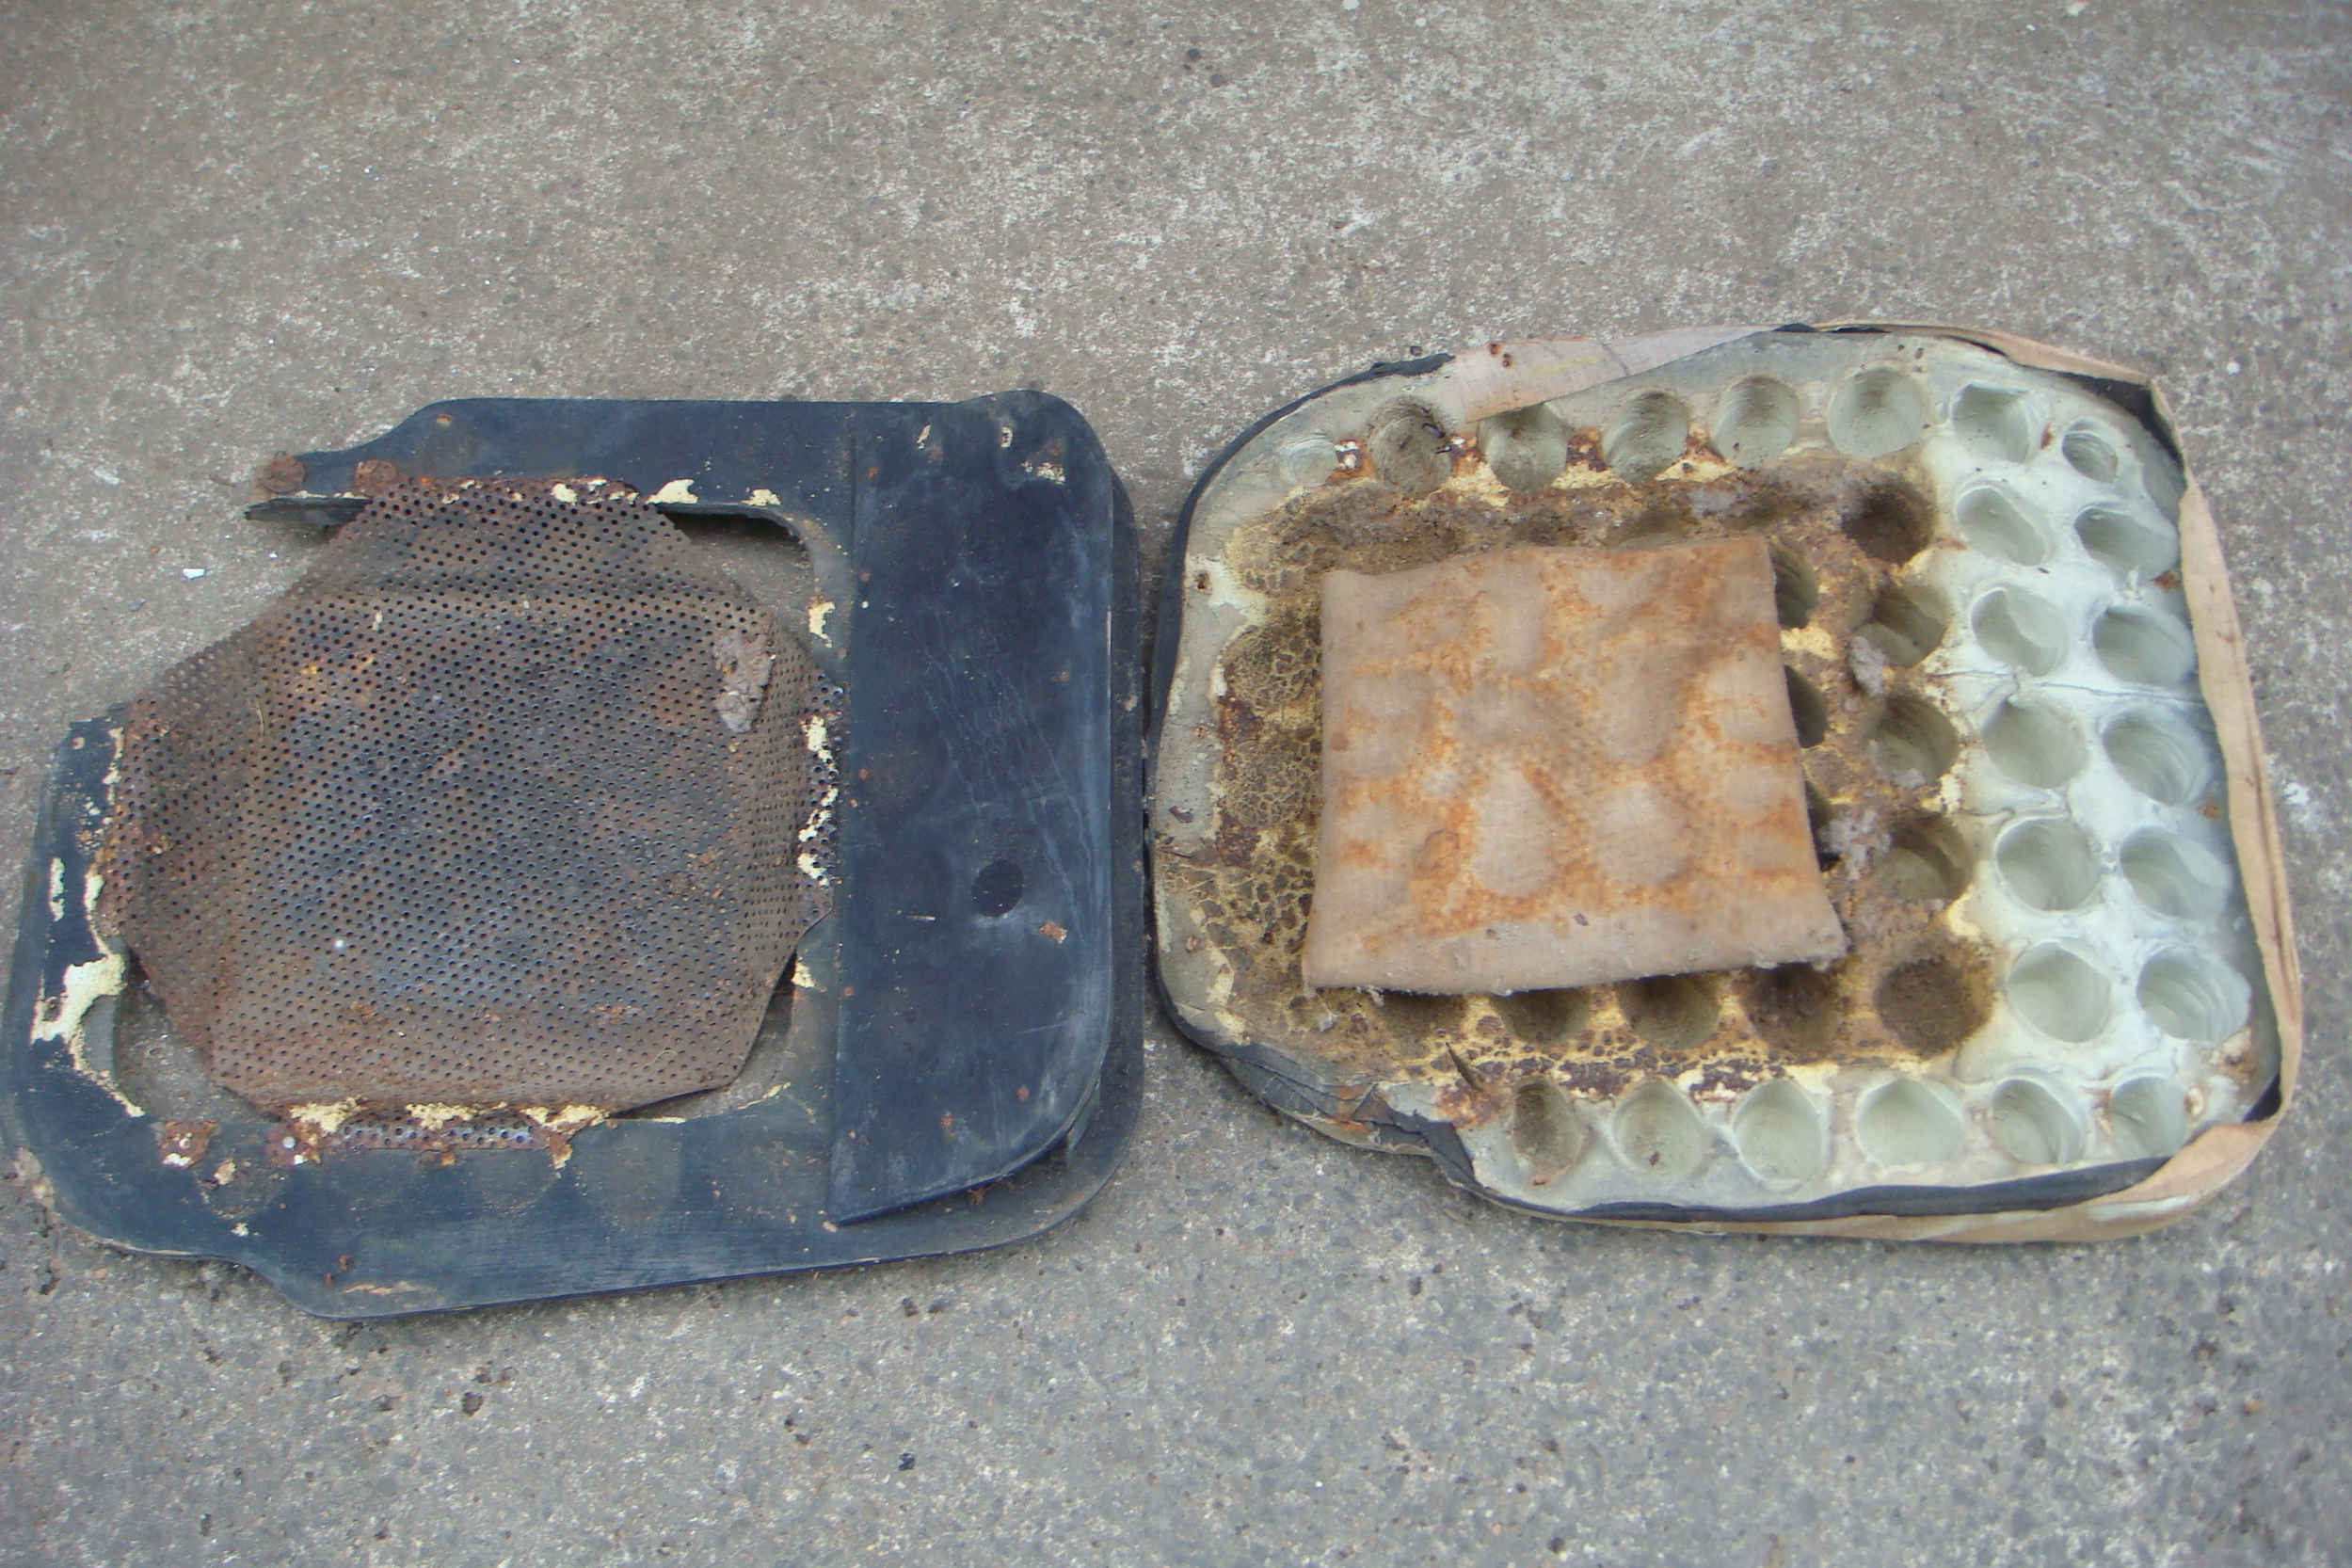
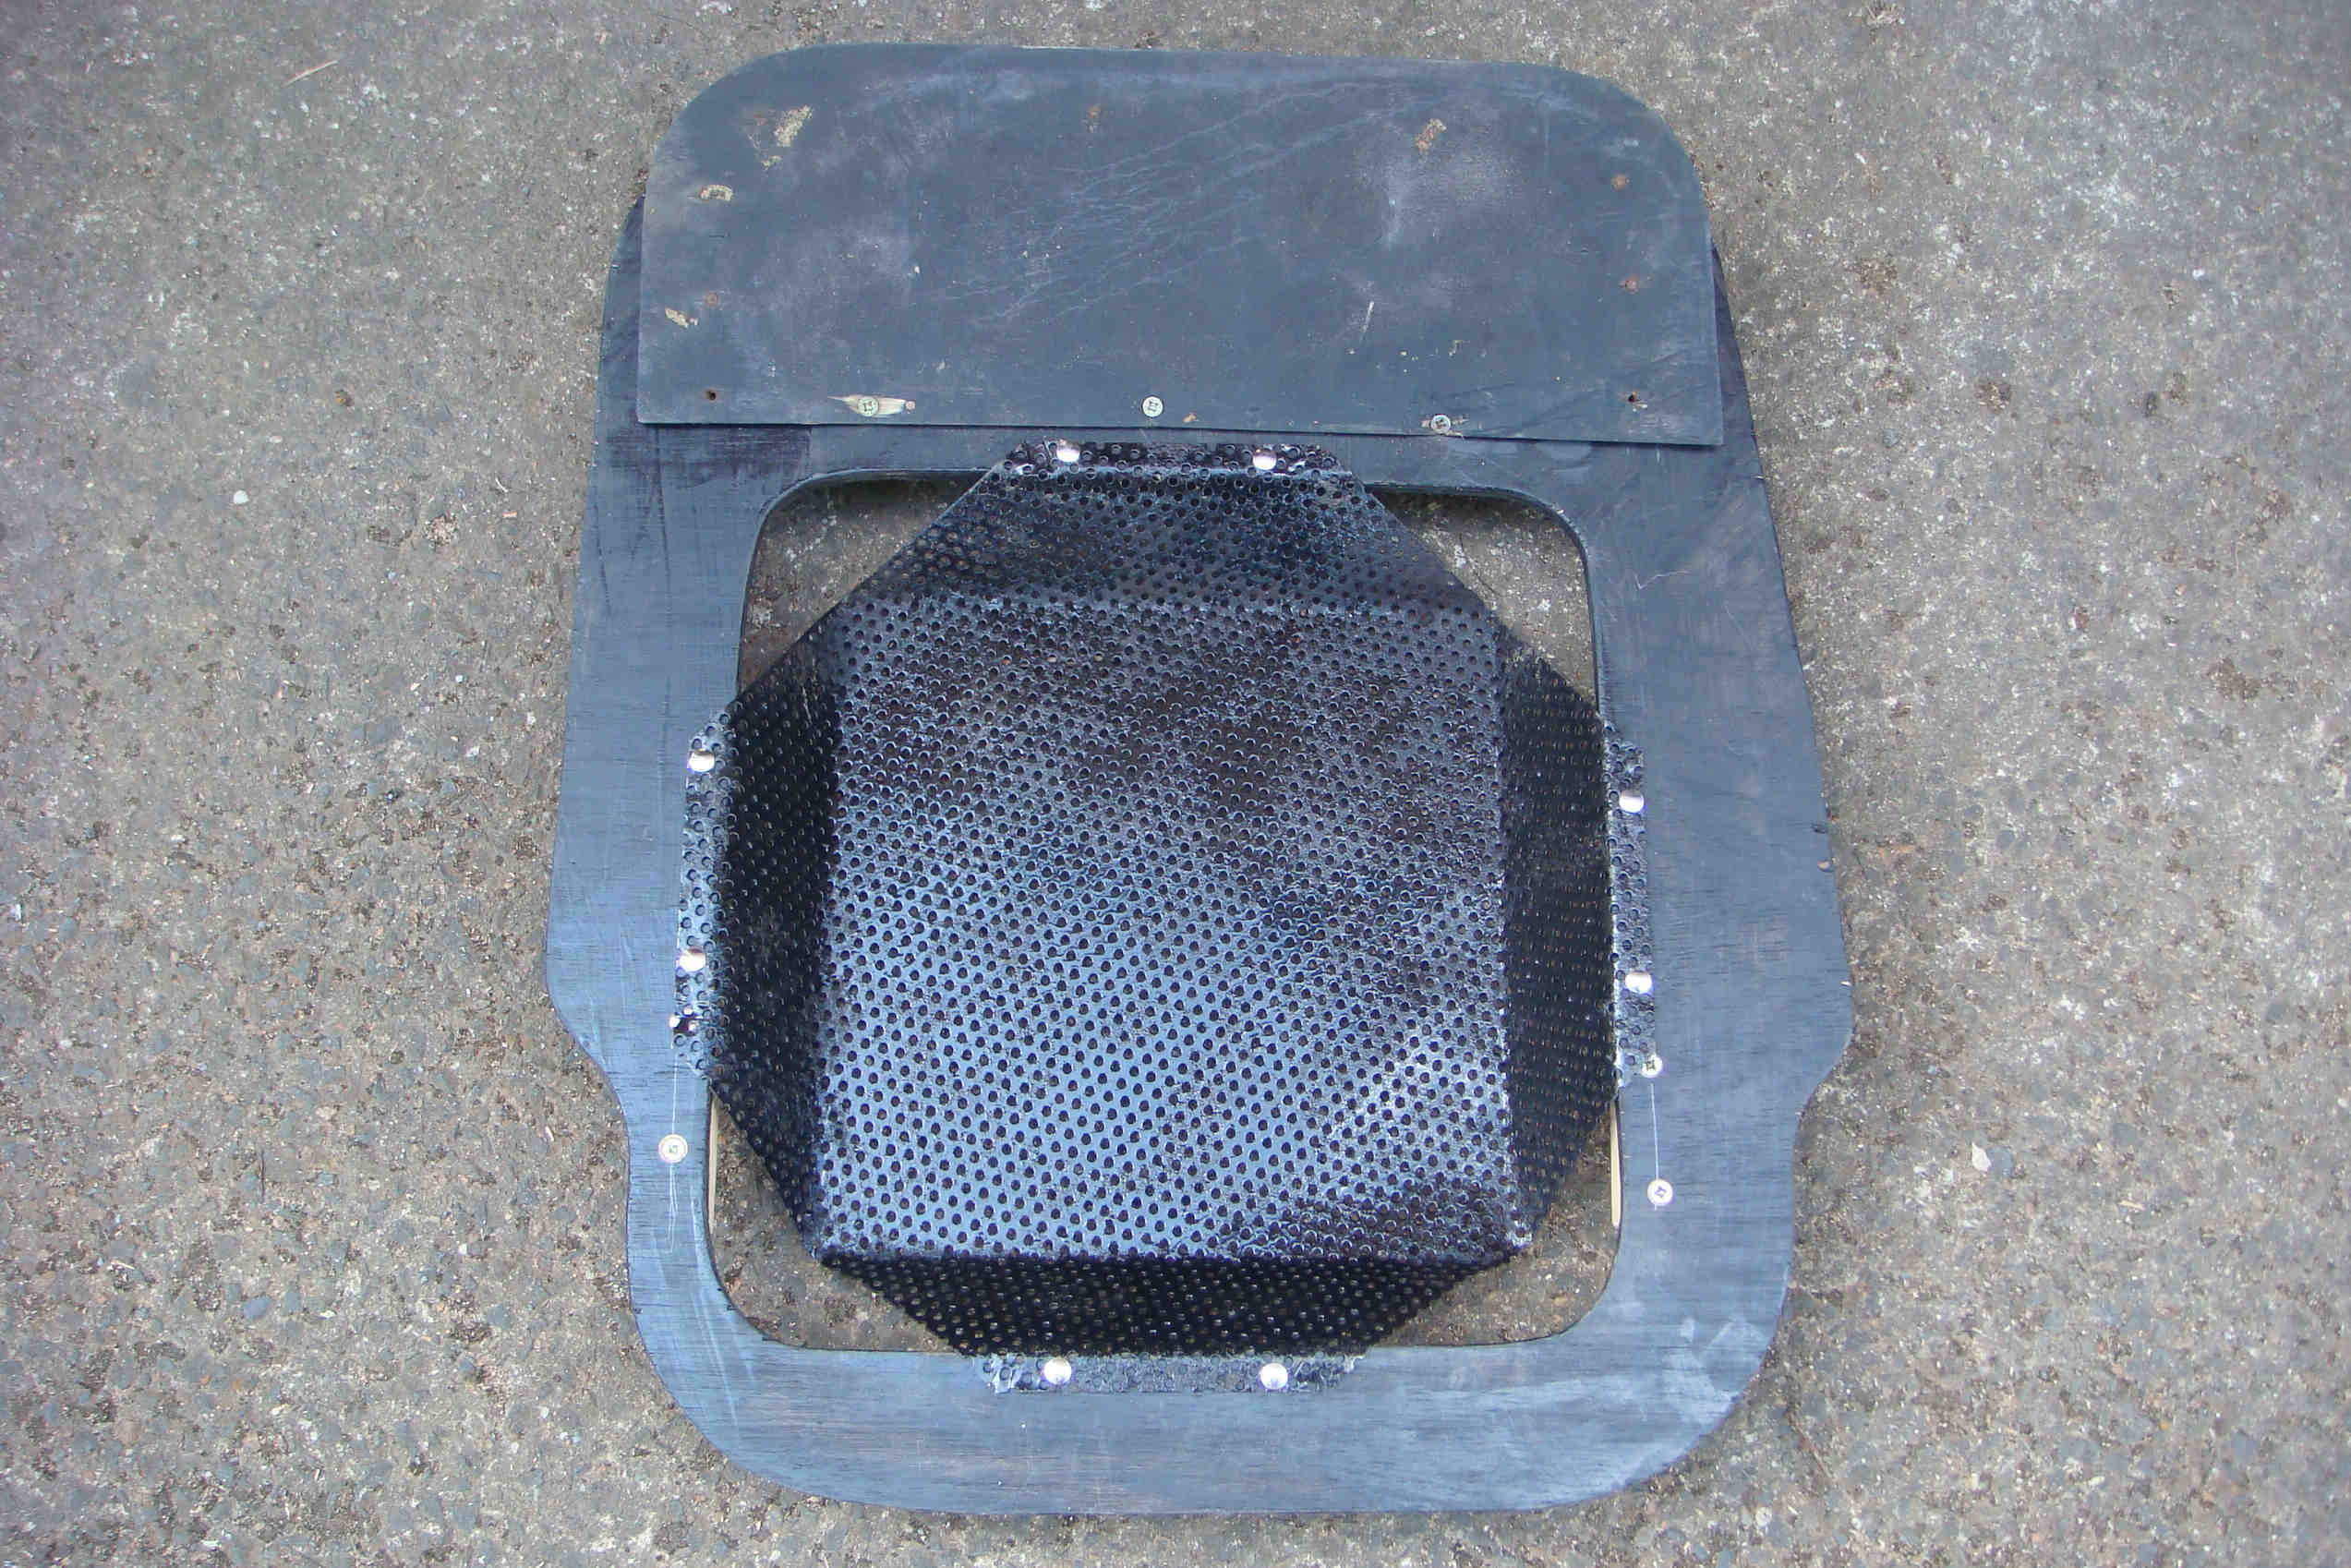
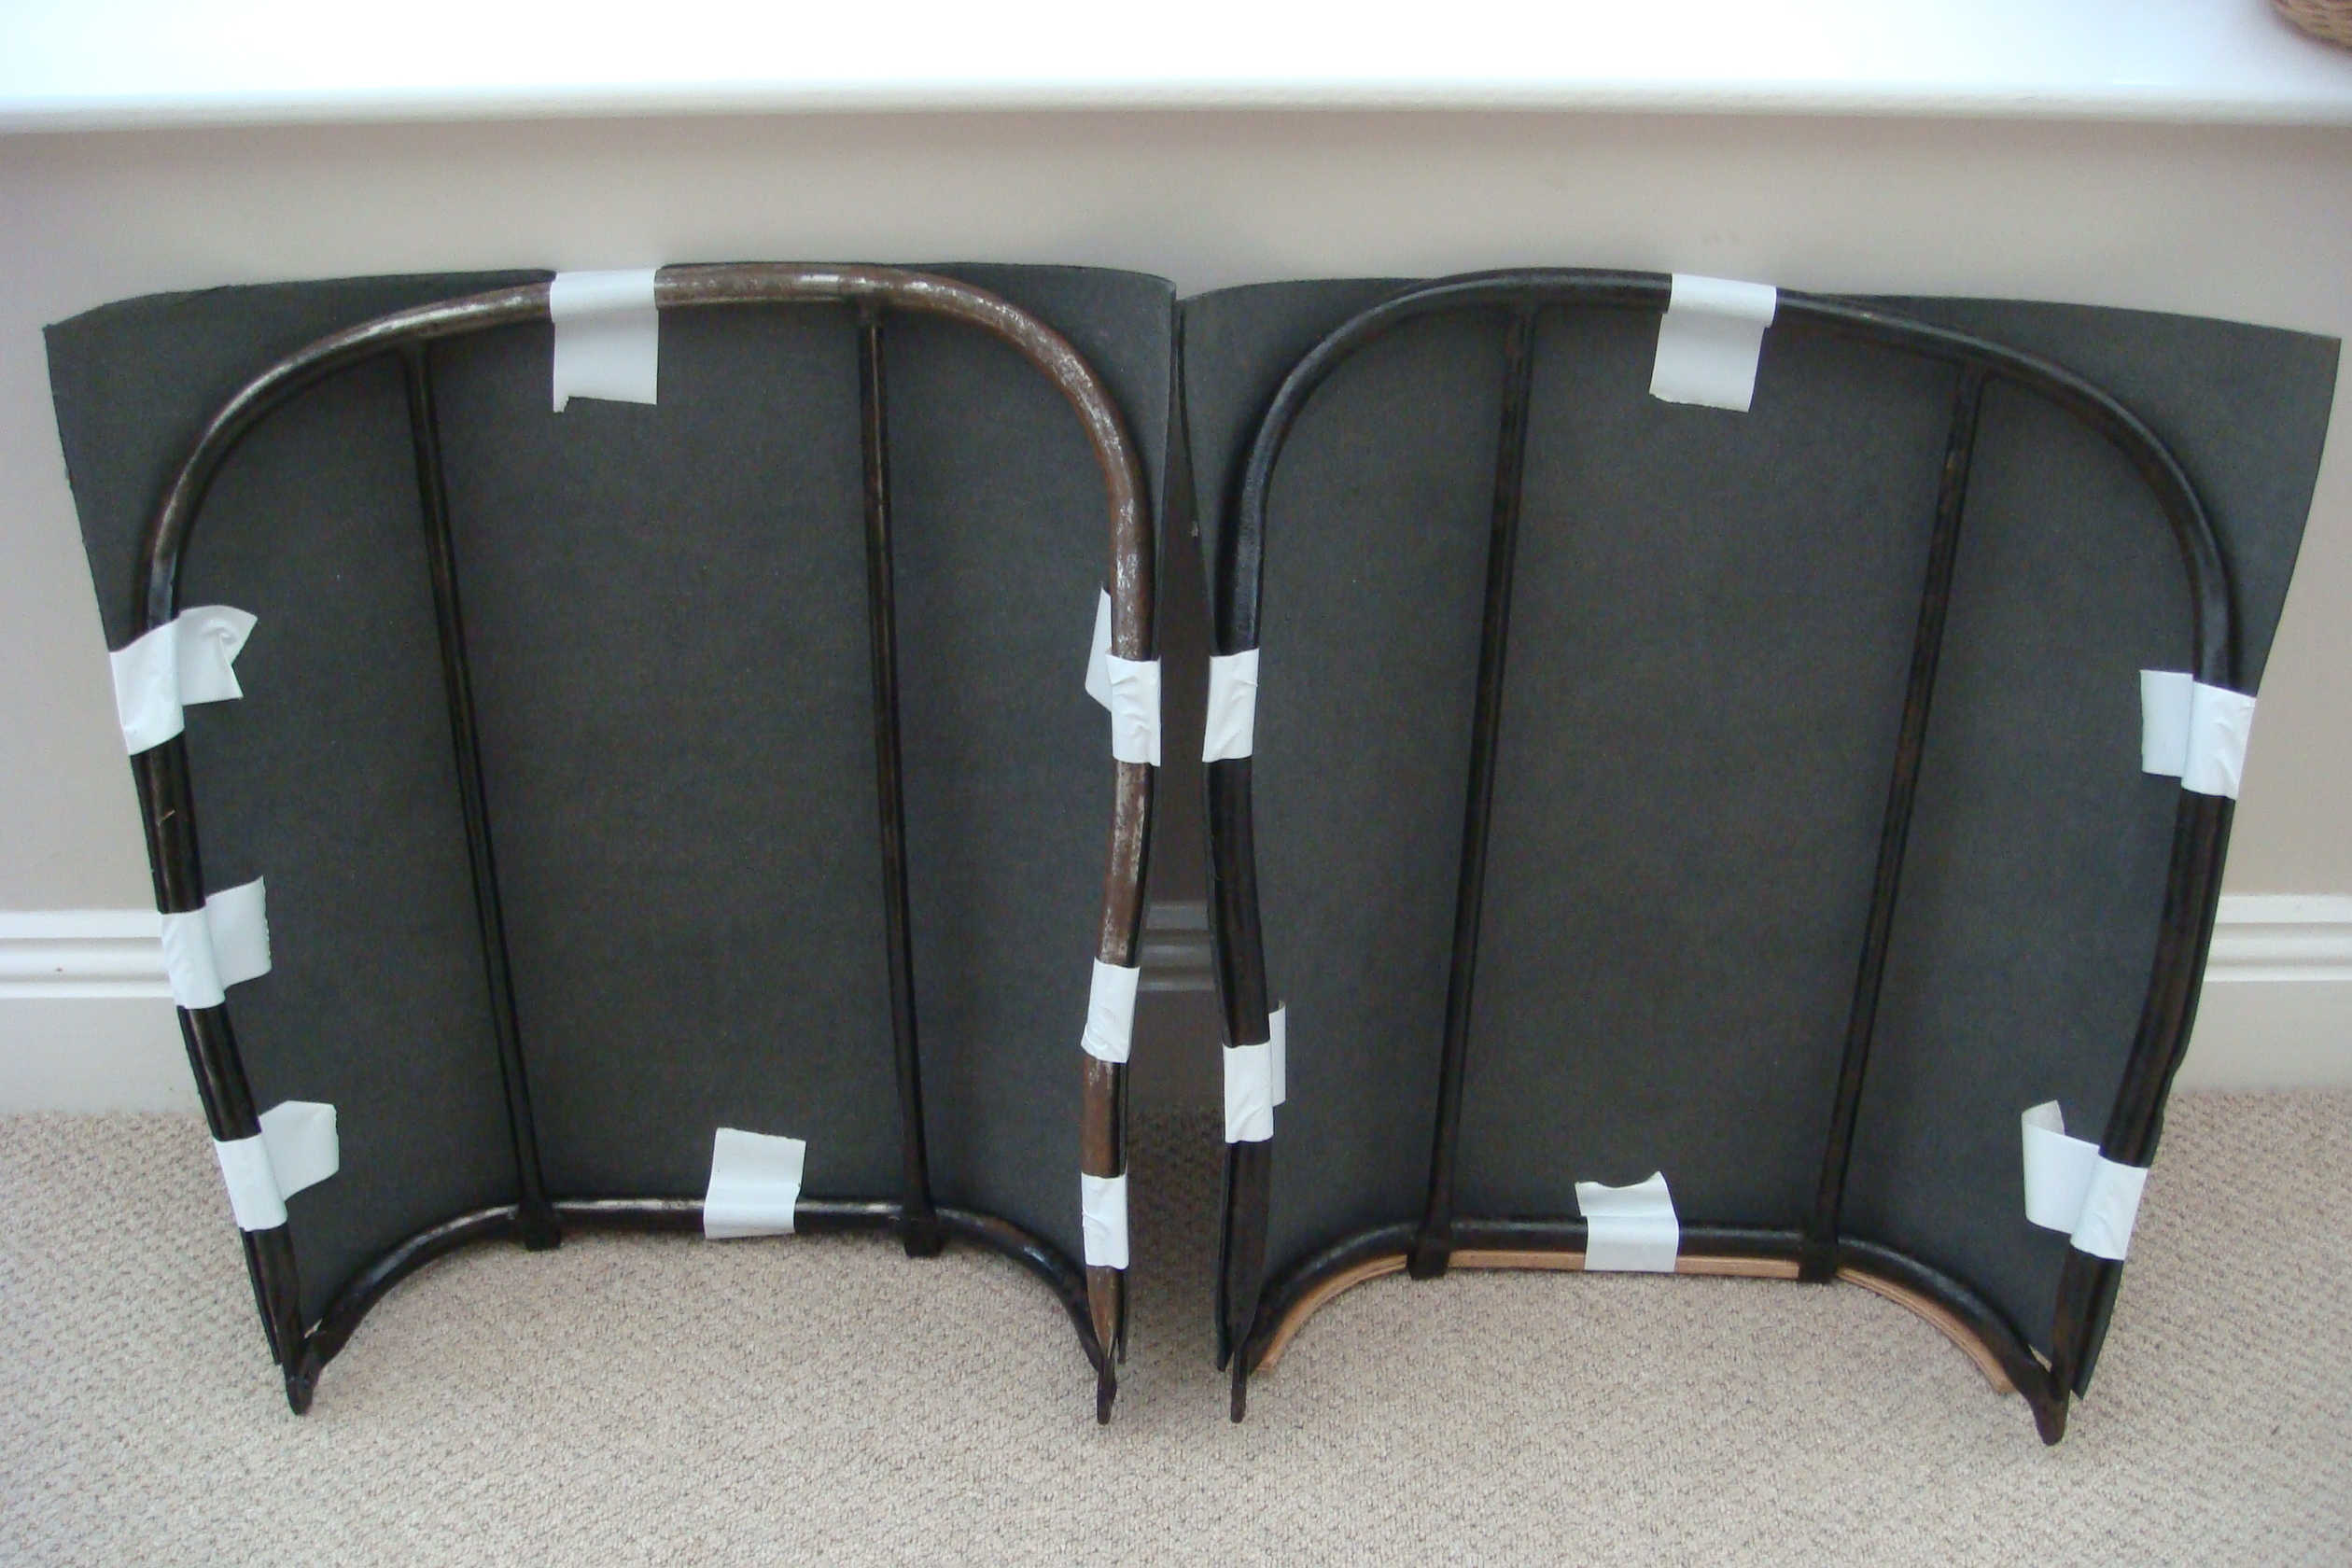
The seats had, in the past, been recovered as they would have originally been black leather (vynide on unseen surfaces) with red piping - these were black vynil and quite manky. Each was stripped down (each layer getting more mankier) to the frame which was sanded and repainted, with new pins made for the hinged back. The seat bases are made from plywood with a metal basket for the foam to sit in - the plywood was broken on both seats so the originals were used as a template and new ones made.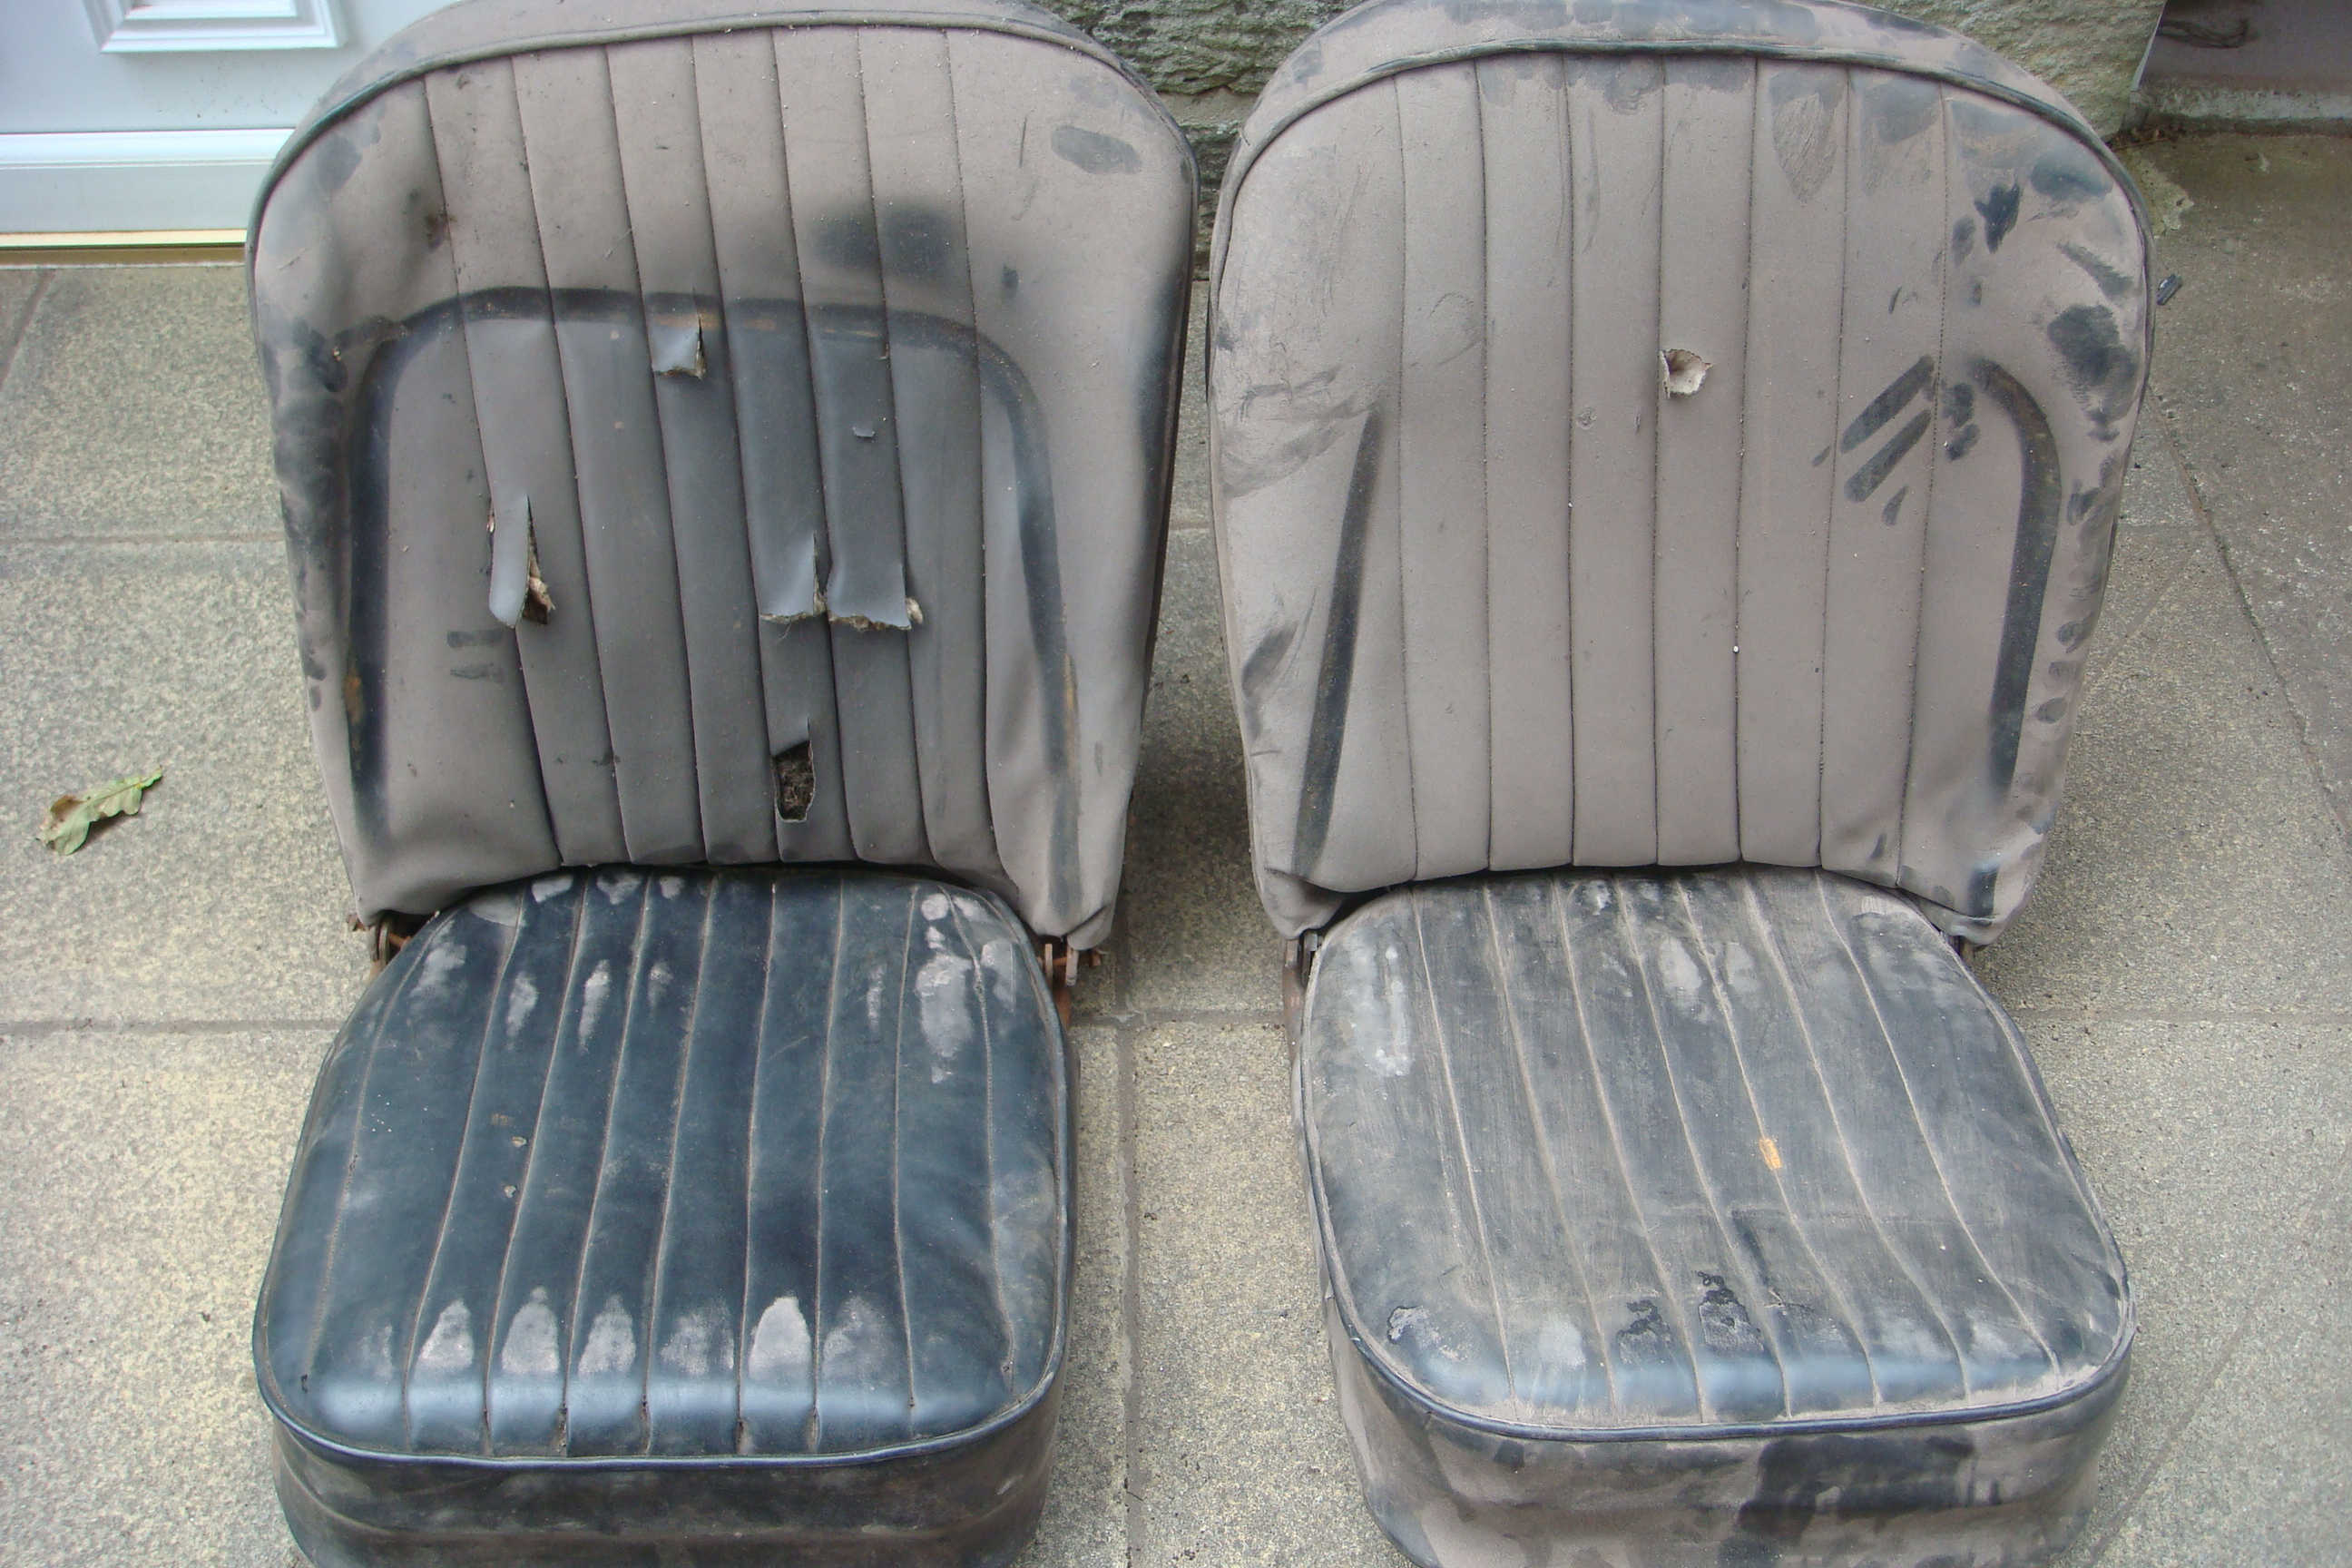
Click thumbnail
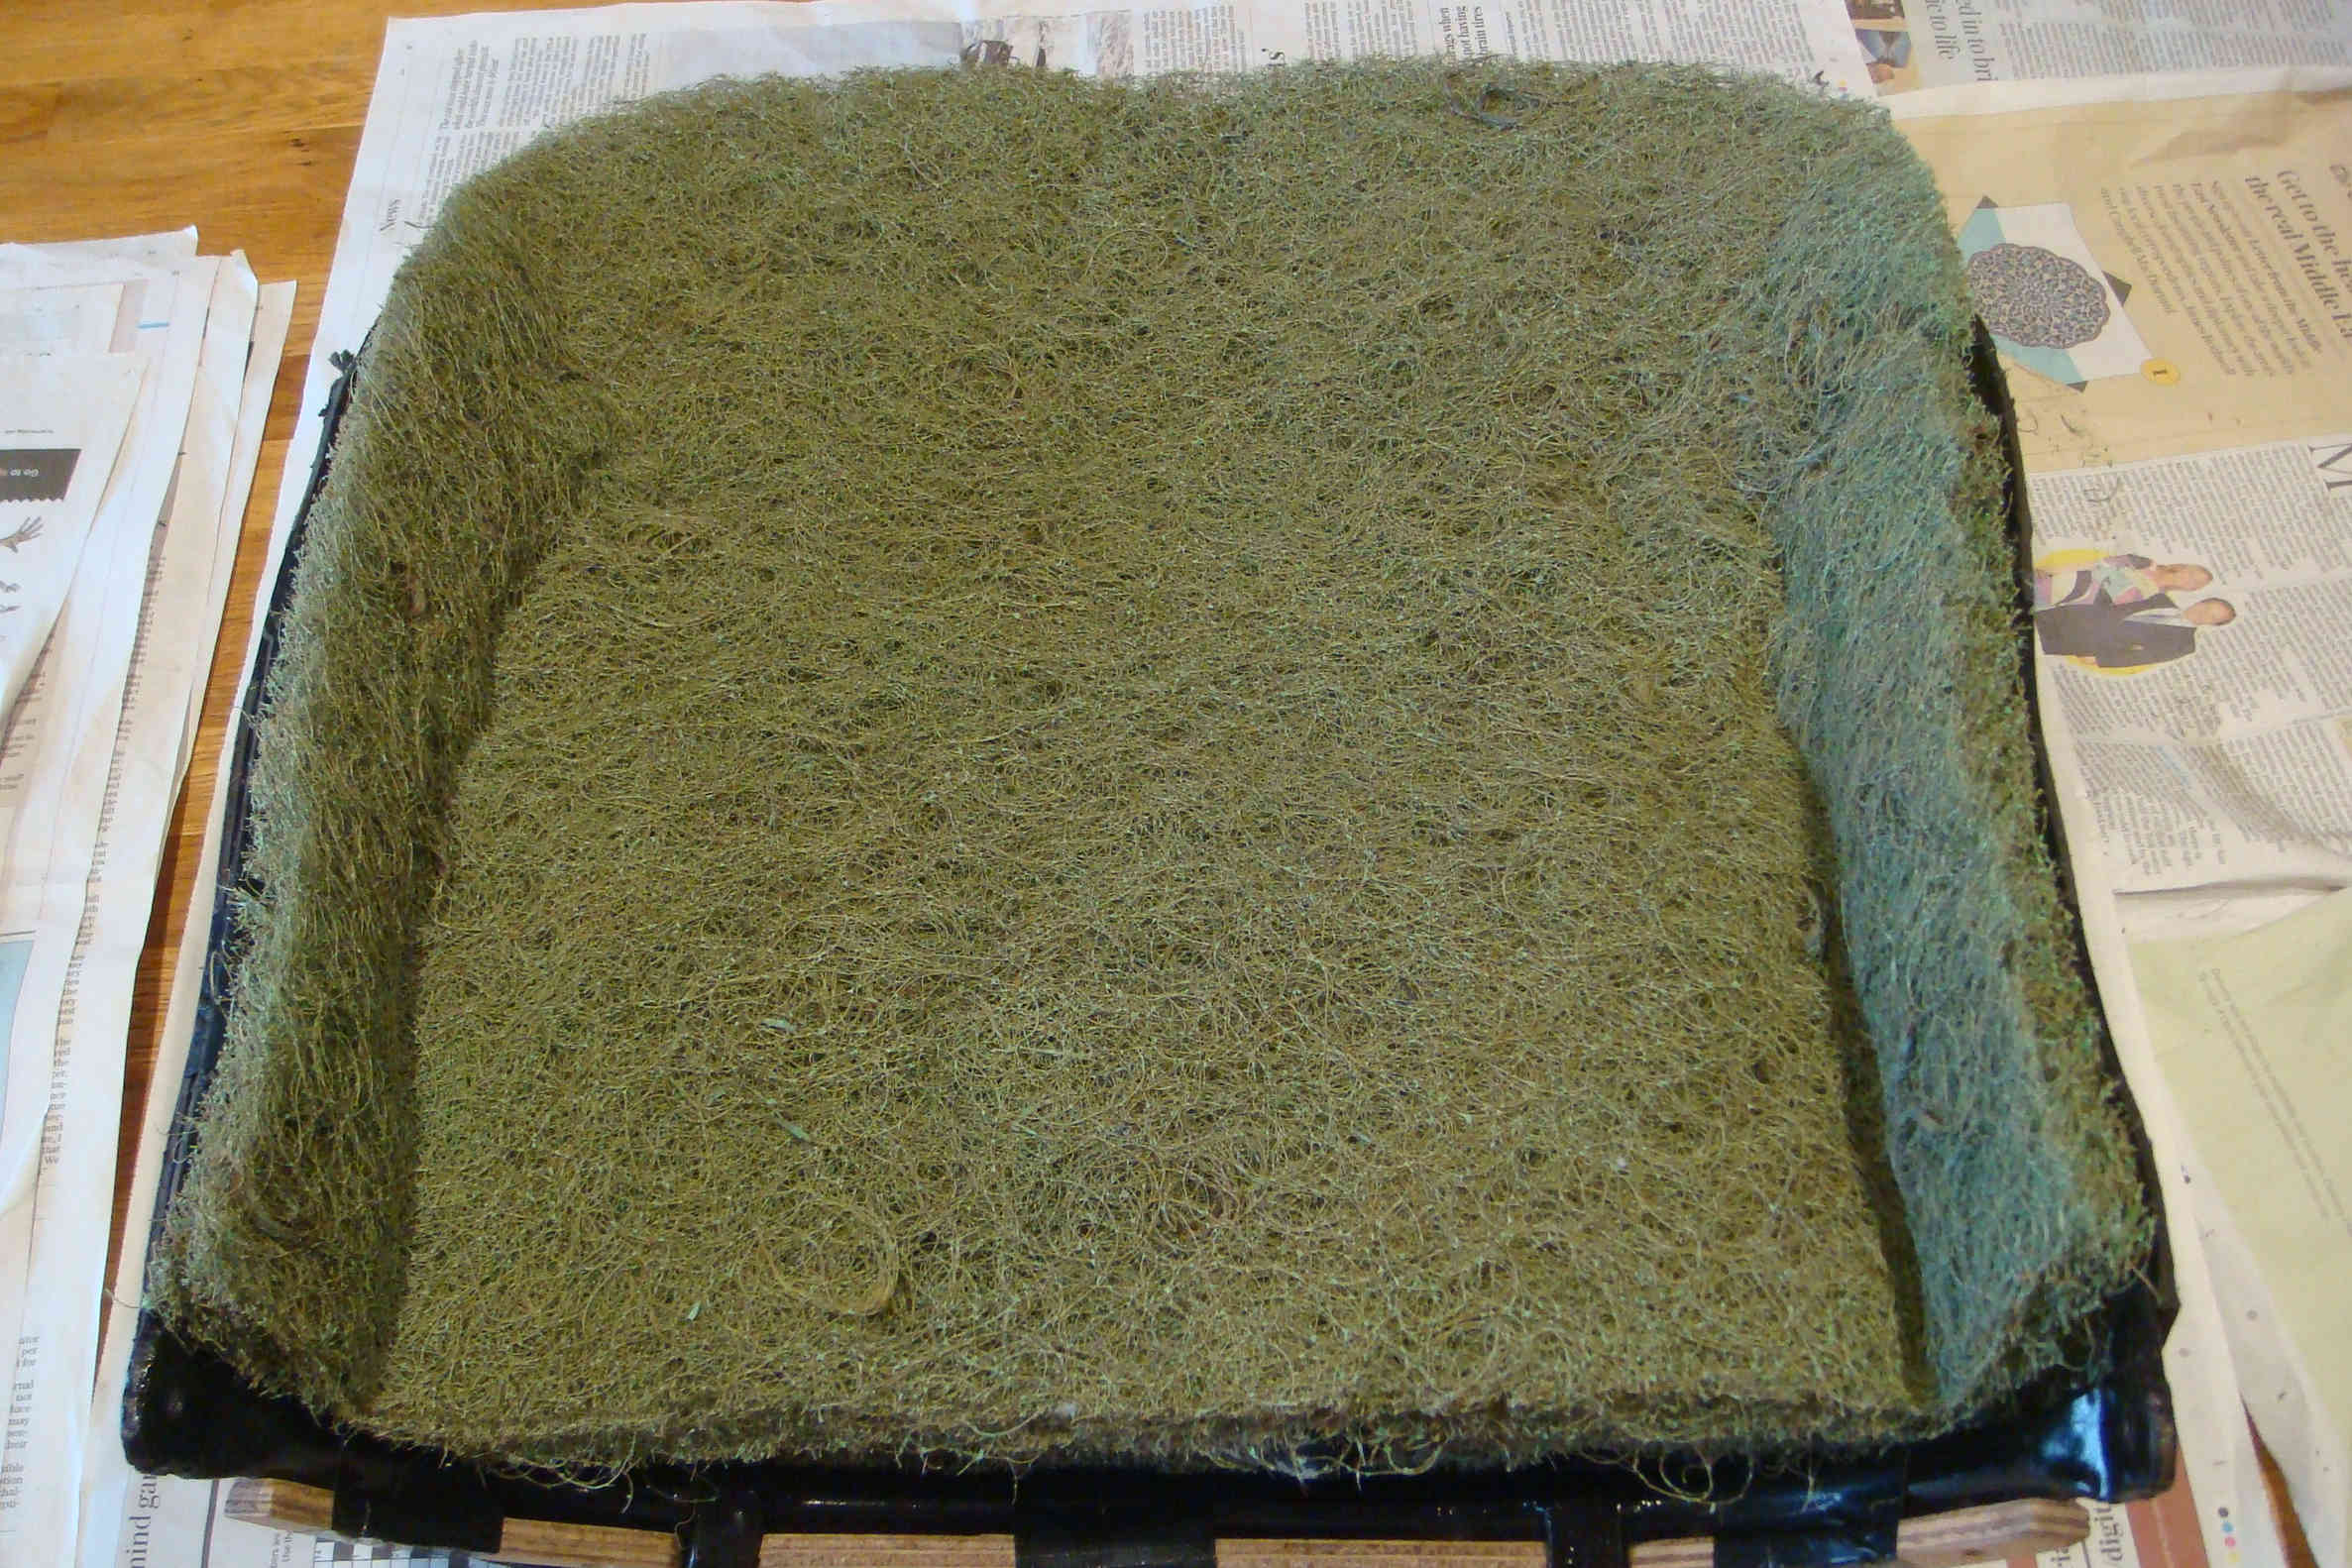
A set of black leather with red piping seat covers were purchased on-line and I was pleased with the quality. Pre-formed foam cushions were purchased together with rubberised horse hair and fibreboard for the back. It was a bit of a learning curve rebuilding the seats but am quite pleased with the finished article.

Click thumbnail
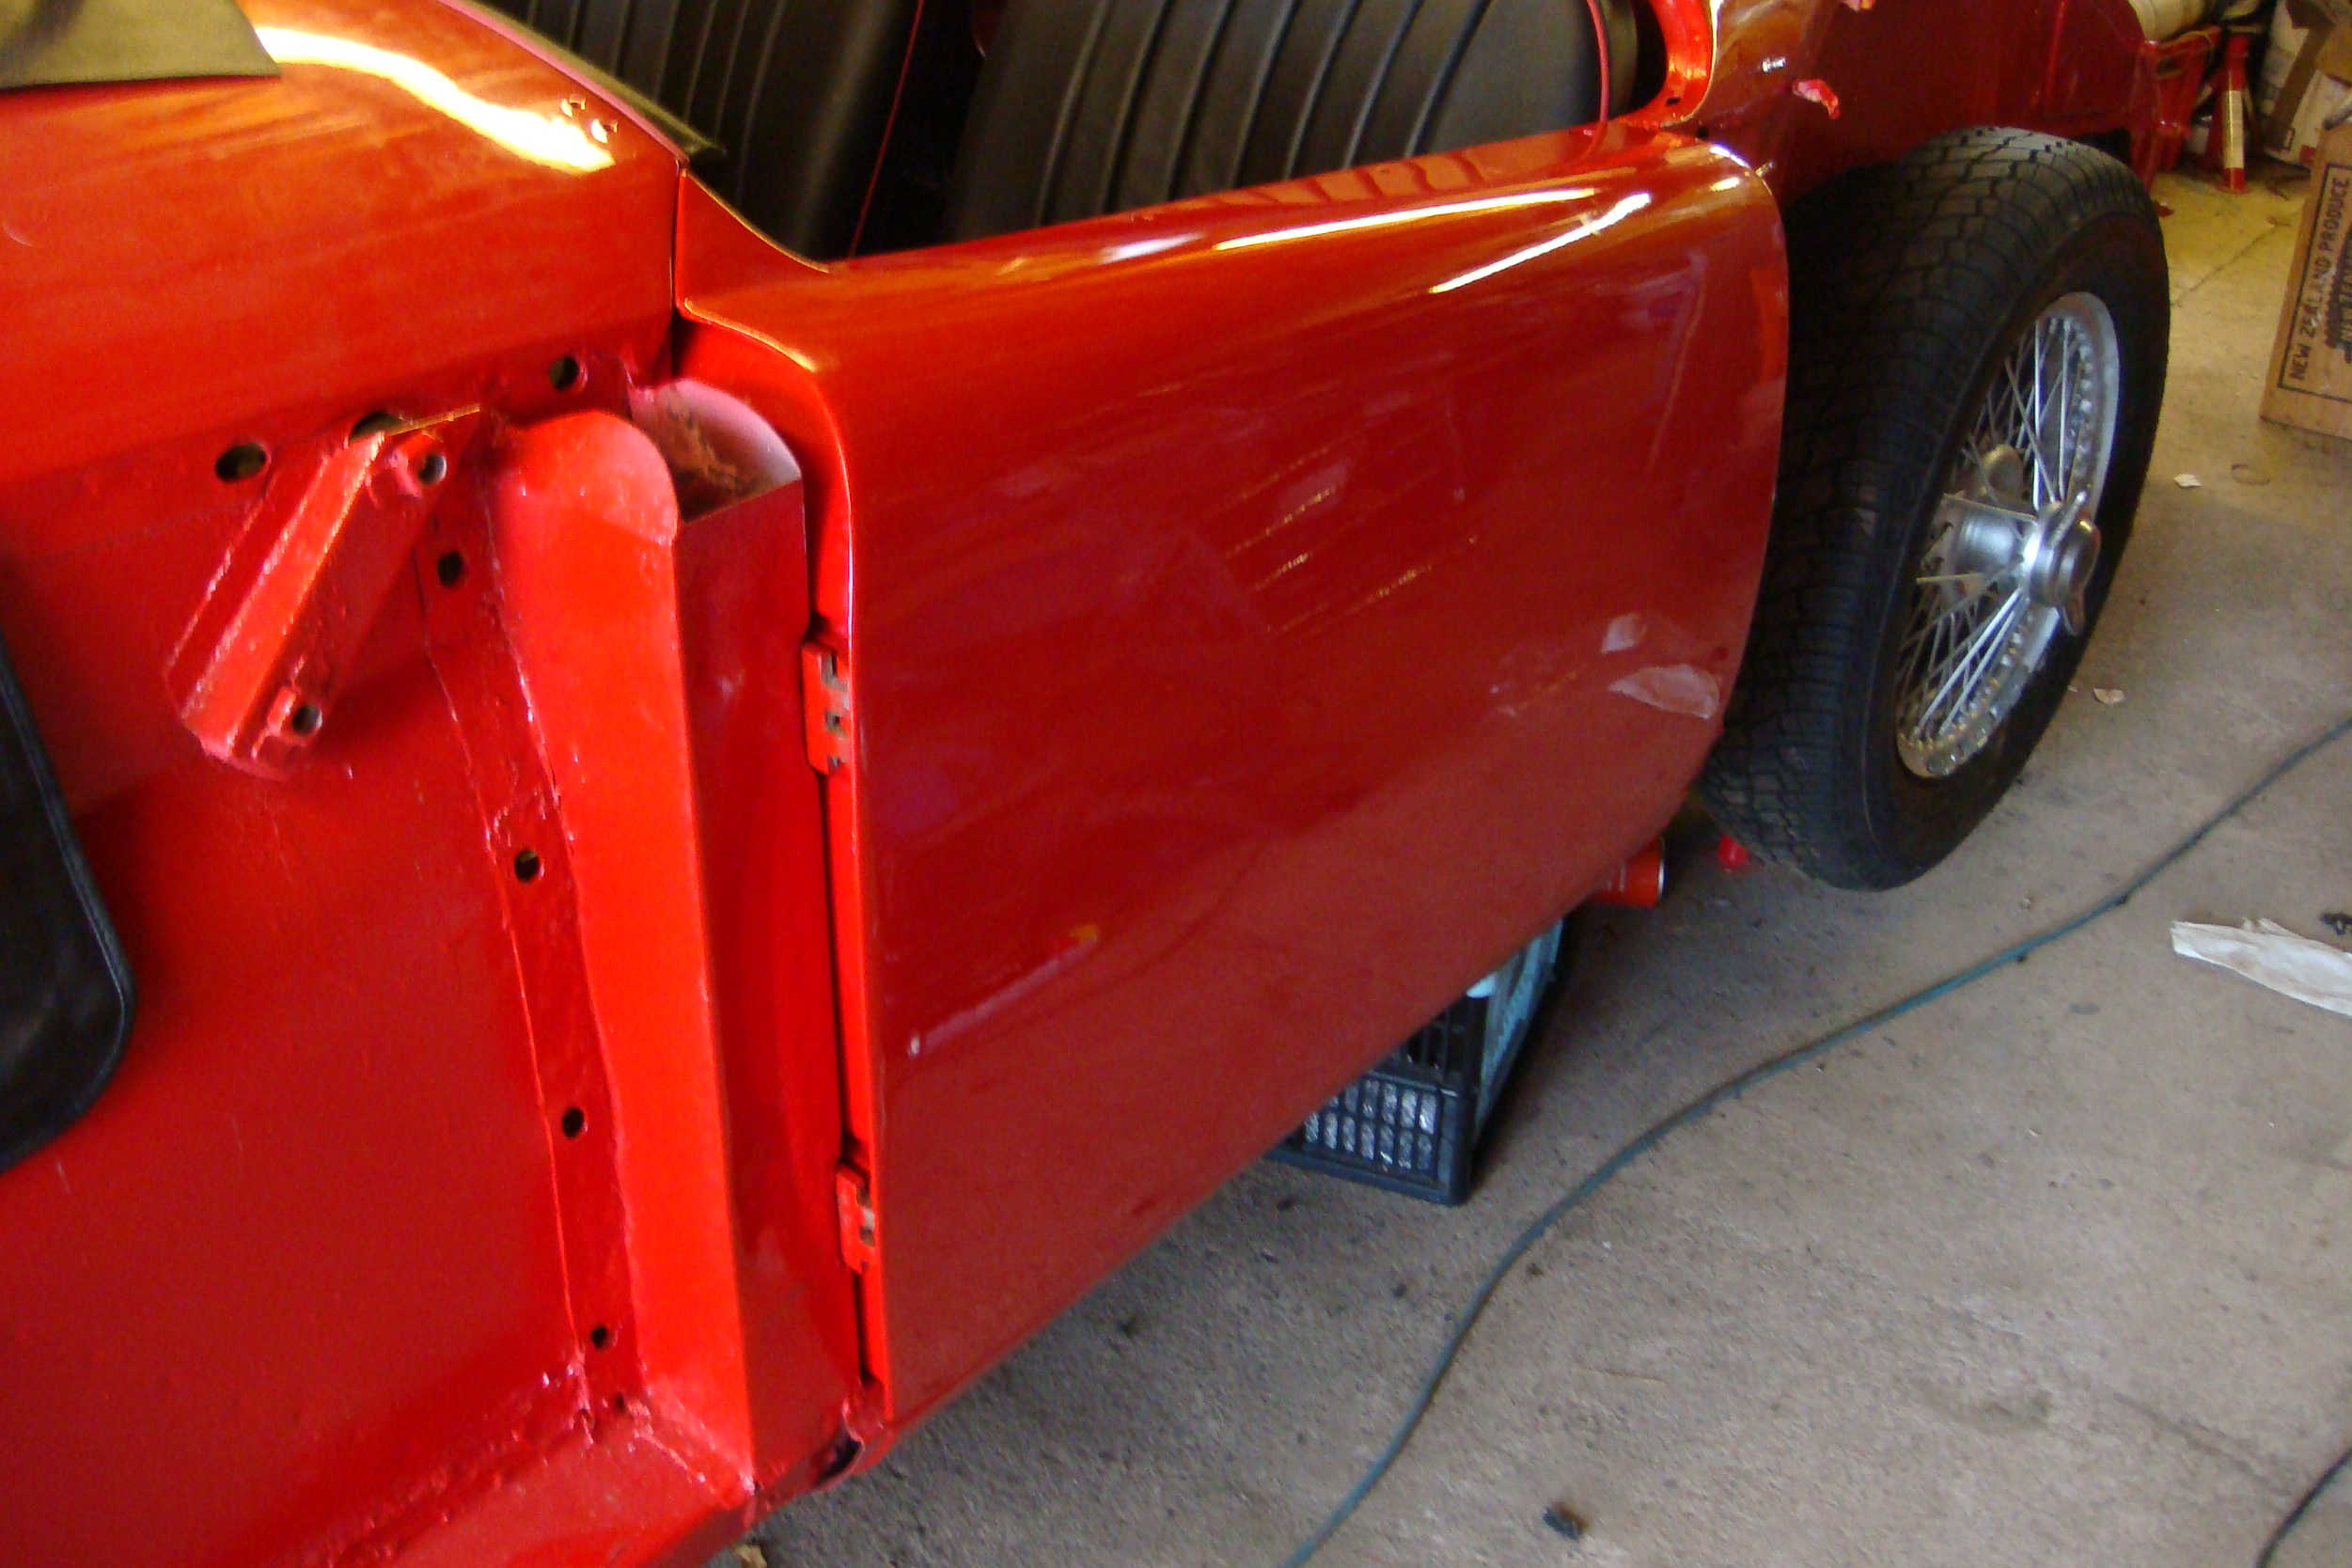
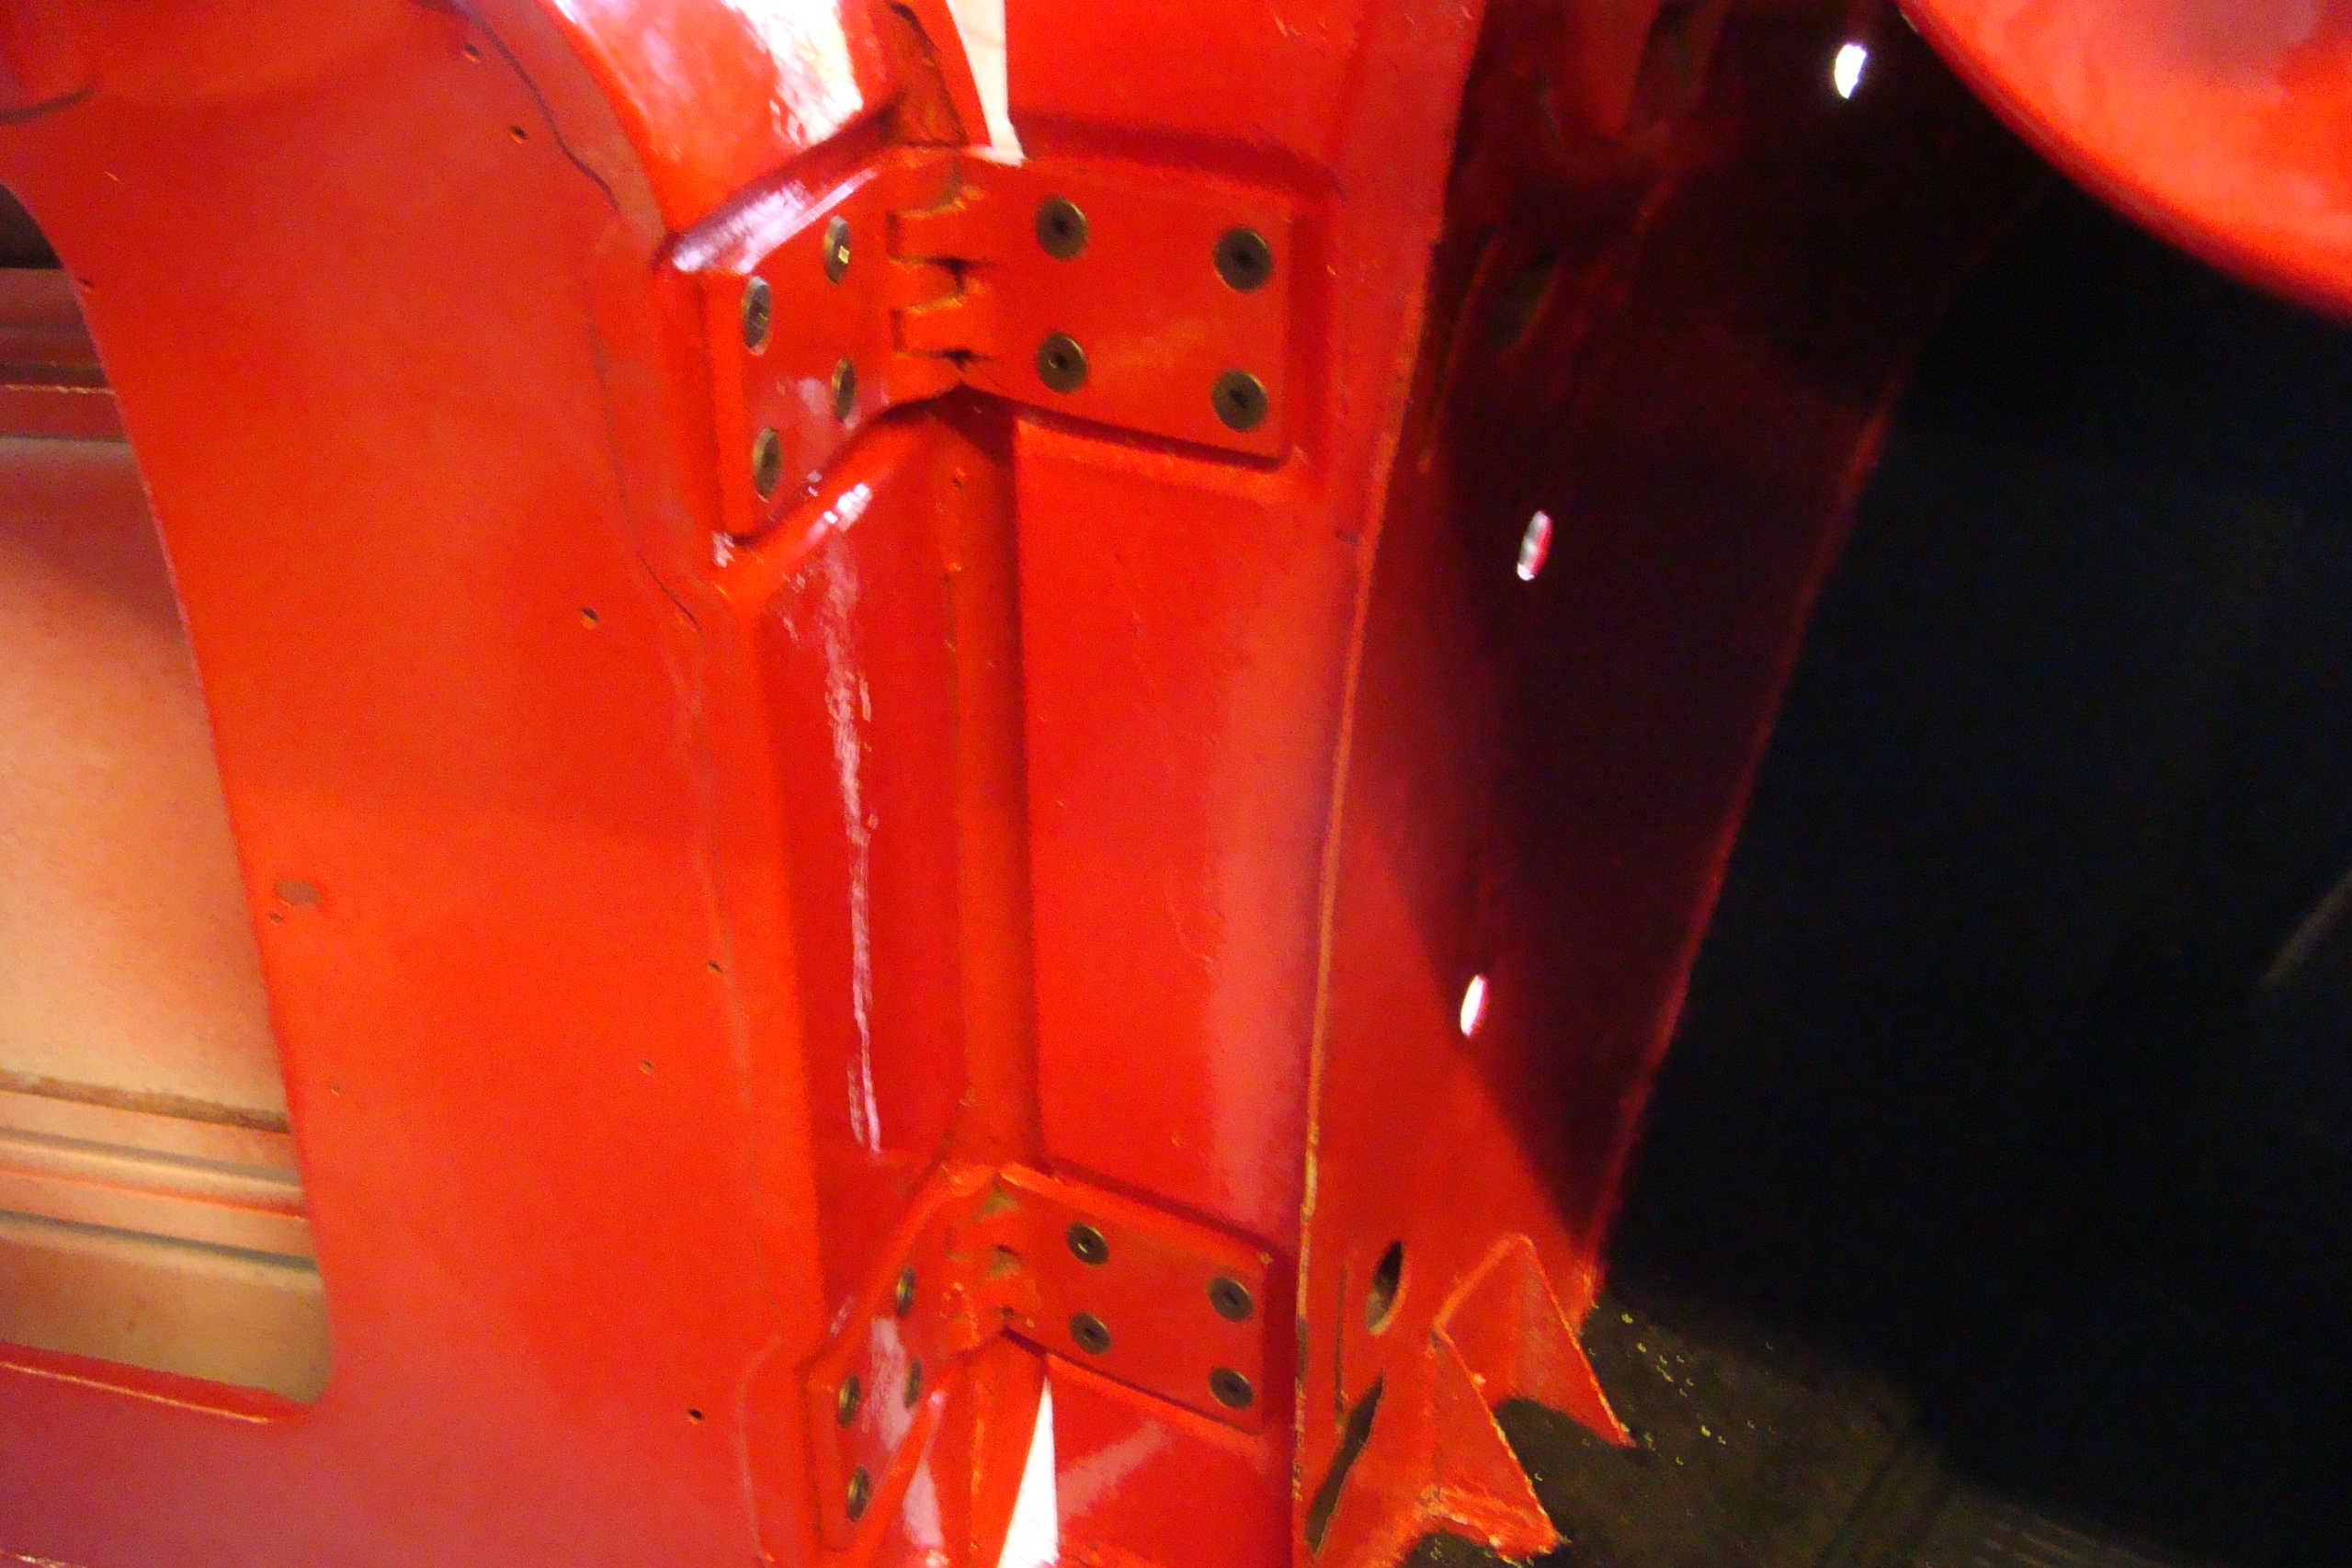
Doors
Everything one reads about MGA bodywork stresses the doors must be fitted properly first, then wings are aligned to them. This had not been the case previously as someone found the necessity to grind off the leading edge of the n/s door to make it fit which meant the door skin was not properly held in place. During the sill replacement and fitting new B pillars I was conscious of this so make sure the doors would fit before final welding. Surely that would mean fitting the doors at this stage would be an easy job??? Not so. As I had purchased two replacment secondhand doors I had four sets of hinges - one set was seized so had three to play with. All had been slightly modified (with a big hammer) at the factory to make a custom fit so I must have tried every combination of these six hinges to get the doors to 'shut like a Golf' - it was worth it in the end as they will slam shut without any extra force on the delicate aluminium door skin. Fortunately all the hinges used were from later models which meant they had wider opening so will make it easier for a big fella like to get in.
Instead of using the original Phillips countersunk 1/4" UNF screws on the hinges, I used high tensile Allen bolts. The purists will baulk at this but it made life so much easier tightening these with an Allen key than trying to get a Phillips screwdriver at a strange angle into the restricted area.
Click thumbnail
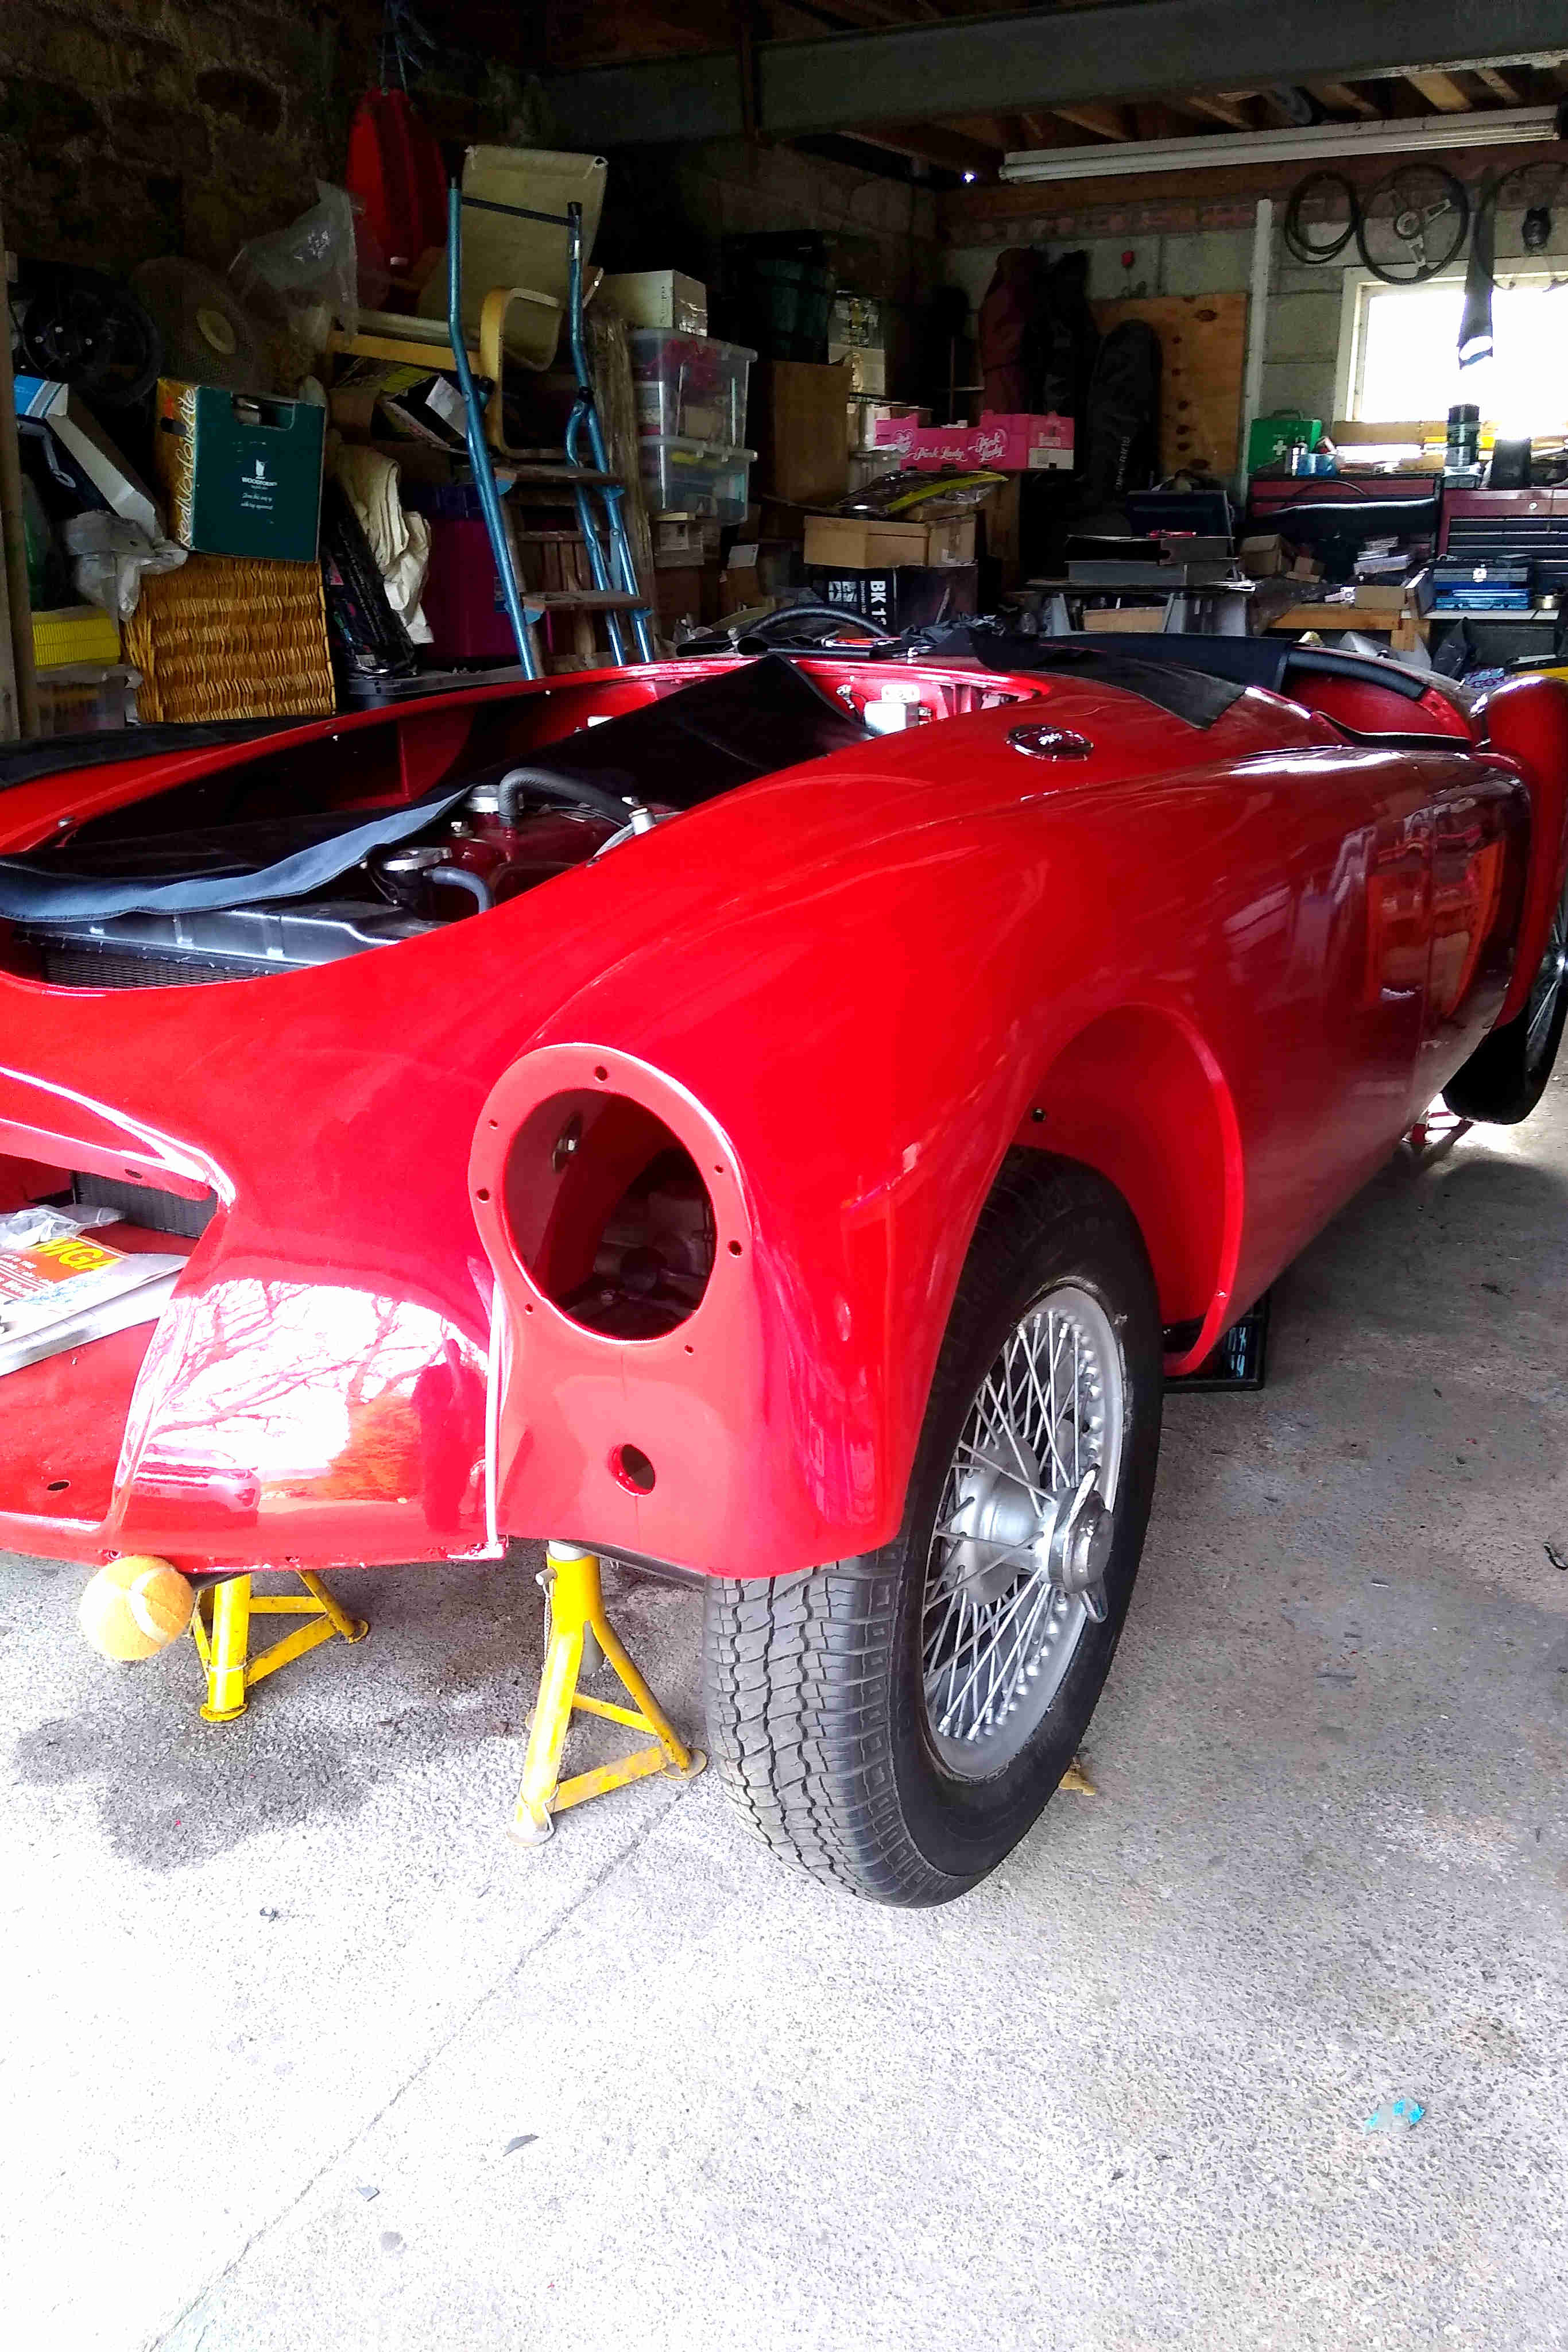
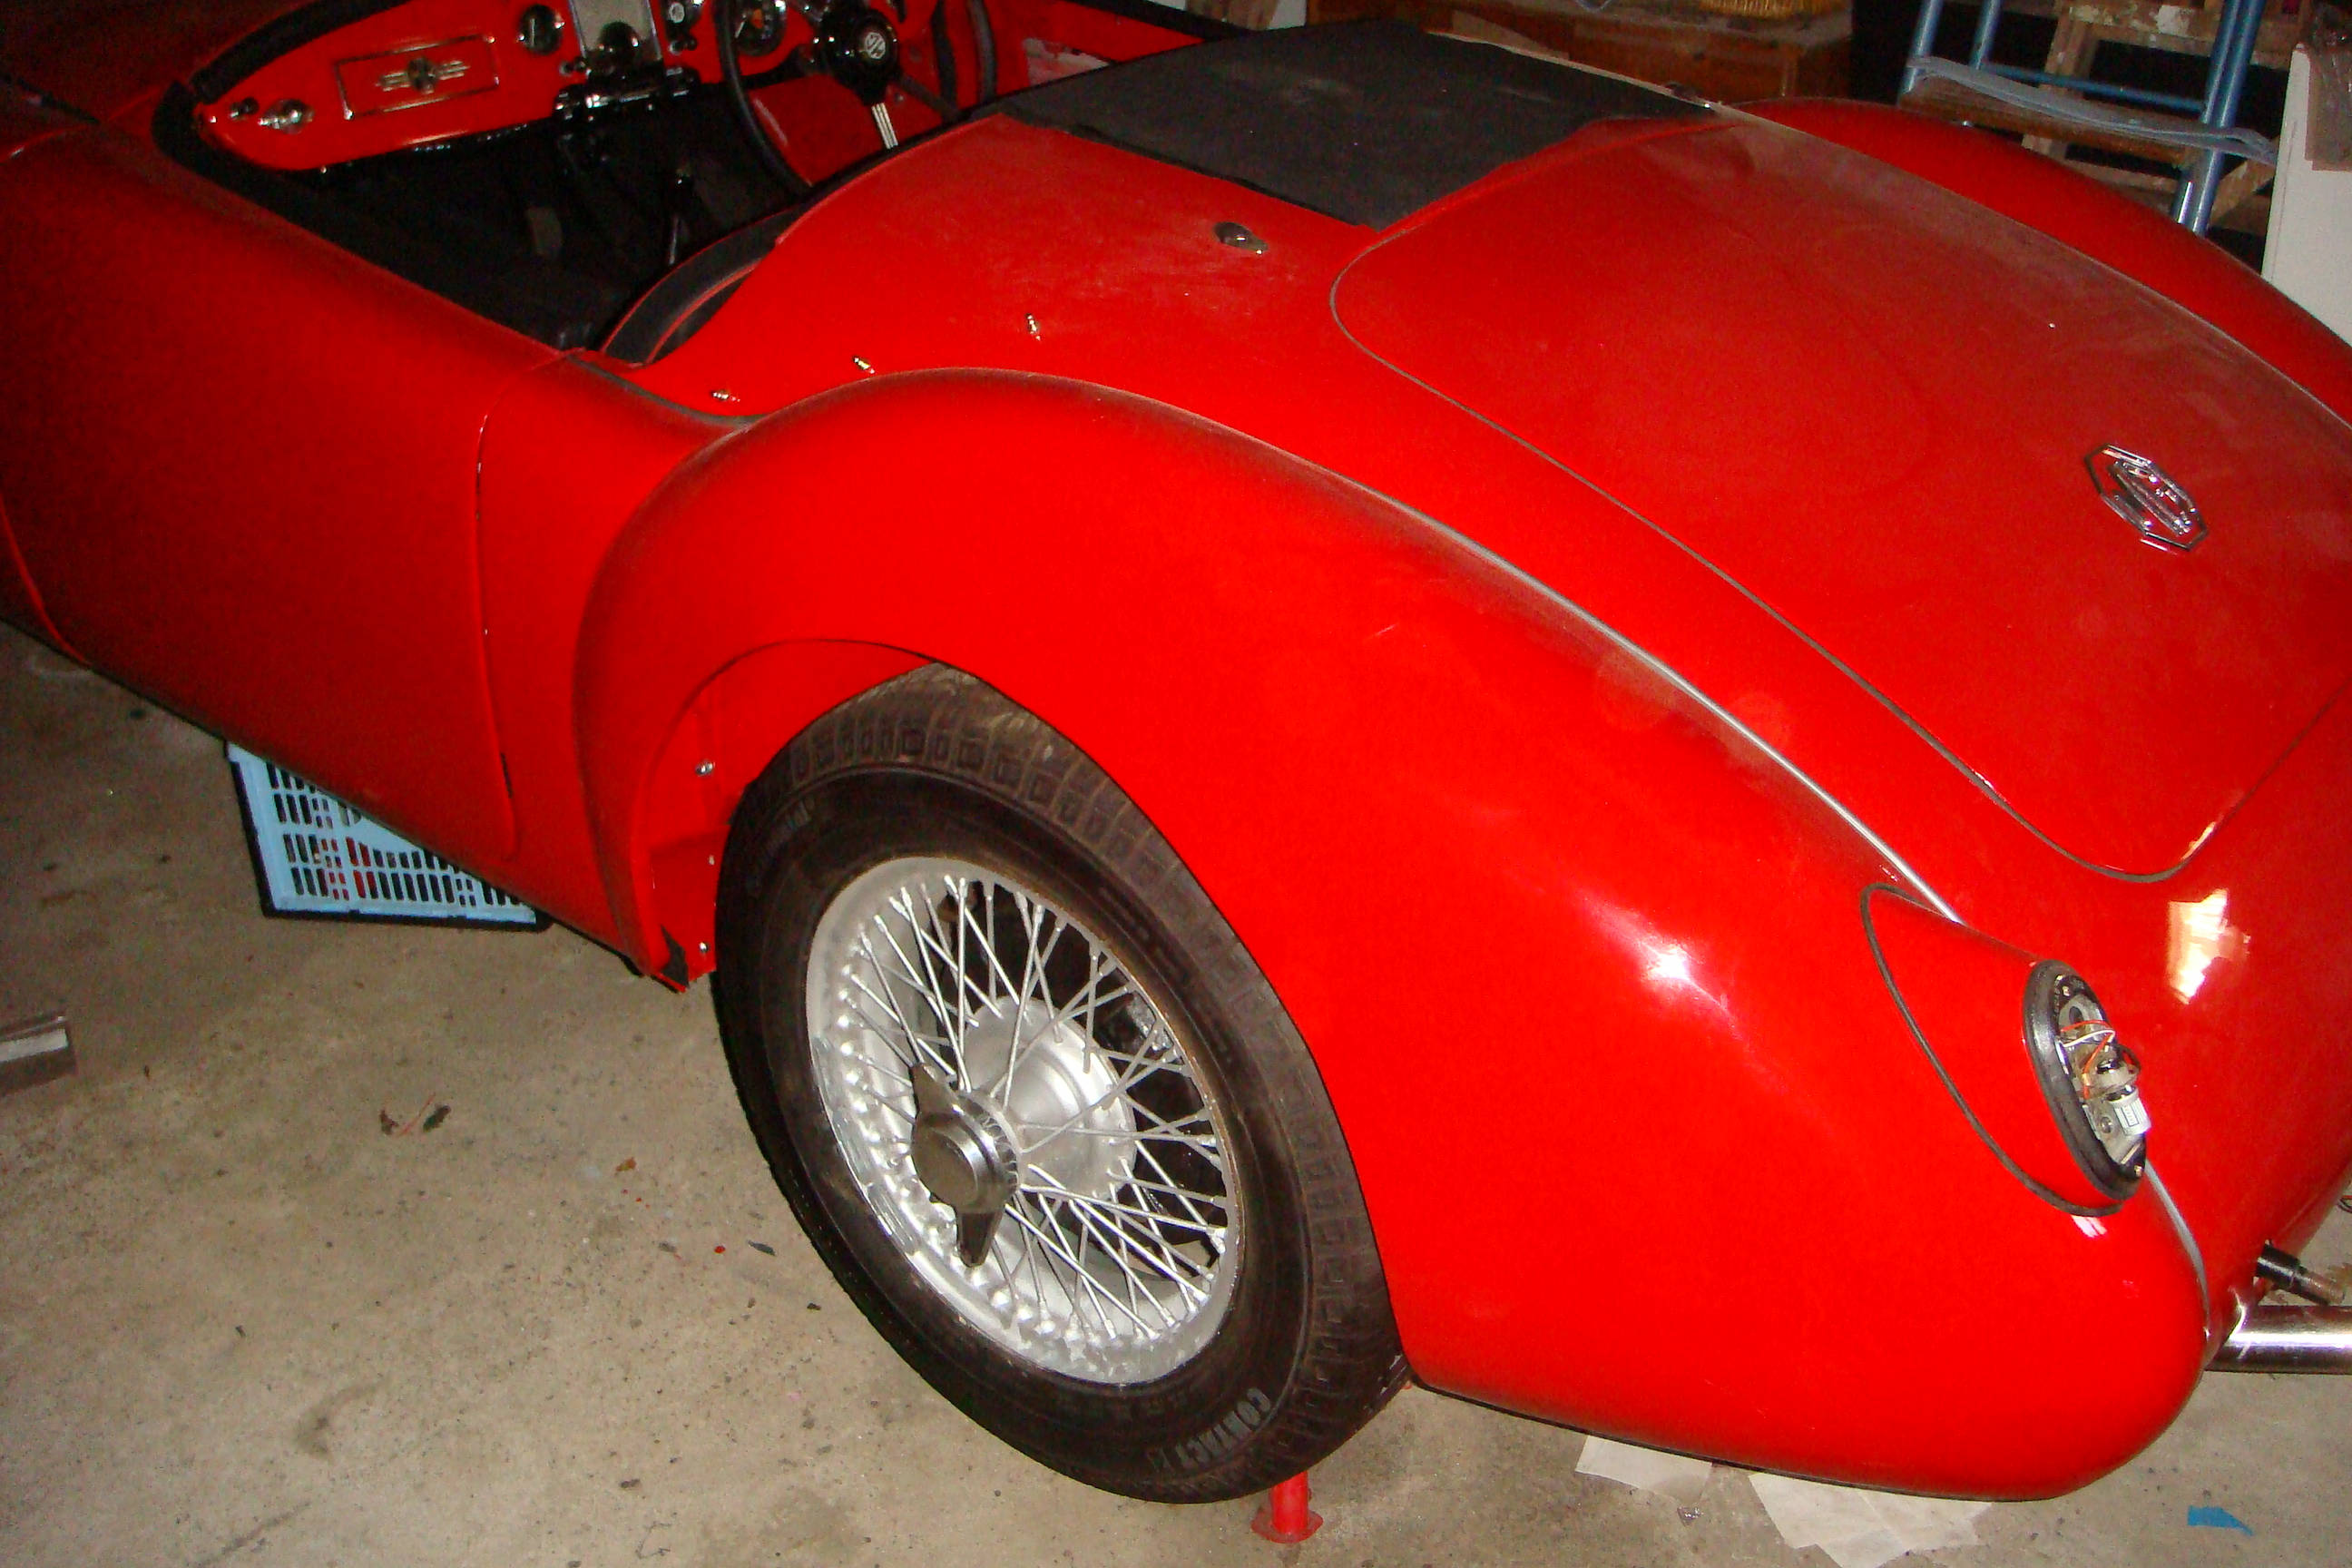
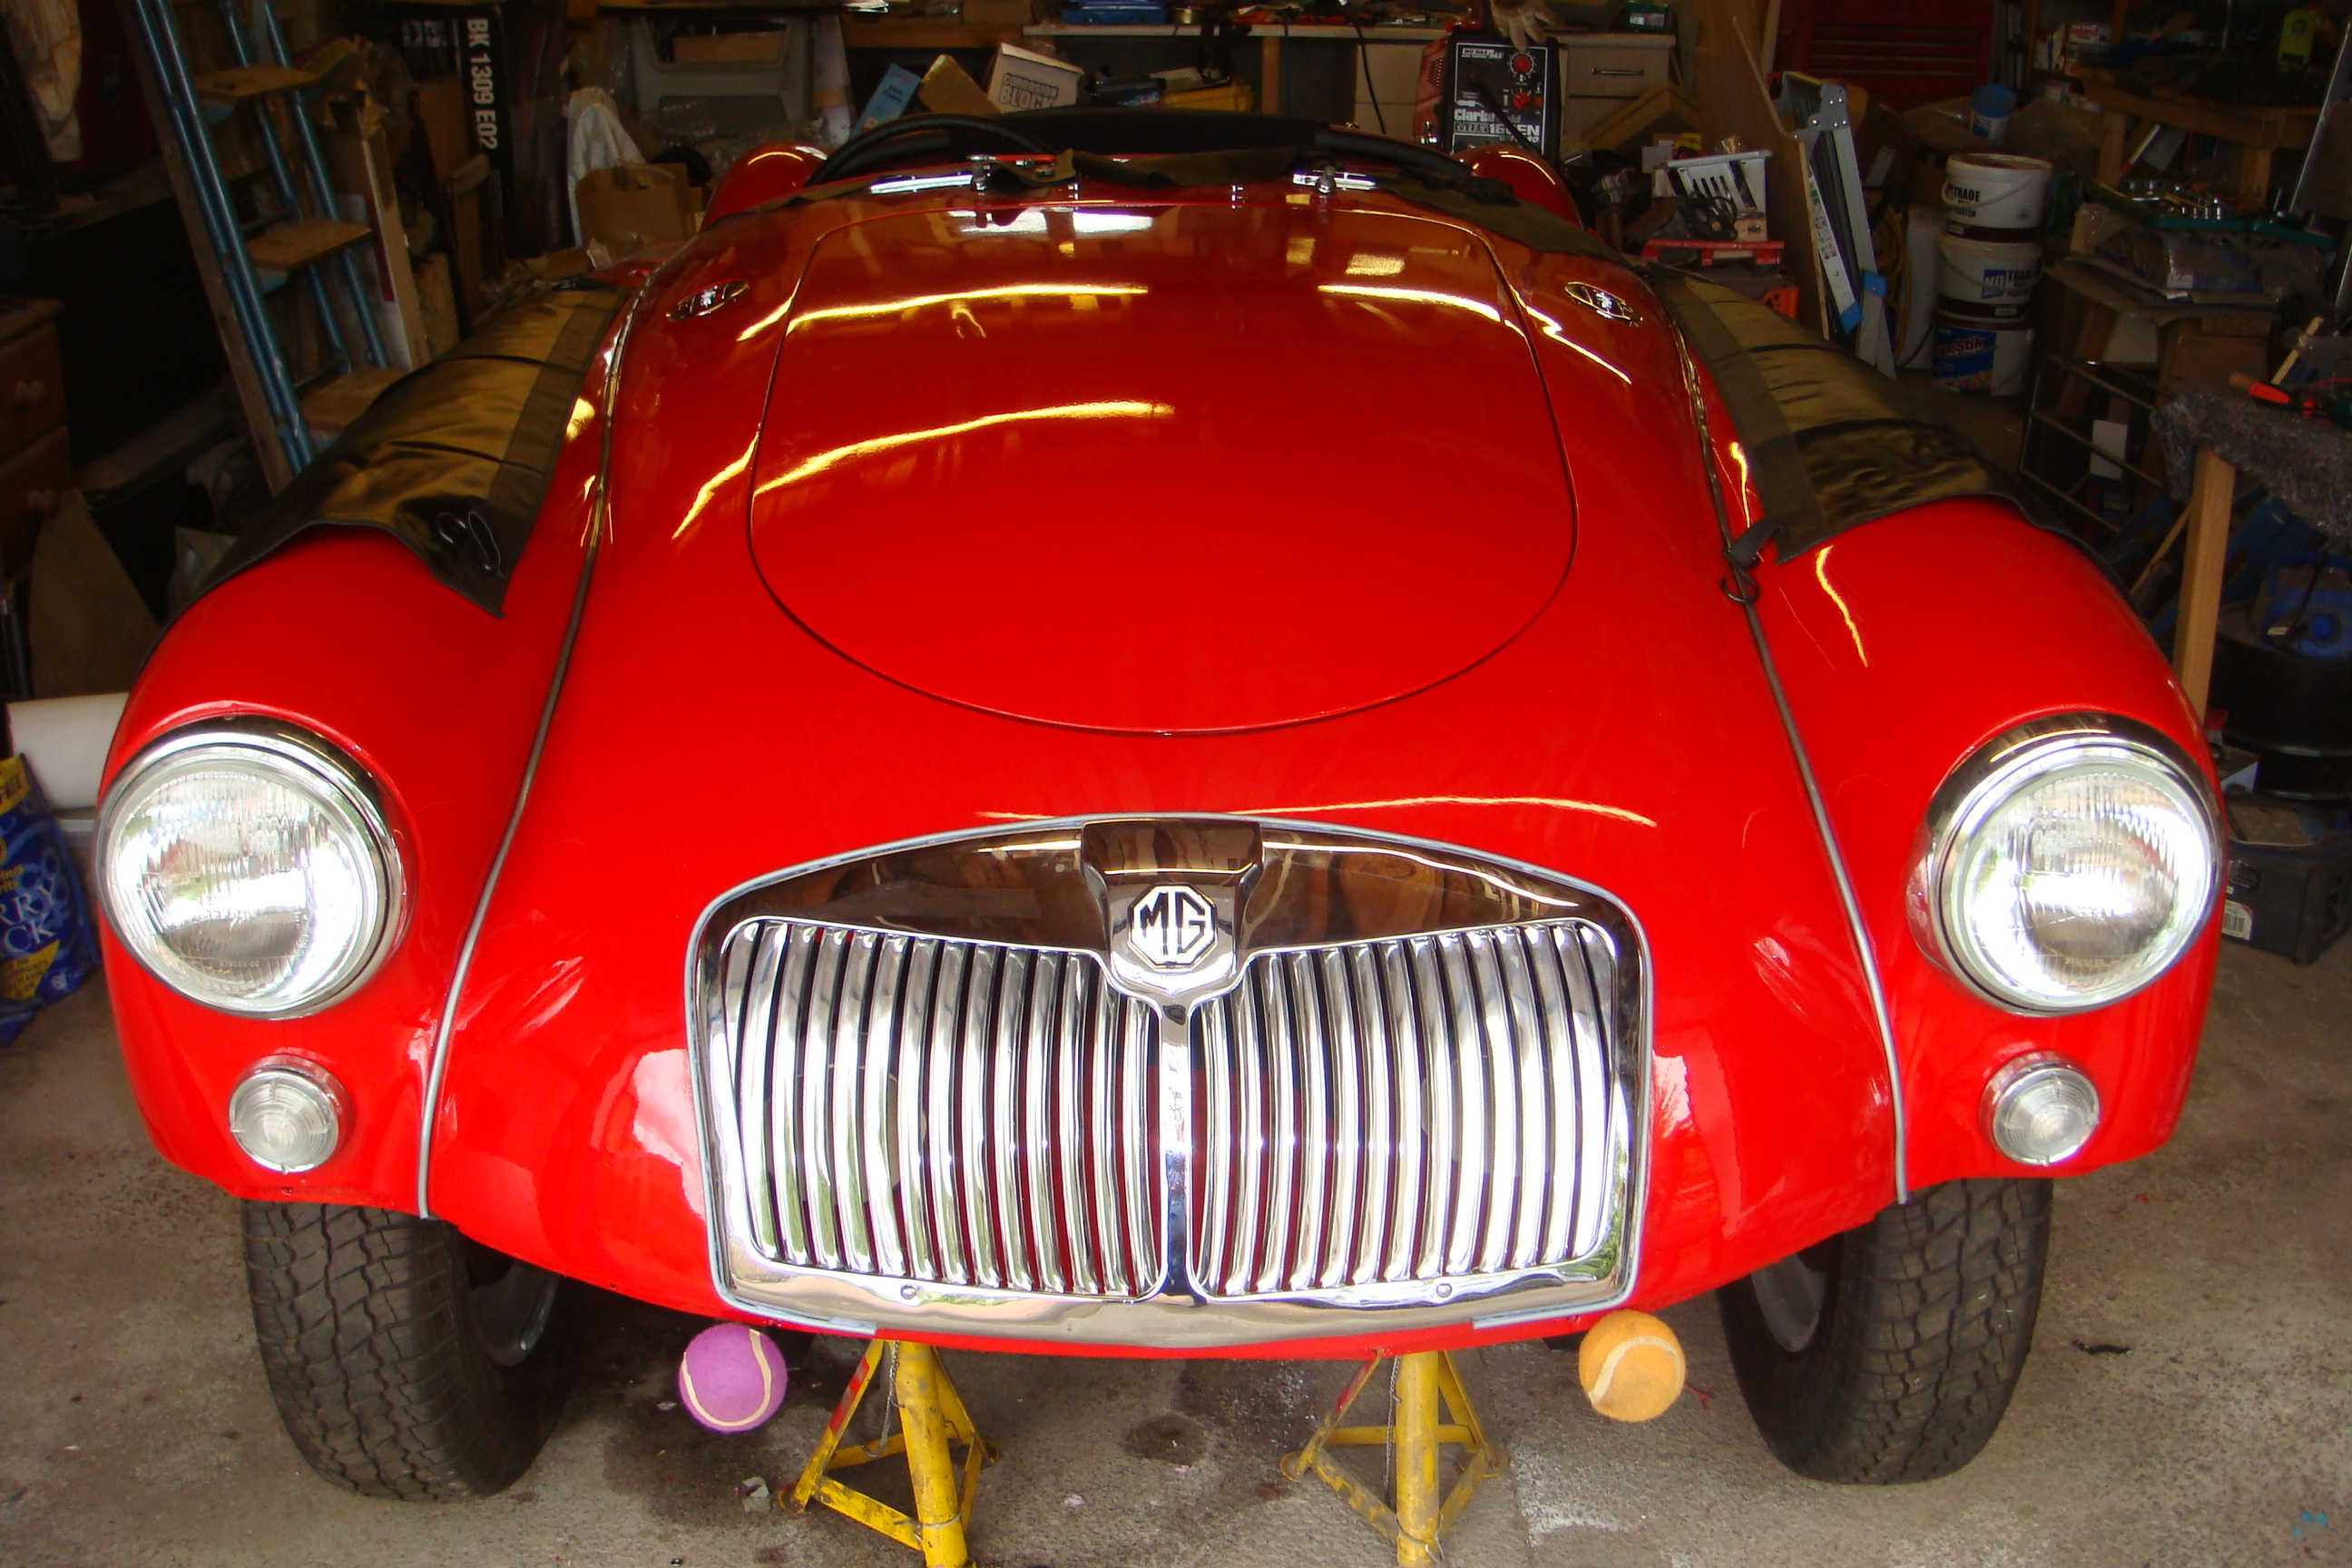
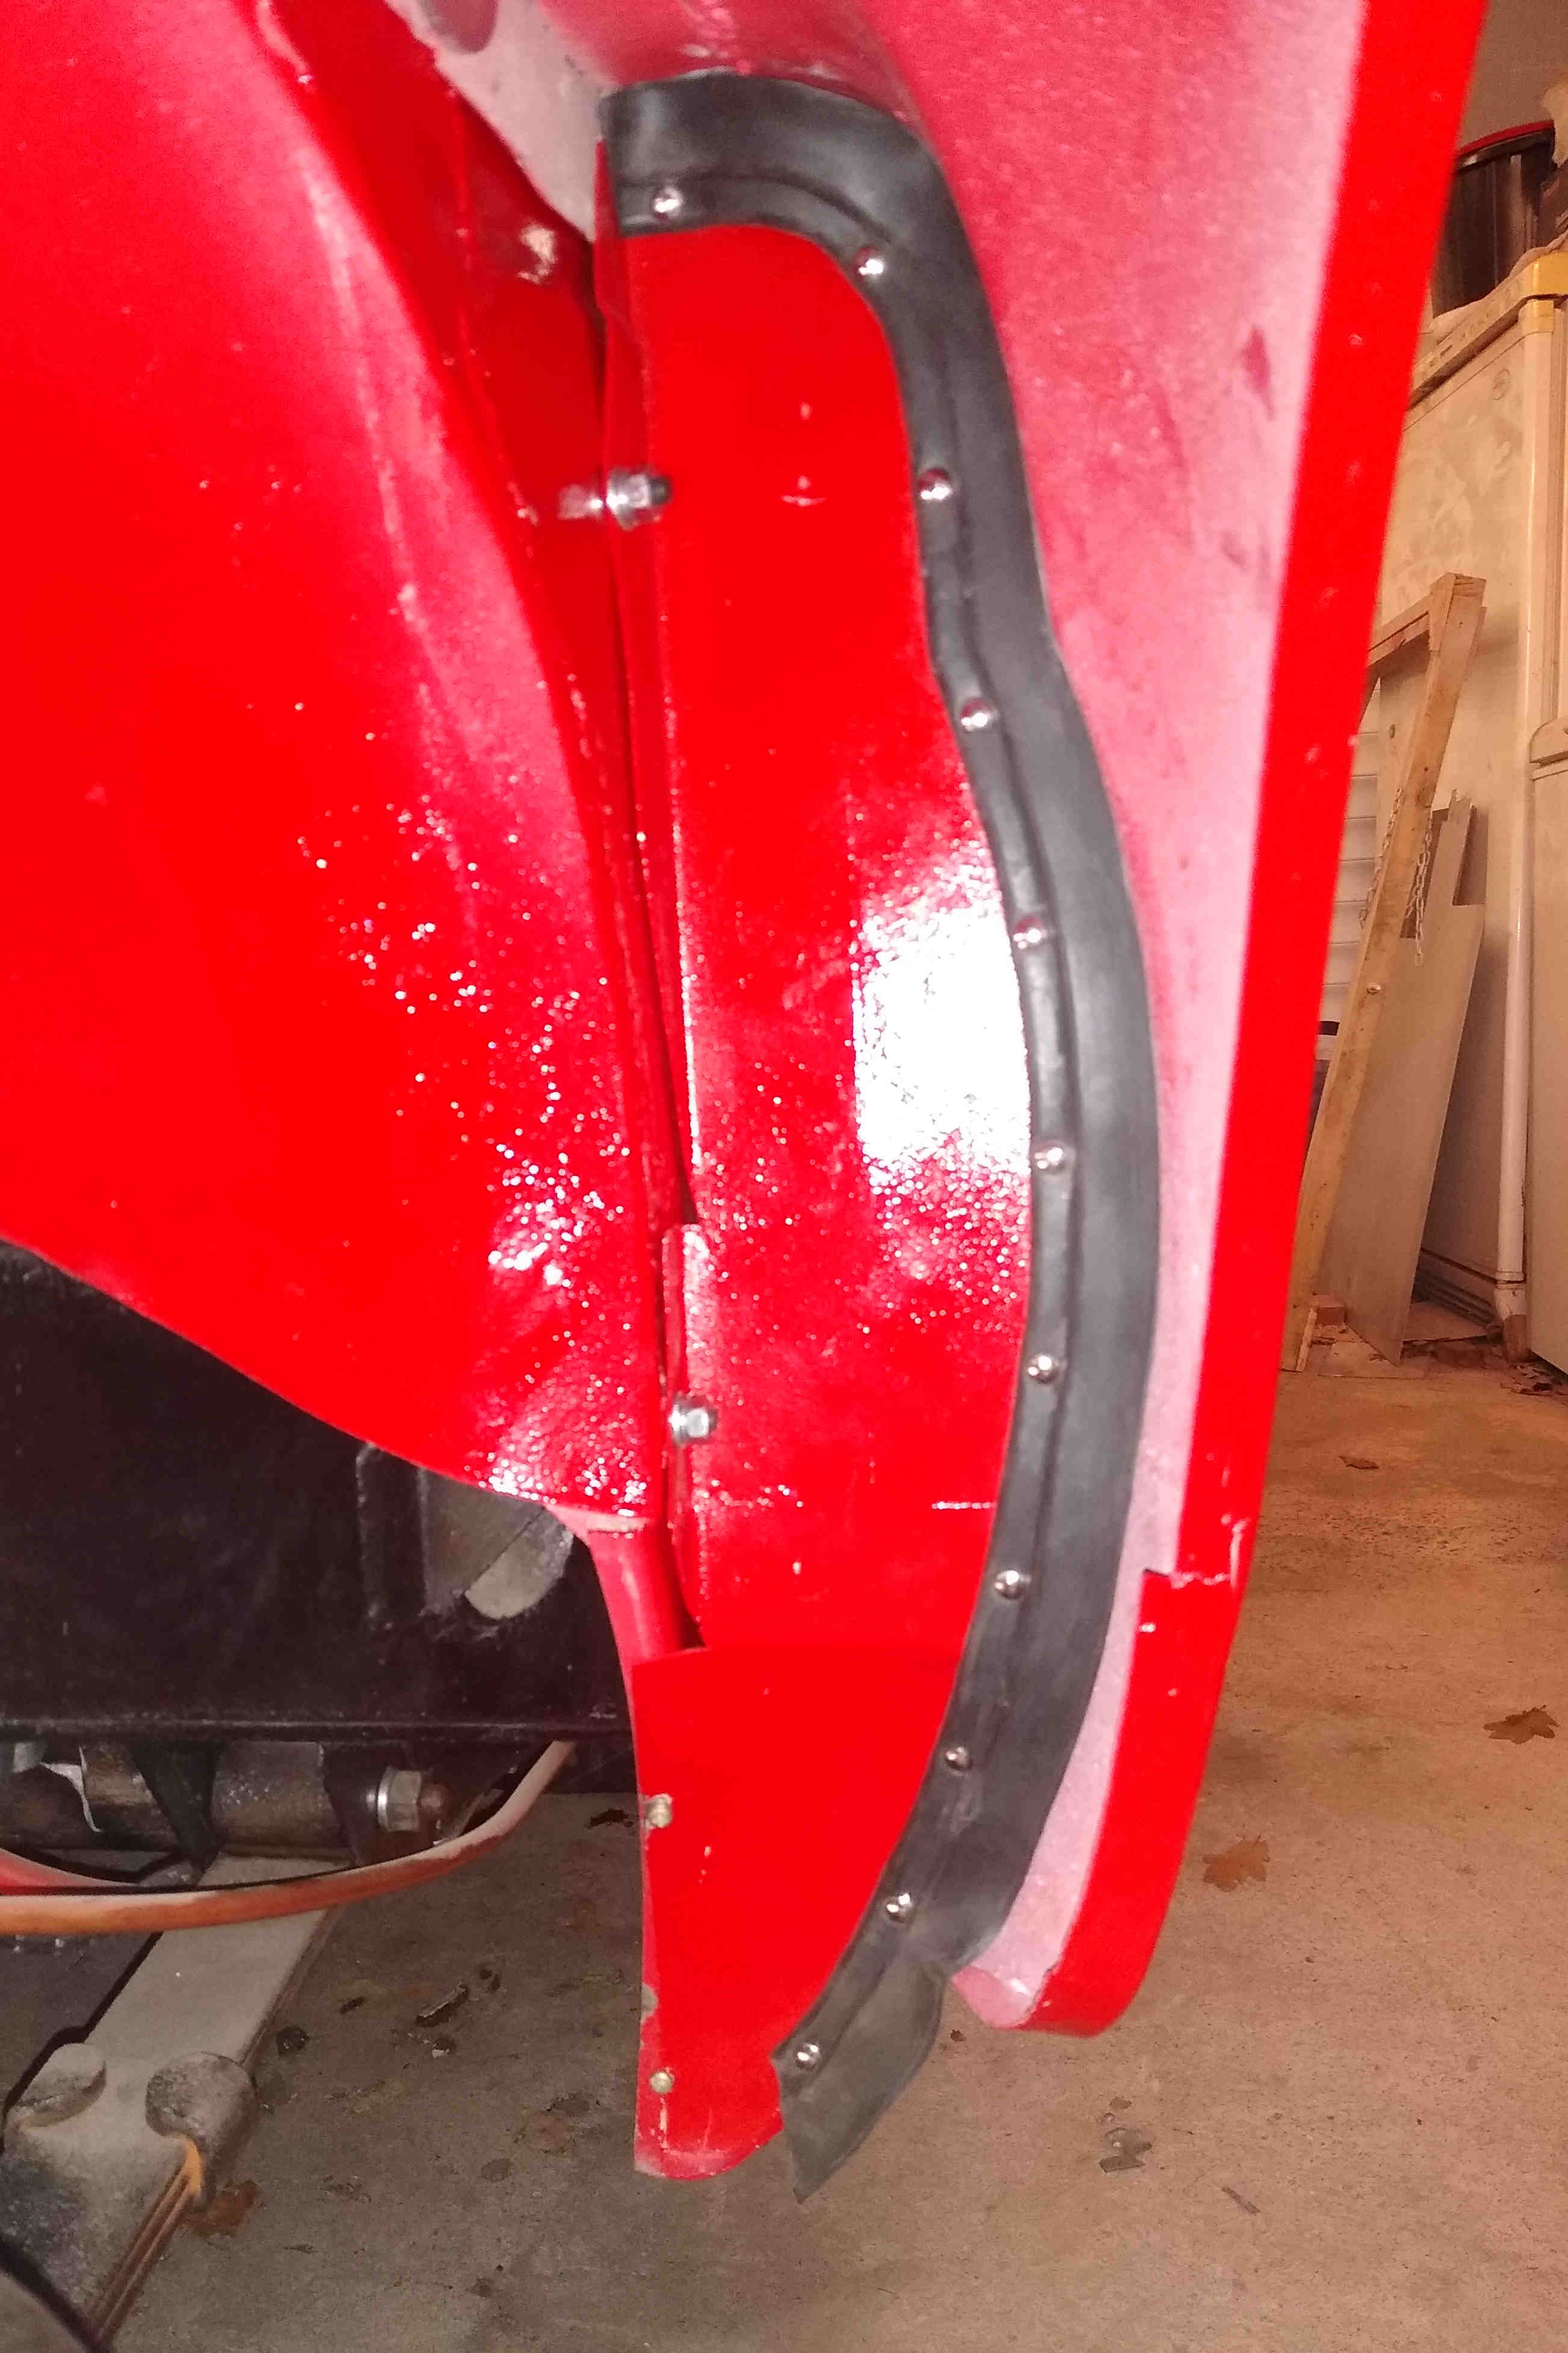
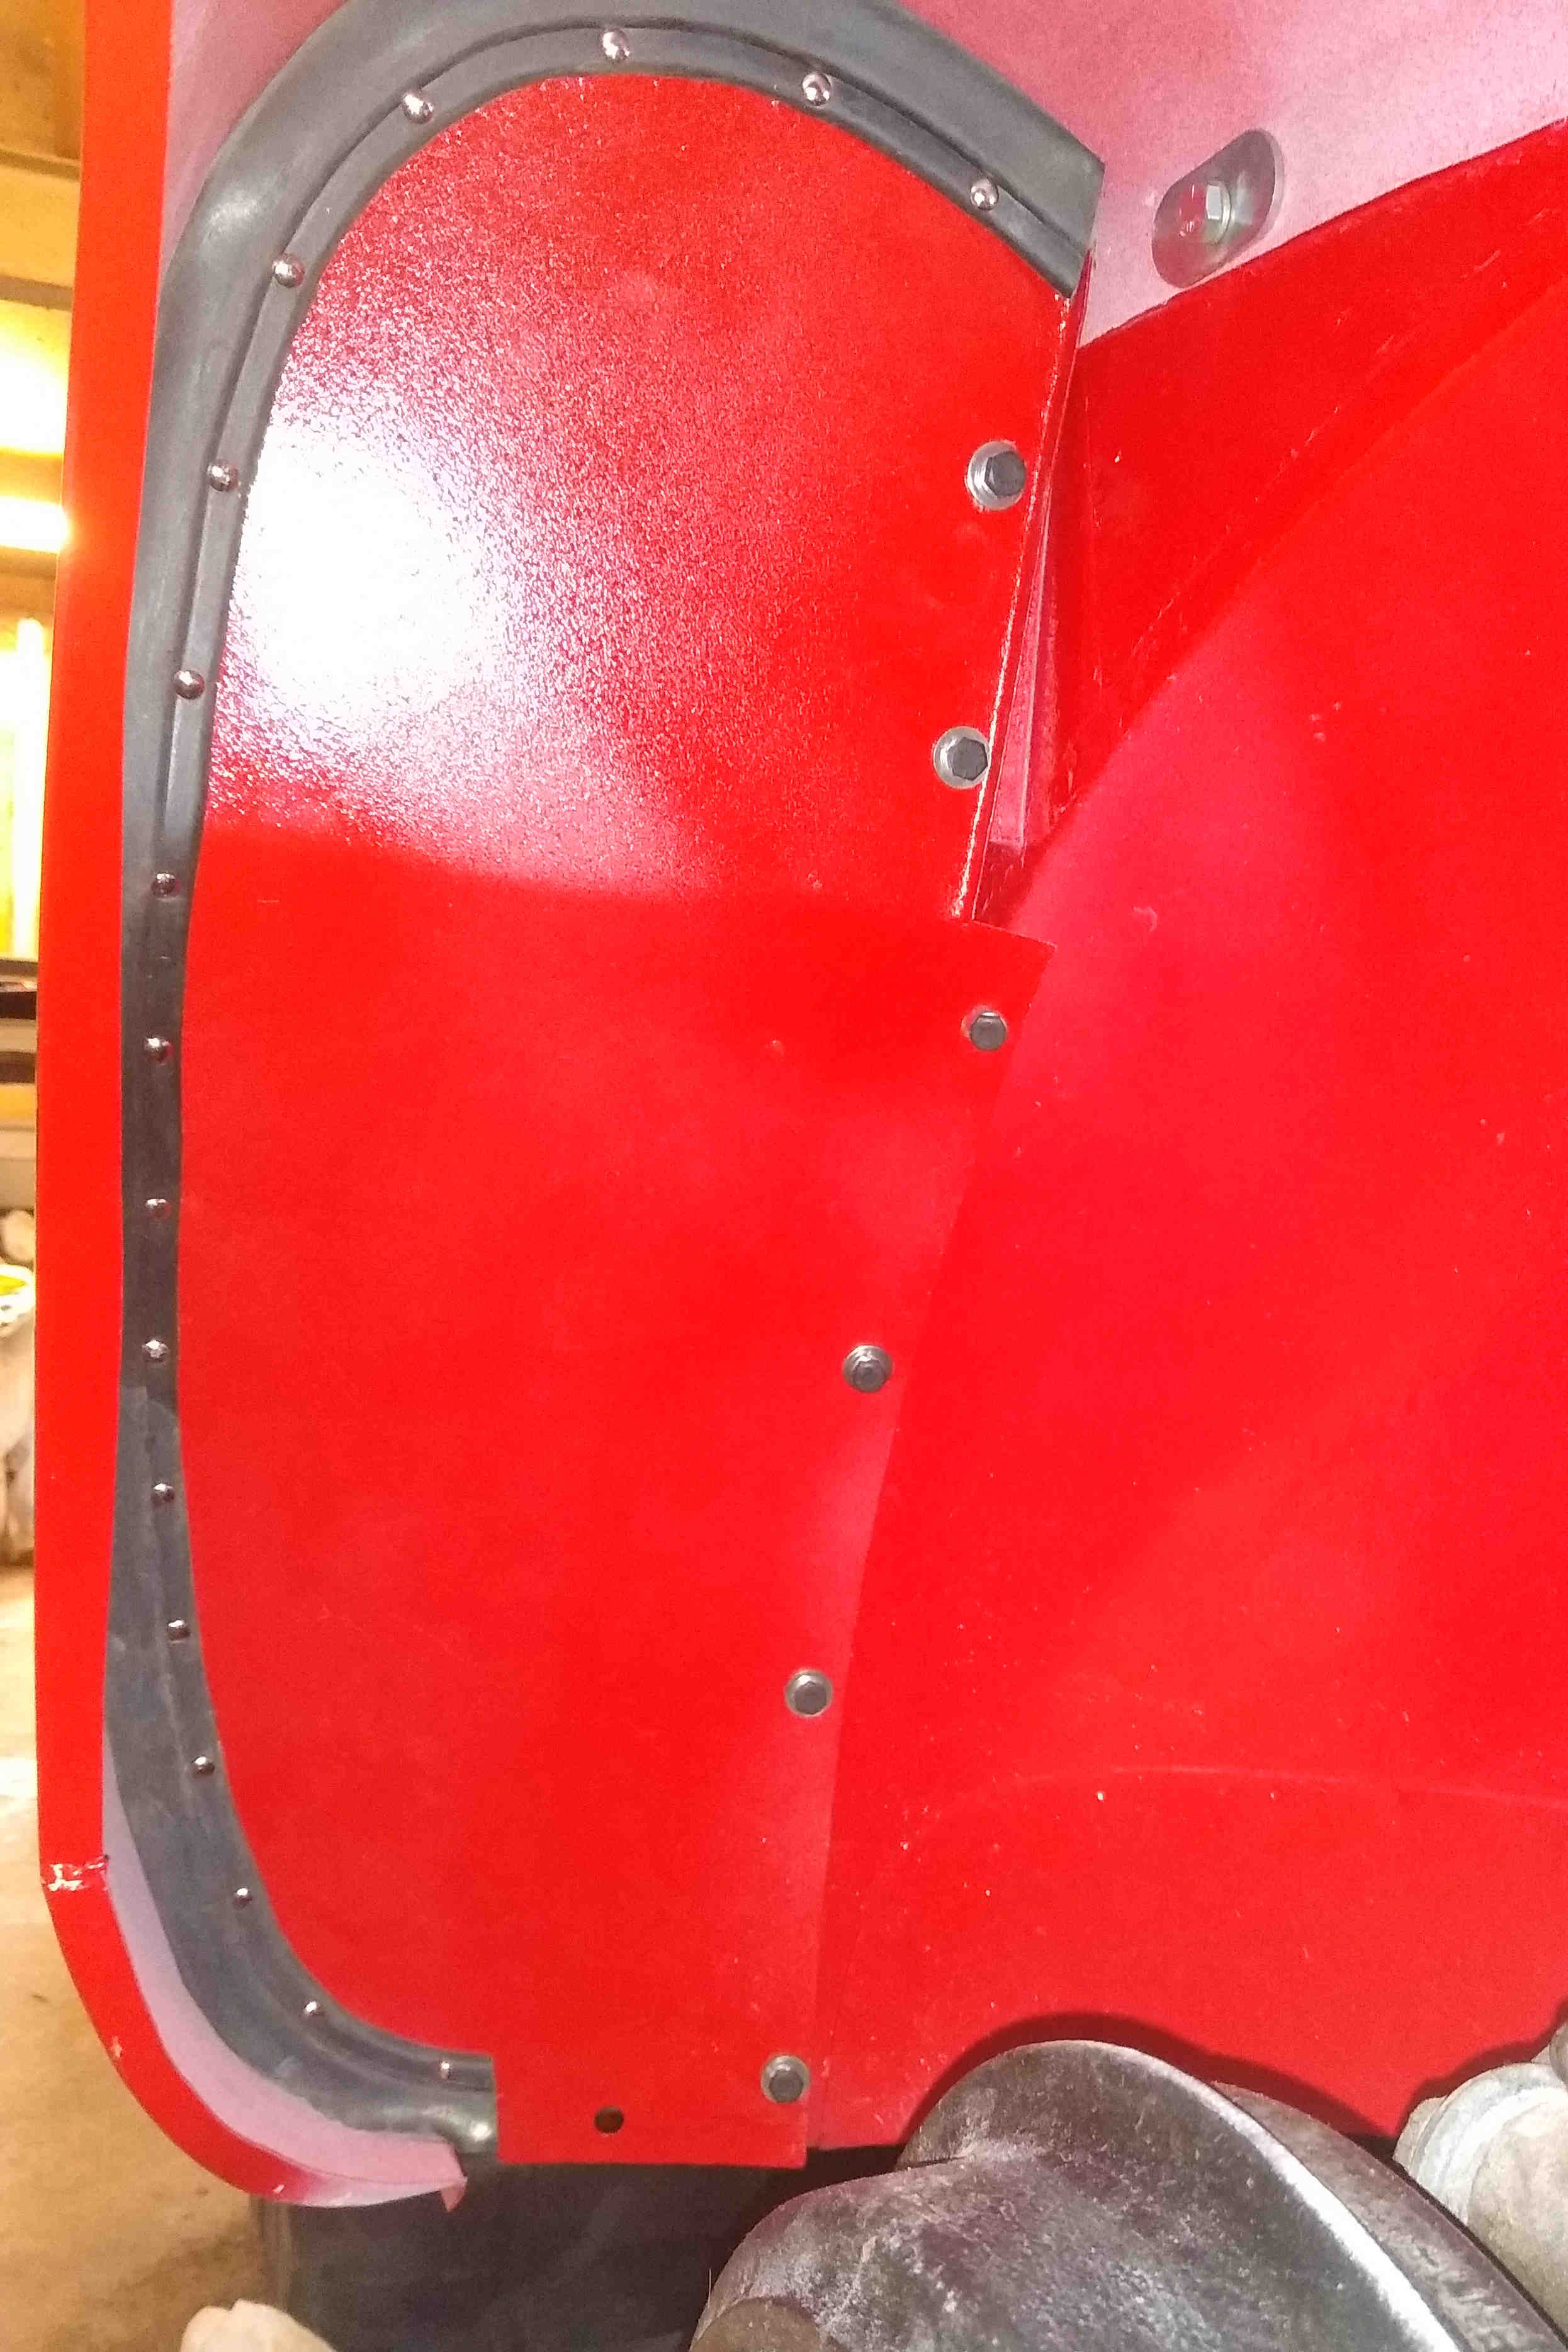
Wings
Refitting the wings, front and rear, was just a case of bolting on - made easier as all new bolts and oval washers were used. Even fitting the grey piping was fairly painless - just taking a small section at a time before tightening the wing bolts.
Click thumbnail
The inner splash panels with new rubber seals were a tight fit but, again, just a case of perseverance and they bolted on.
Click thumbnail
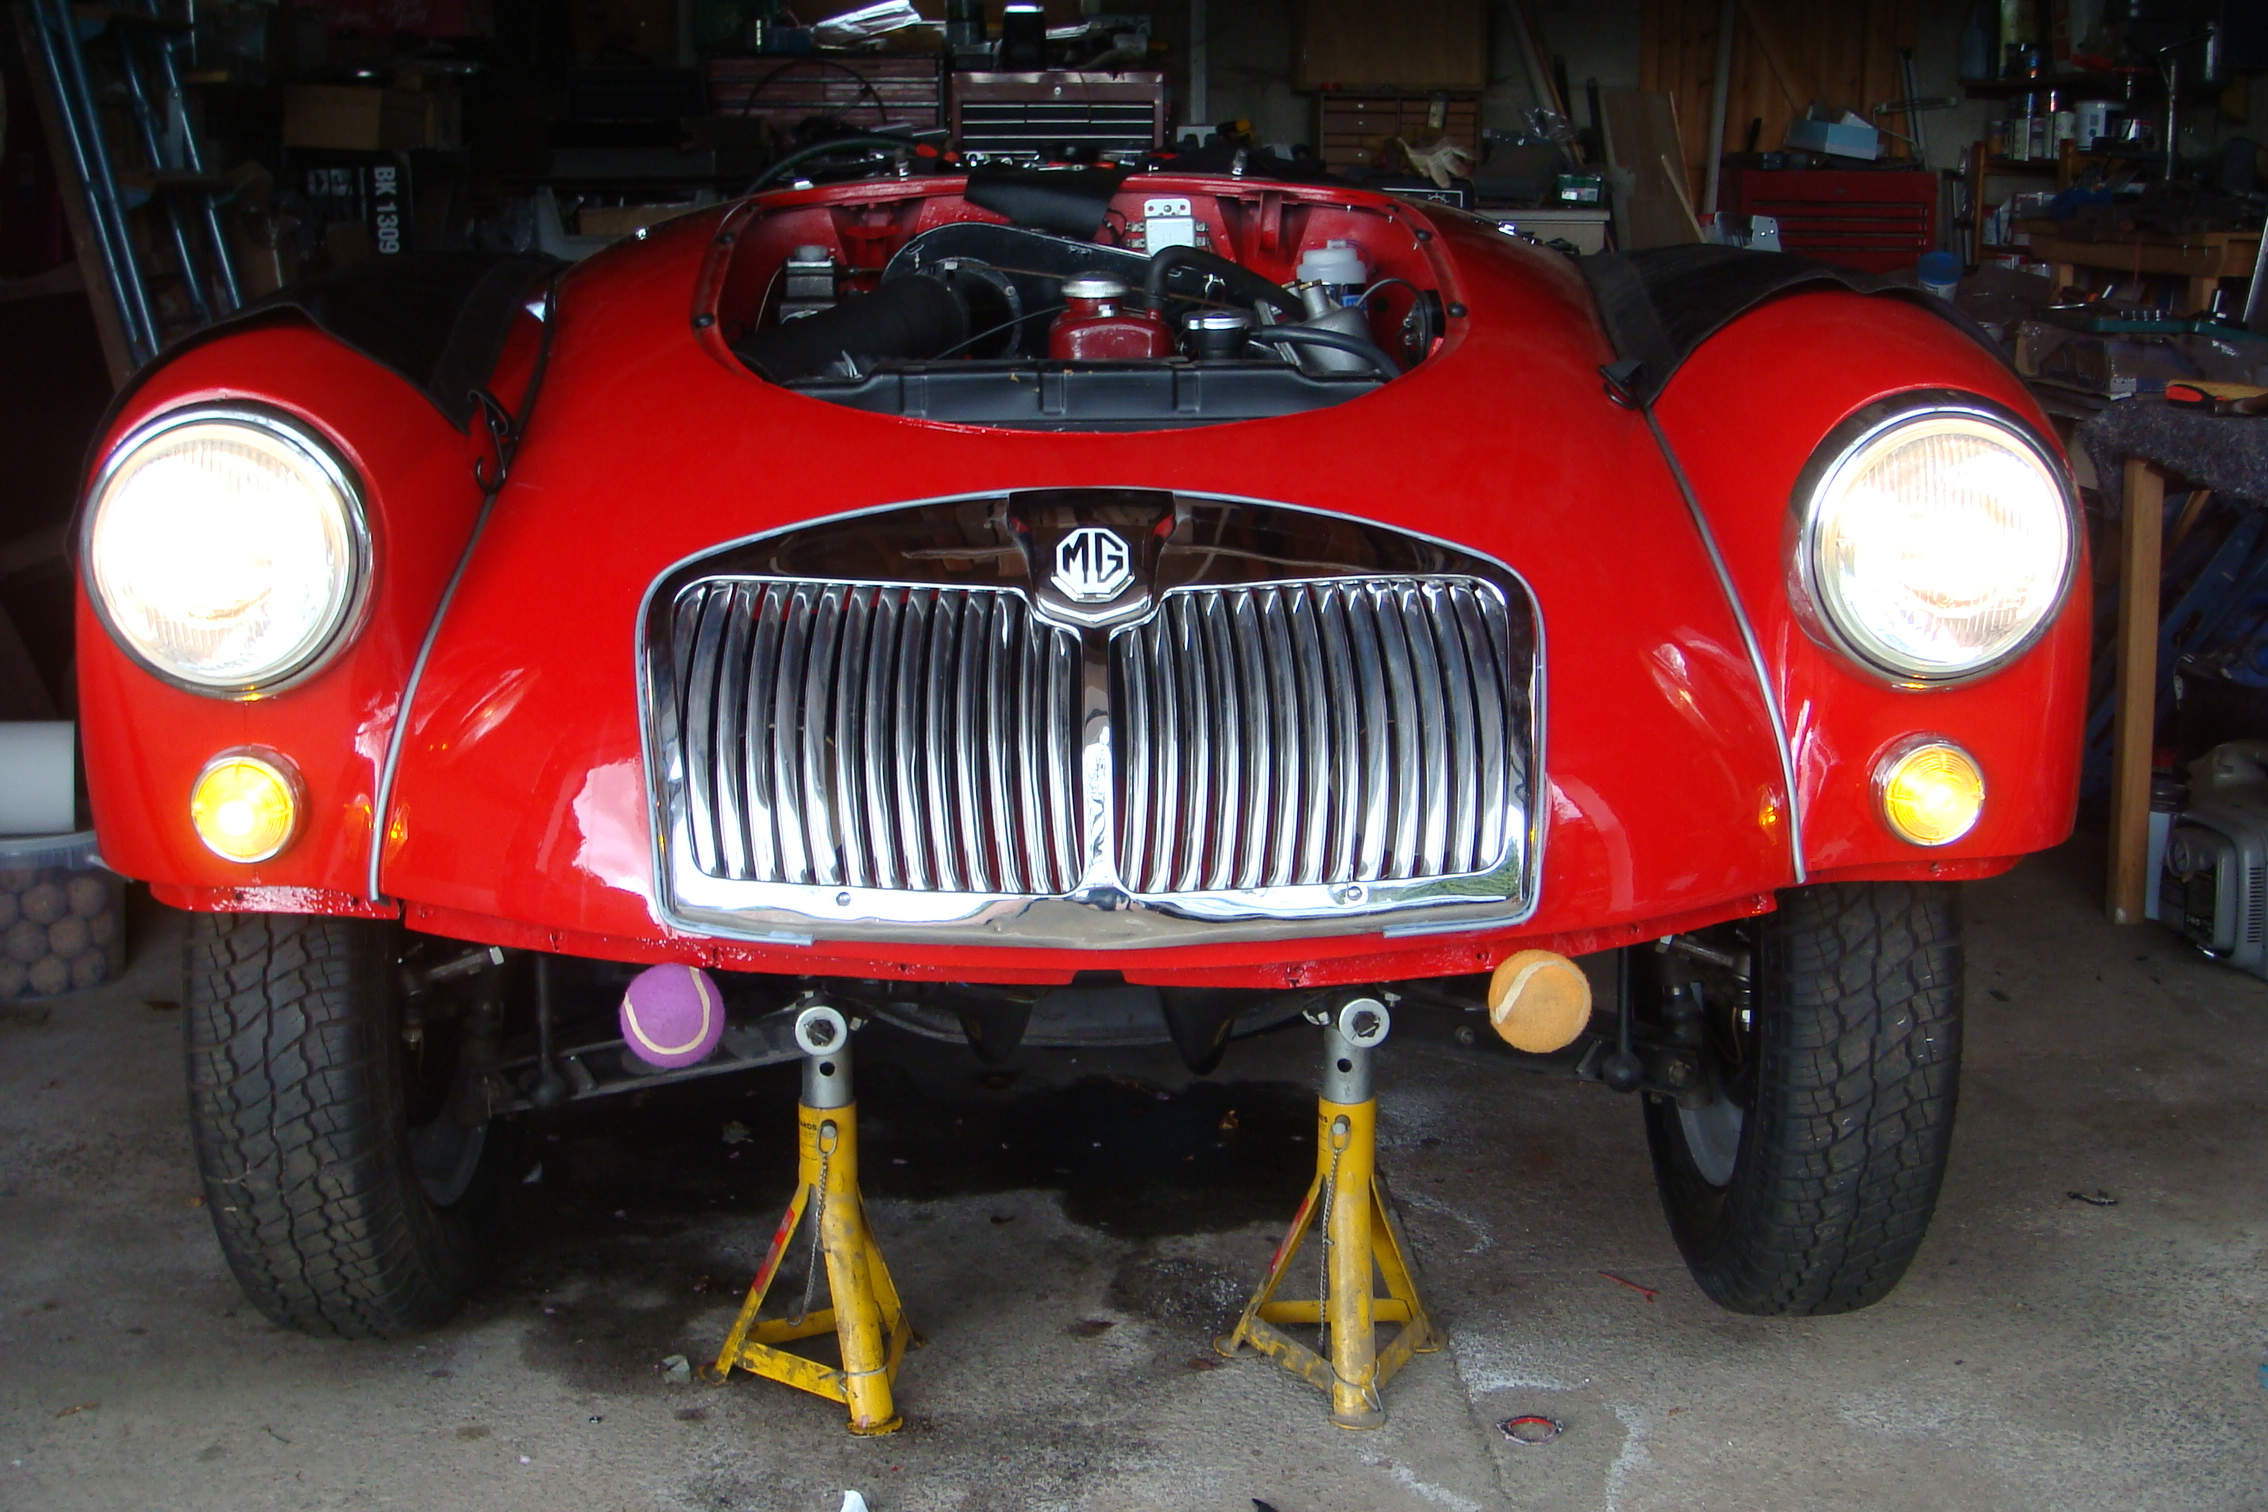
Lights
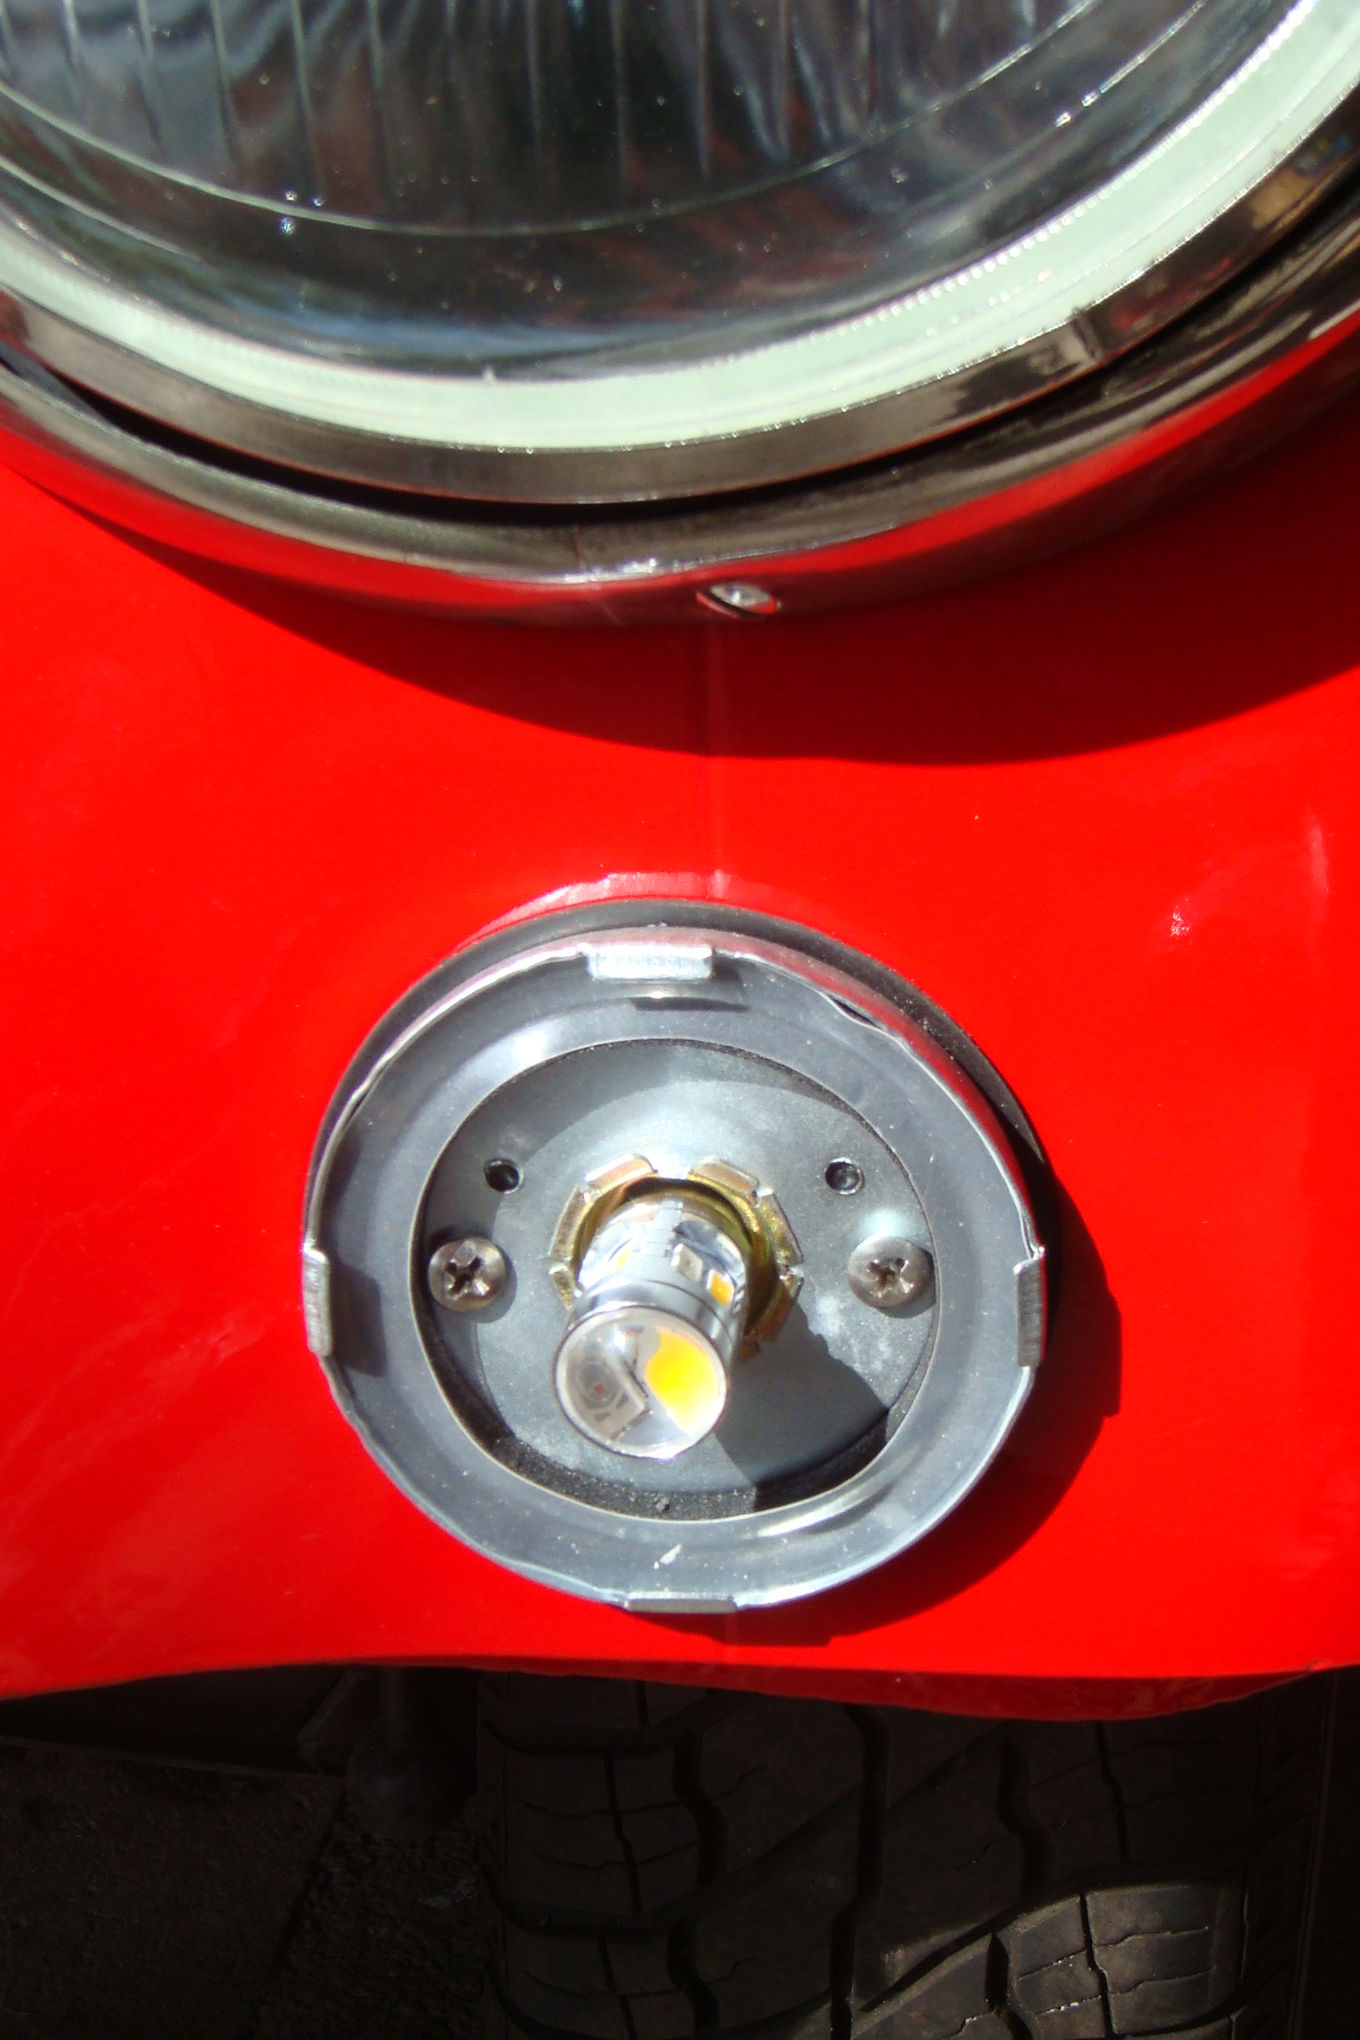
The headlamp bowls seemed in resonable condition so (I thought) it would just be a case of cleaning and a lick of paint. That was until I tried to unscrew the adjuster screws - seized solid to the point that the threads sheared off. New bowls were purchased and new RHD halogen lamps fitted and working. The sidelights were beyond rejuvenation so new ones purchased but used original lenses and chrome. The white / amber LED bulbs are a great improvement on the original candescant bulbs. Rear lights were cleaned & polished as good as new plus the addition of LED bulbs will (hopefully) mean the red lights will be visible even in daylight.

Click thumbnail
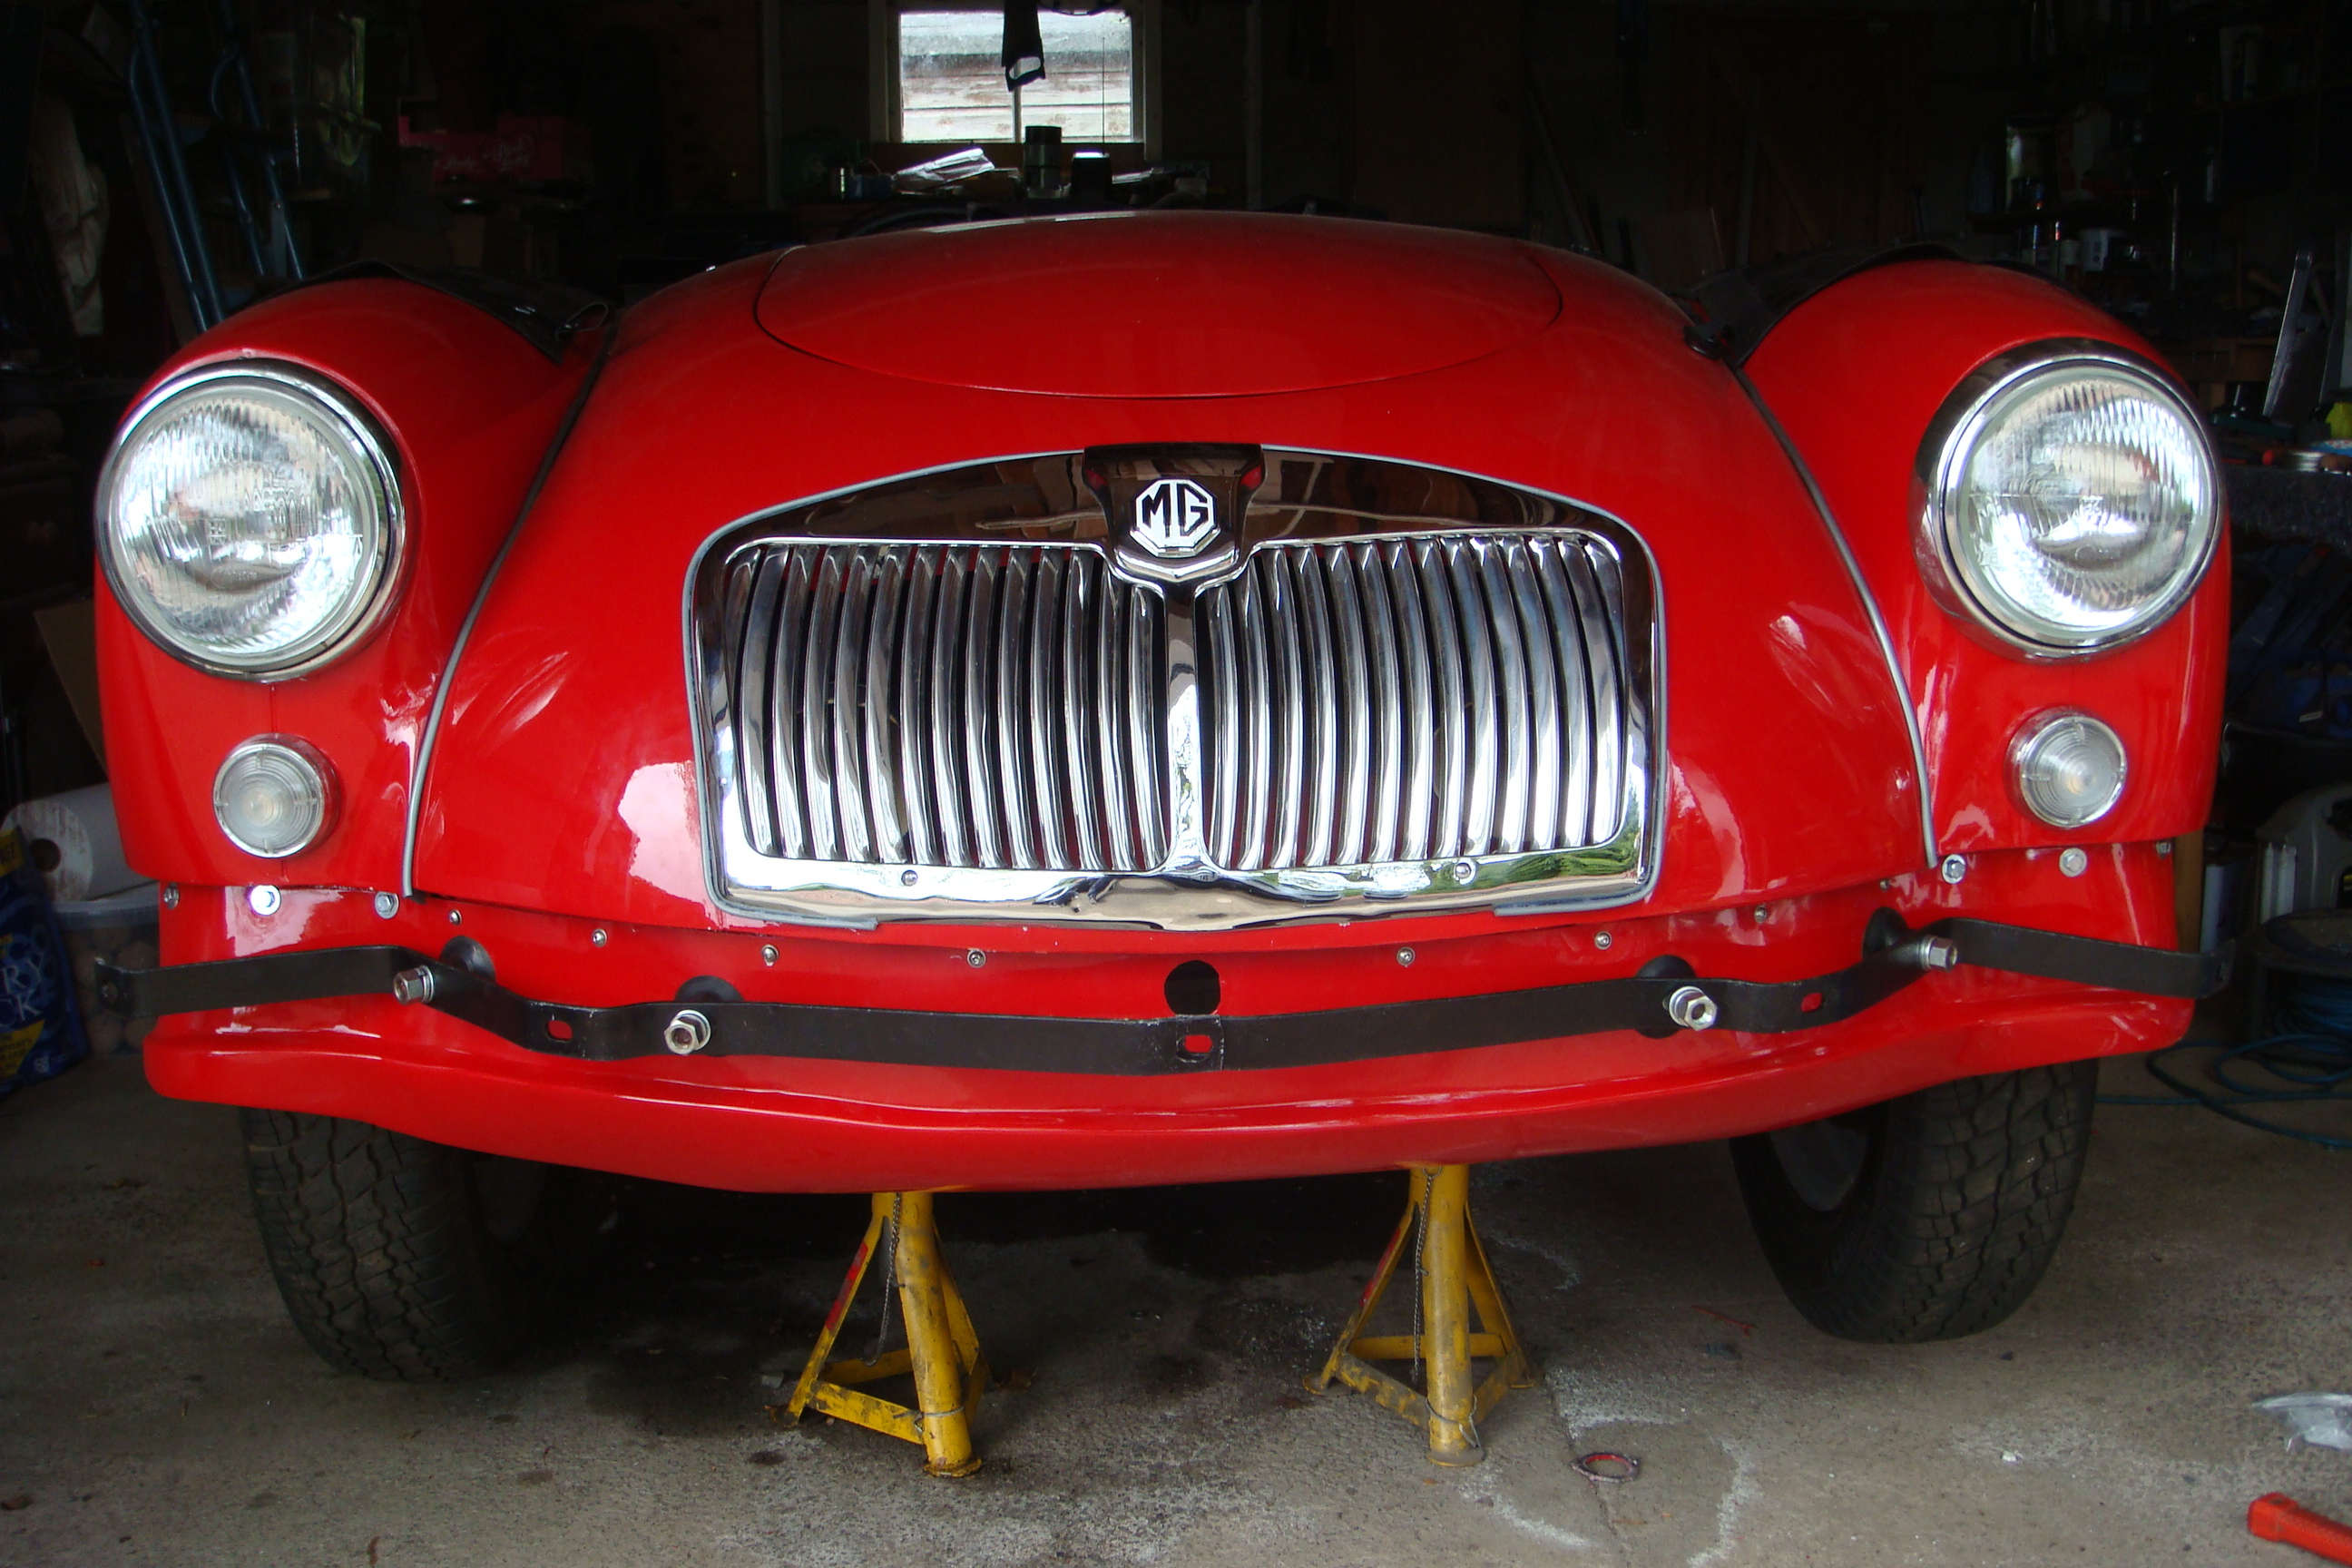
Valance & Bumpers
The valance started life (with me) as a crumpled mess - I could have bought a new one but relished the challenge of honing my panel beating skills. I'm fairly pleased with the outcome and always have the option of replacing with a new bolt on panel later if needed.
Original plan for the bumpers was to get originals rechromed but the cost would be about four times as much to rechrome as purchase new - plus, closer inspection of the bumper parts I had accumulated were beyond repair. Unfortunately, at the time, there appeared to be a world shortage of new front bumpers so the three best front sections were cleaned up and fitted - LH corner section definately needs replacing at a later date as the chrome is in a pretty poor state. A new rear bumper was fitted once the correct bolts were received fom the suppliers.

Click thumbnail
Under its own power
It was The Queen's Platinum Jubilee celebration weekend and we were having a garden competition in the village - we thought to theme our garden display around the MGA so that time had finally come to see if she would run under her own power - the first time in nearly fifty years.
Still a bit of work to do but a great milestone passed.