The plan was to restore the MGA to the original specification but, as technology has moved on in the last 60 years, it would be a missed opportunity not to upgrade a few items to aid comfort, practicality and safety, whilst still maintaining the original character and quirkiness of this mid 20th Century masterpiece.
Single 12v Battery
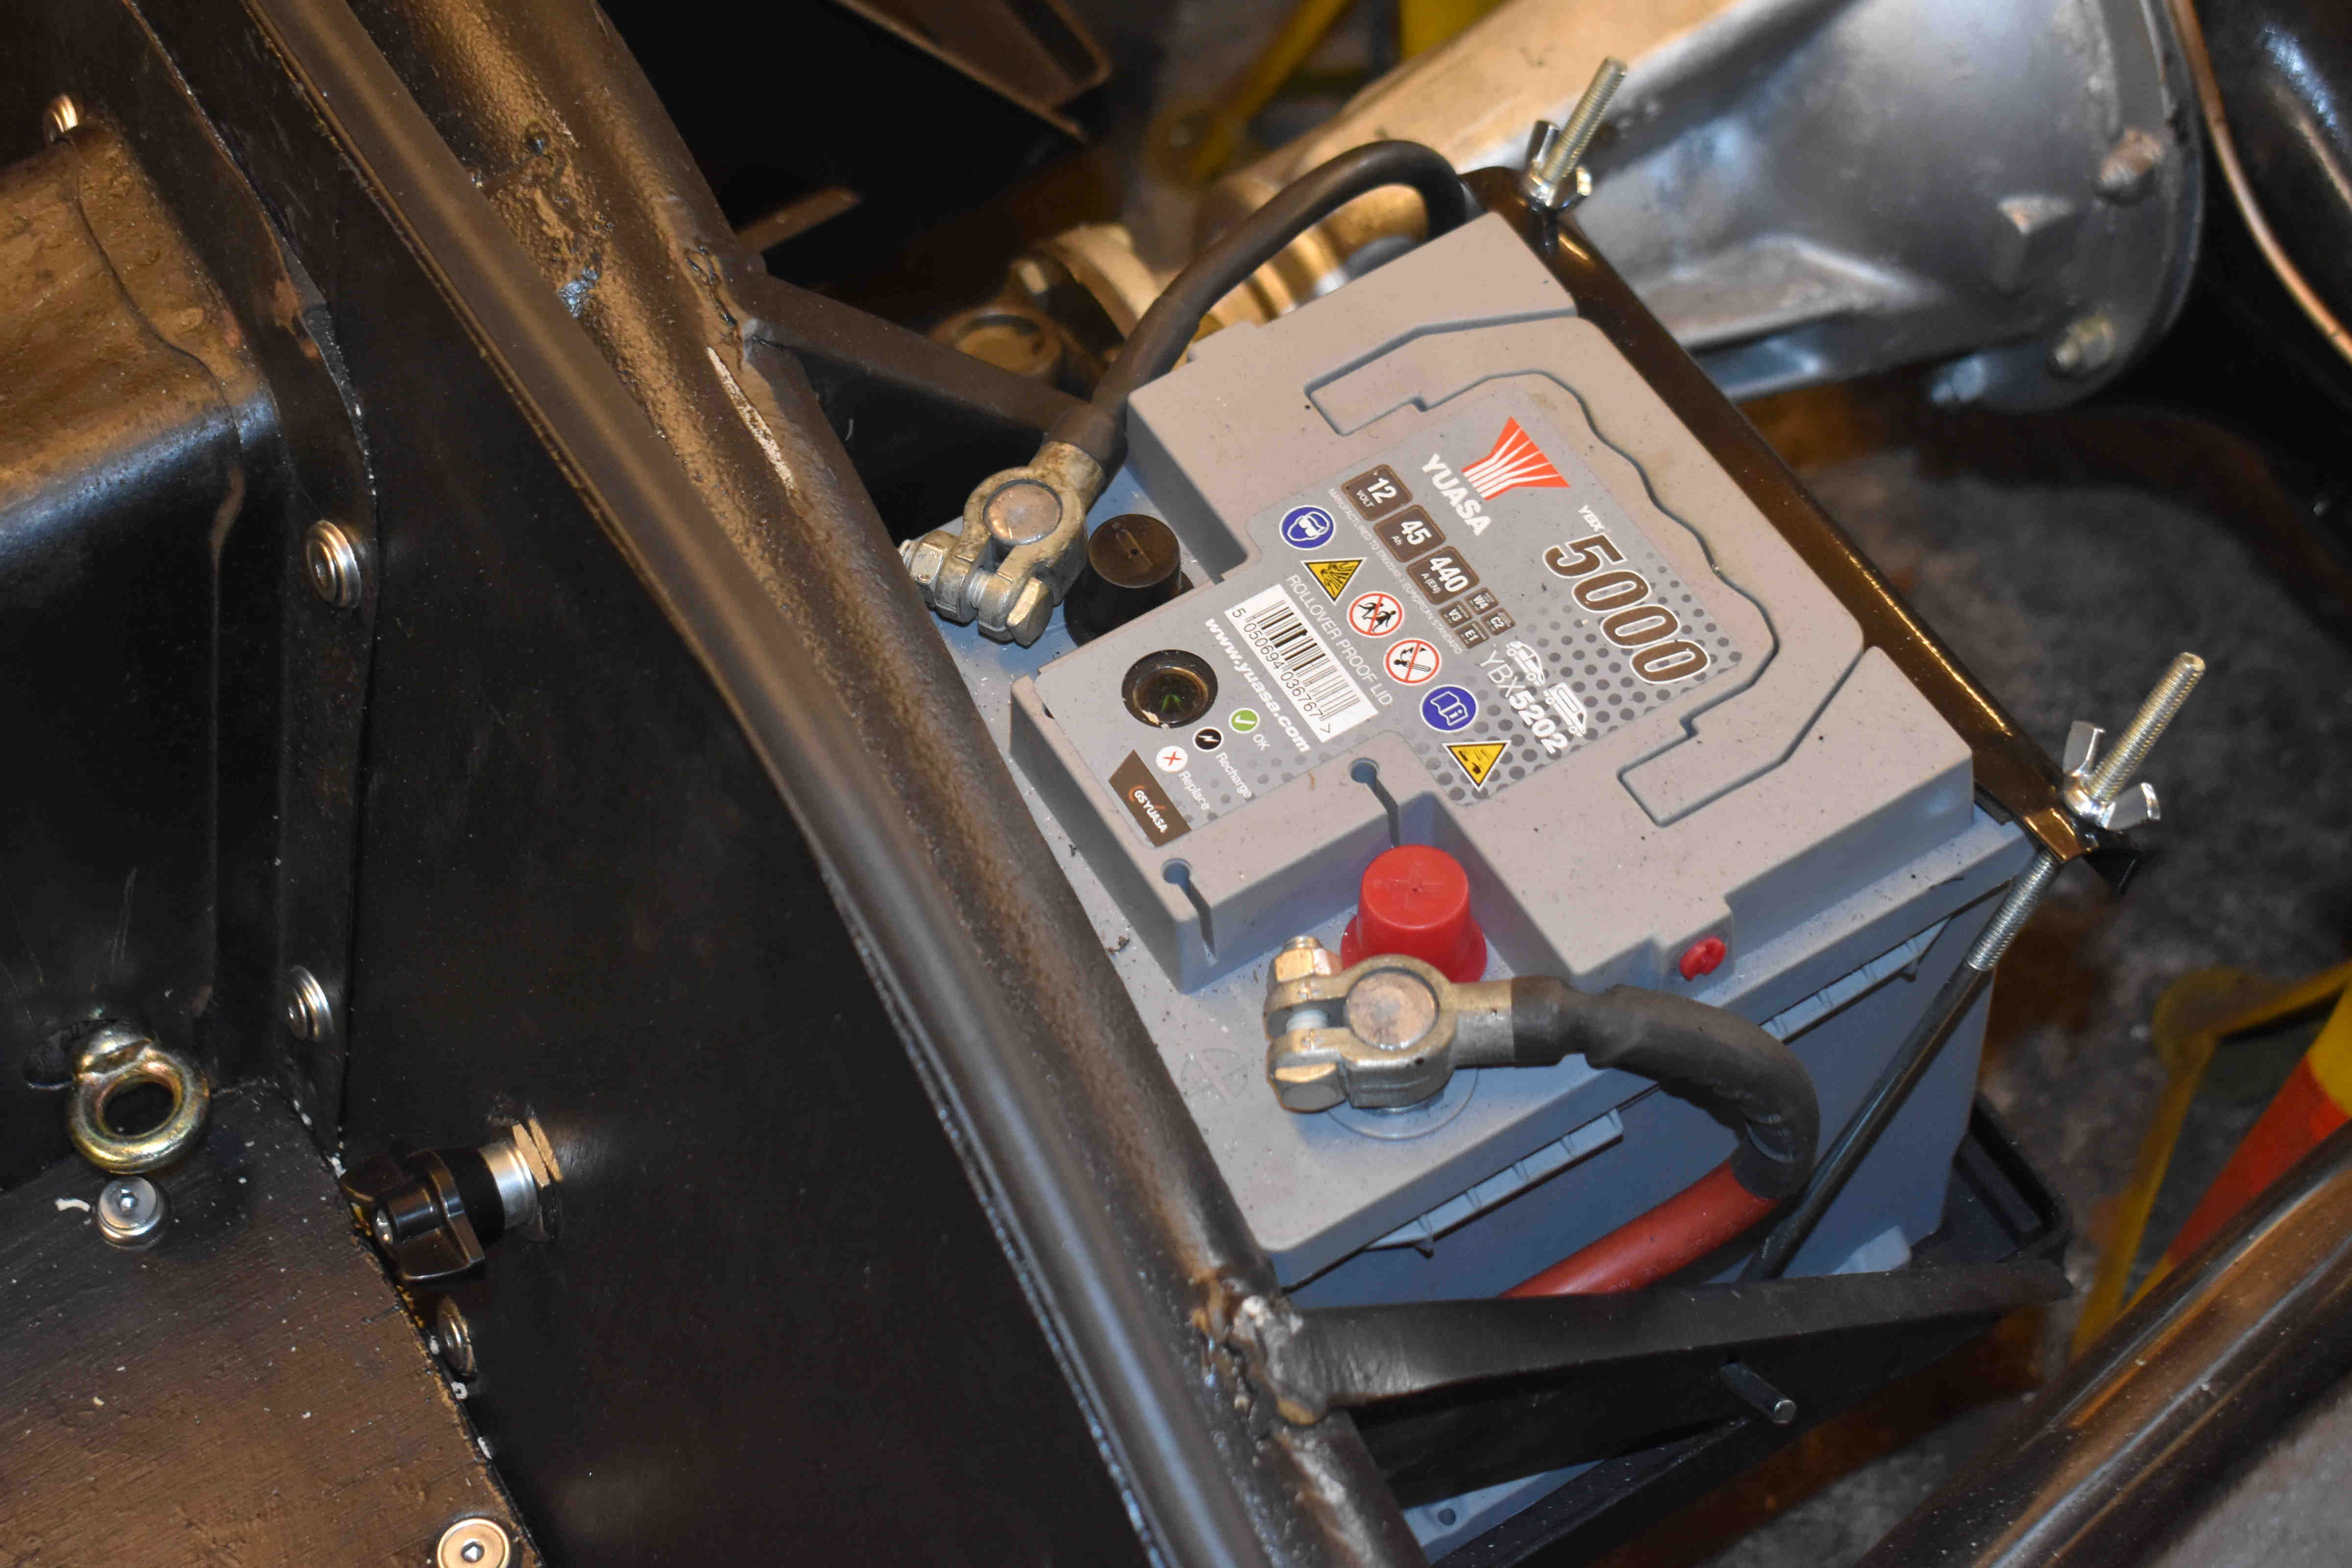 Battery technology has moved on leaps and bounds since the days when the MGA (and also B & C) were fitted with a pair of 6v batteries connected in series and straddled the prop shaft. A modern Yuasa YBX5202 12v as fitted standard to the Fiat Punto is exactly the same dimensions as the original 6v battery fitted to the MGA, plus has greater Cold Cranking Amps, highter capacity and will have a longer life span. Added to this, one of these 12v batteries costs £49.95 inc VAT as opposed to £70+ for each 6v battery - a bit of a no-brainer.
Whilst fitting this single battery I took the oppotunity to include a cut-off switch and change the polarity to negative earth. None of the components on the vehicle are fussy about polarity except for the dynamo (but that can be repolarized, but read on further) and the fuel pump which was also changed. Making the vehicle -ve earth has several advantages but mainly giving greater selection of modern parts that are commonly -ve earth - such as an alternator.
Alternator
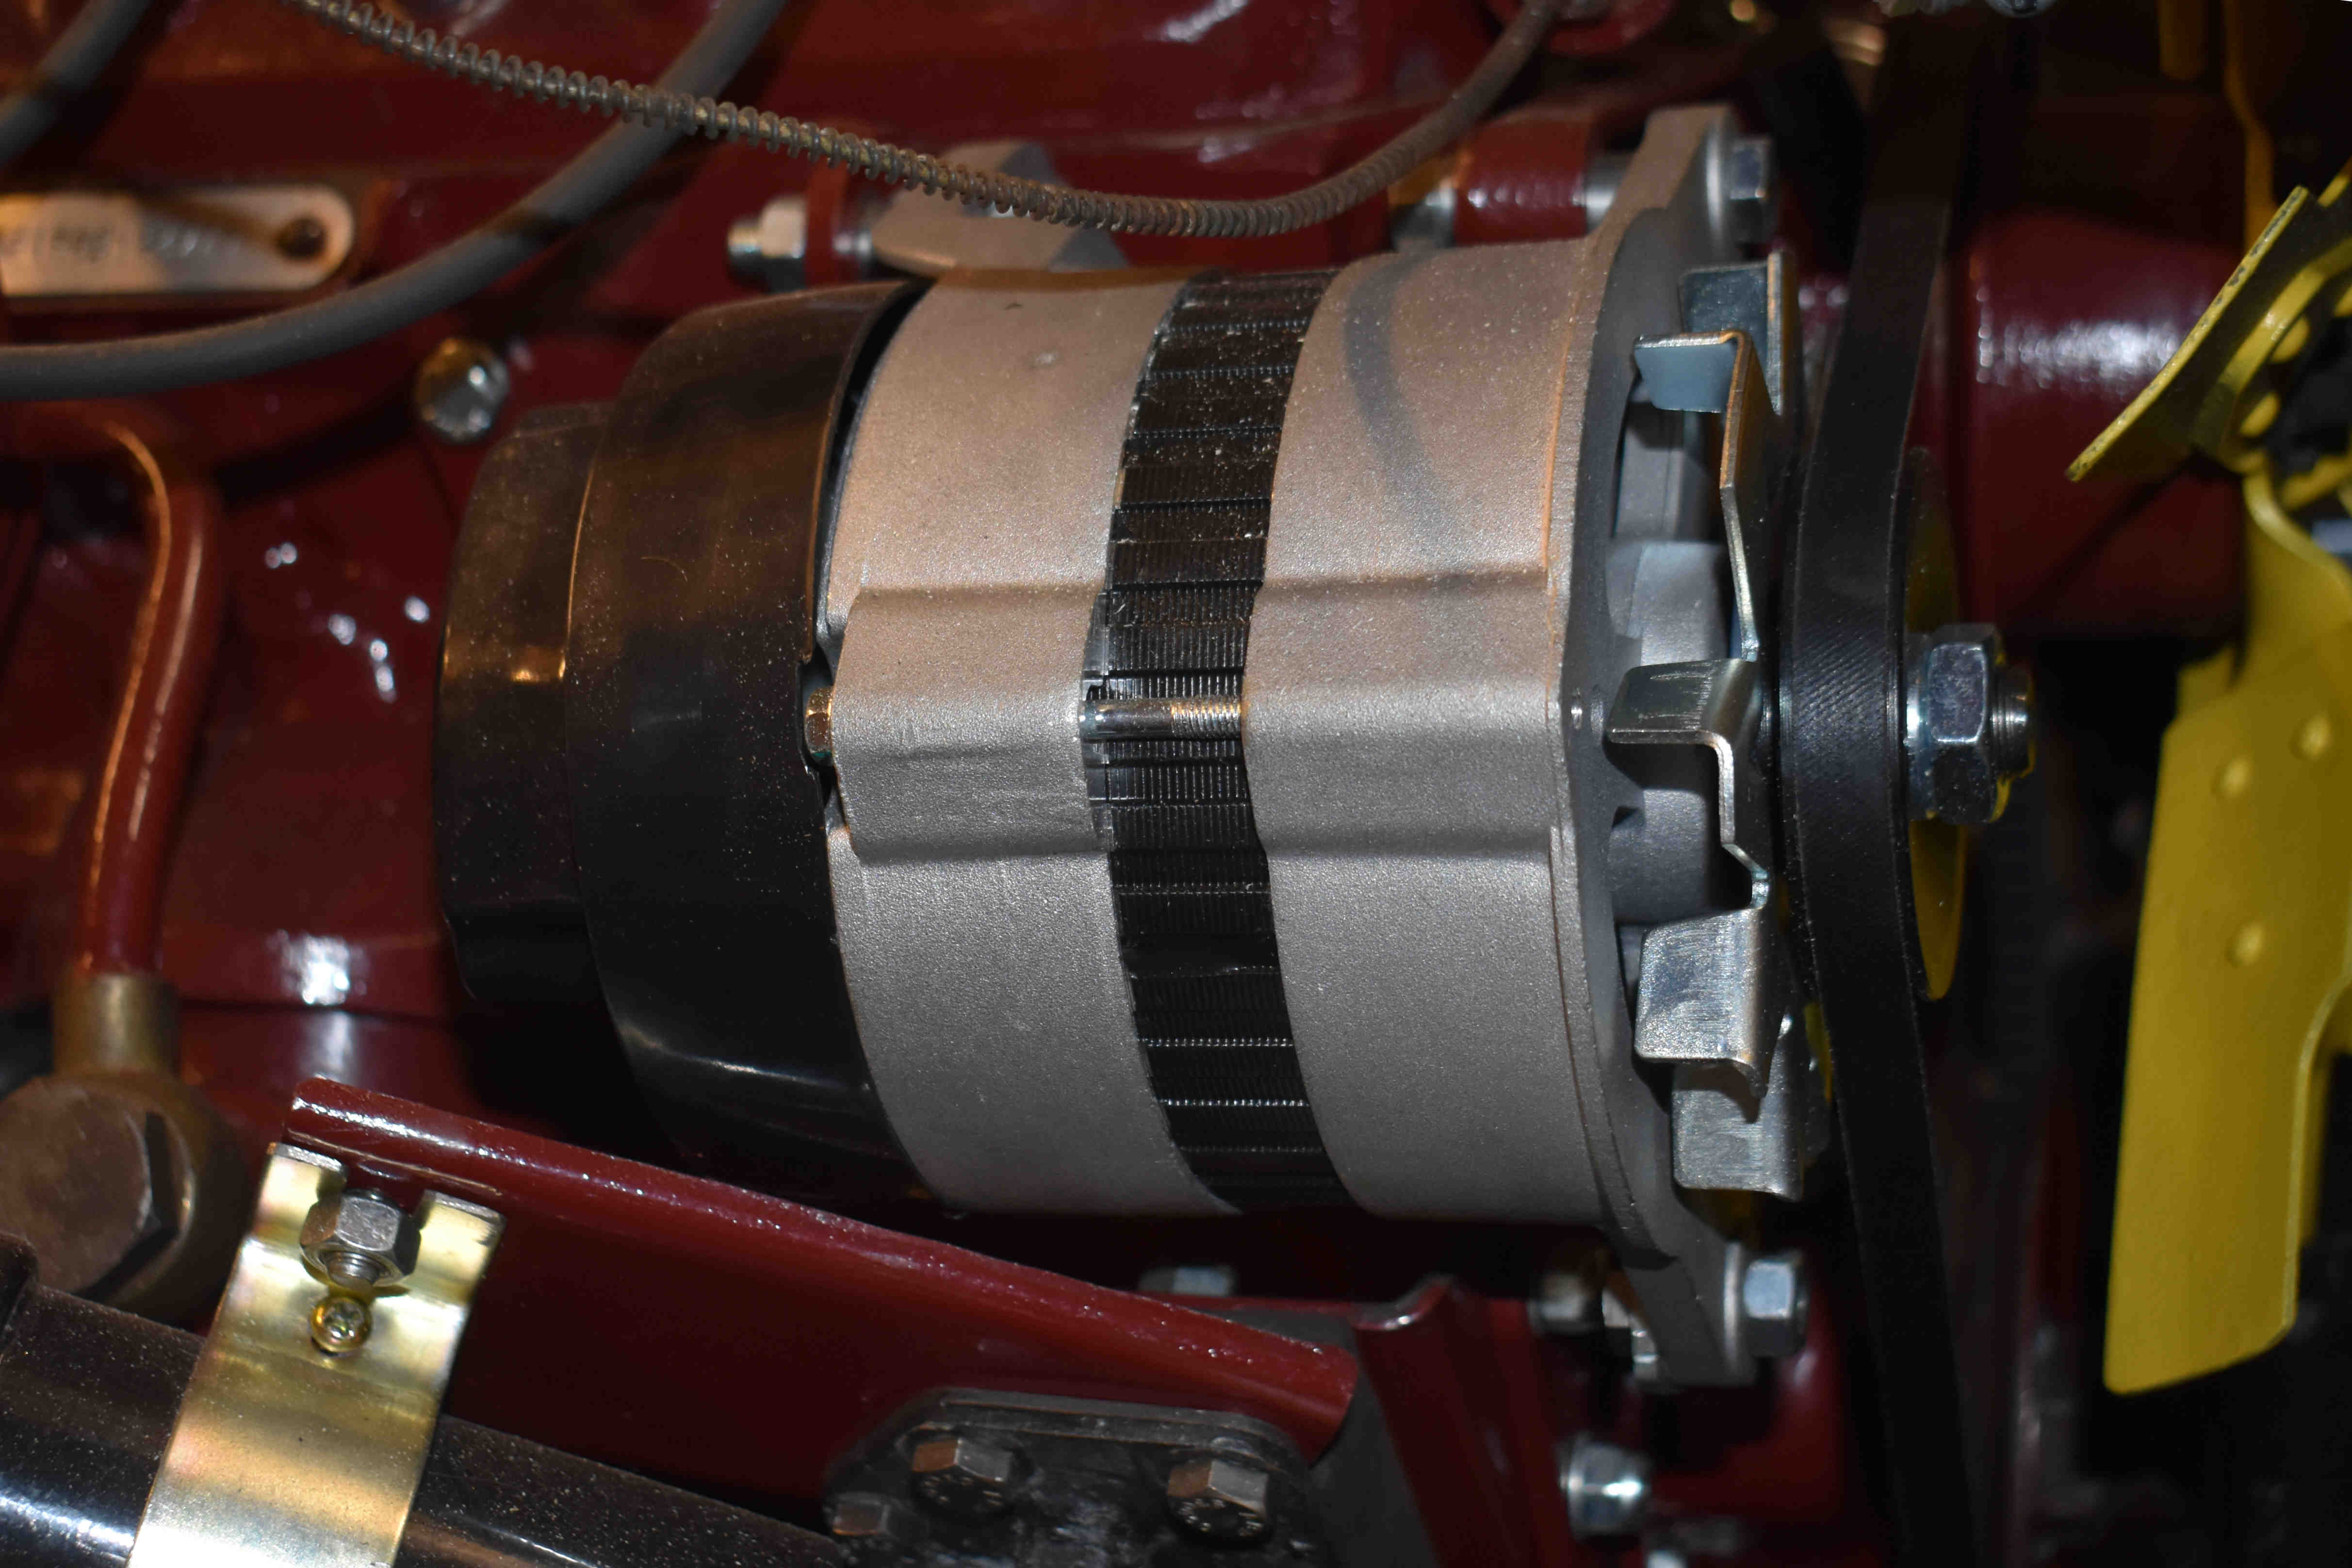 The original MGA gained its electrical power from a dynamo (generator) that requires a stabilizer (control box) to smooth the output. Alternators are more efficient and do a better job at providing electricity to the battery. Alternators turn at higher speed, improving output when the engine is idling - a generator would discharge at idle instead of charging. The down side is, as the ac voltage is smoothed by built-in diodes, they are only available in -ve earth, which is another reason I changed the polarity. Fitting required a Mini alternator bracket (readily available as the Mini design changed from geny to alternator back in the 70s), a small tube spacer to align the pullies and a shorter 925mm fan belt (QBA925), plus an extra wire in the wiring loom. The control box is now redundant and, although some folks may use this as a terminal block to maintain the component count in the engine bay, I decided not to fit it at all but terminate the wiring loom neatly behind the heater. Also the coil had to be moved from on top of the dynamo to a 1600 bracket below the alternator, although this was later changed to bolt onto the inner wing to give more room when fitting the spin on oil filter (see below).
Electronic Ignition
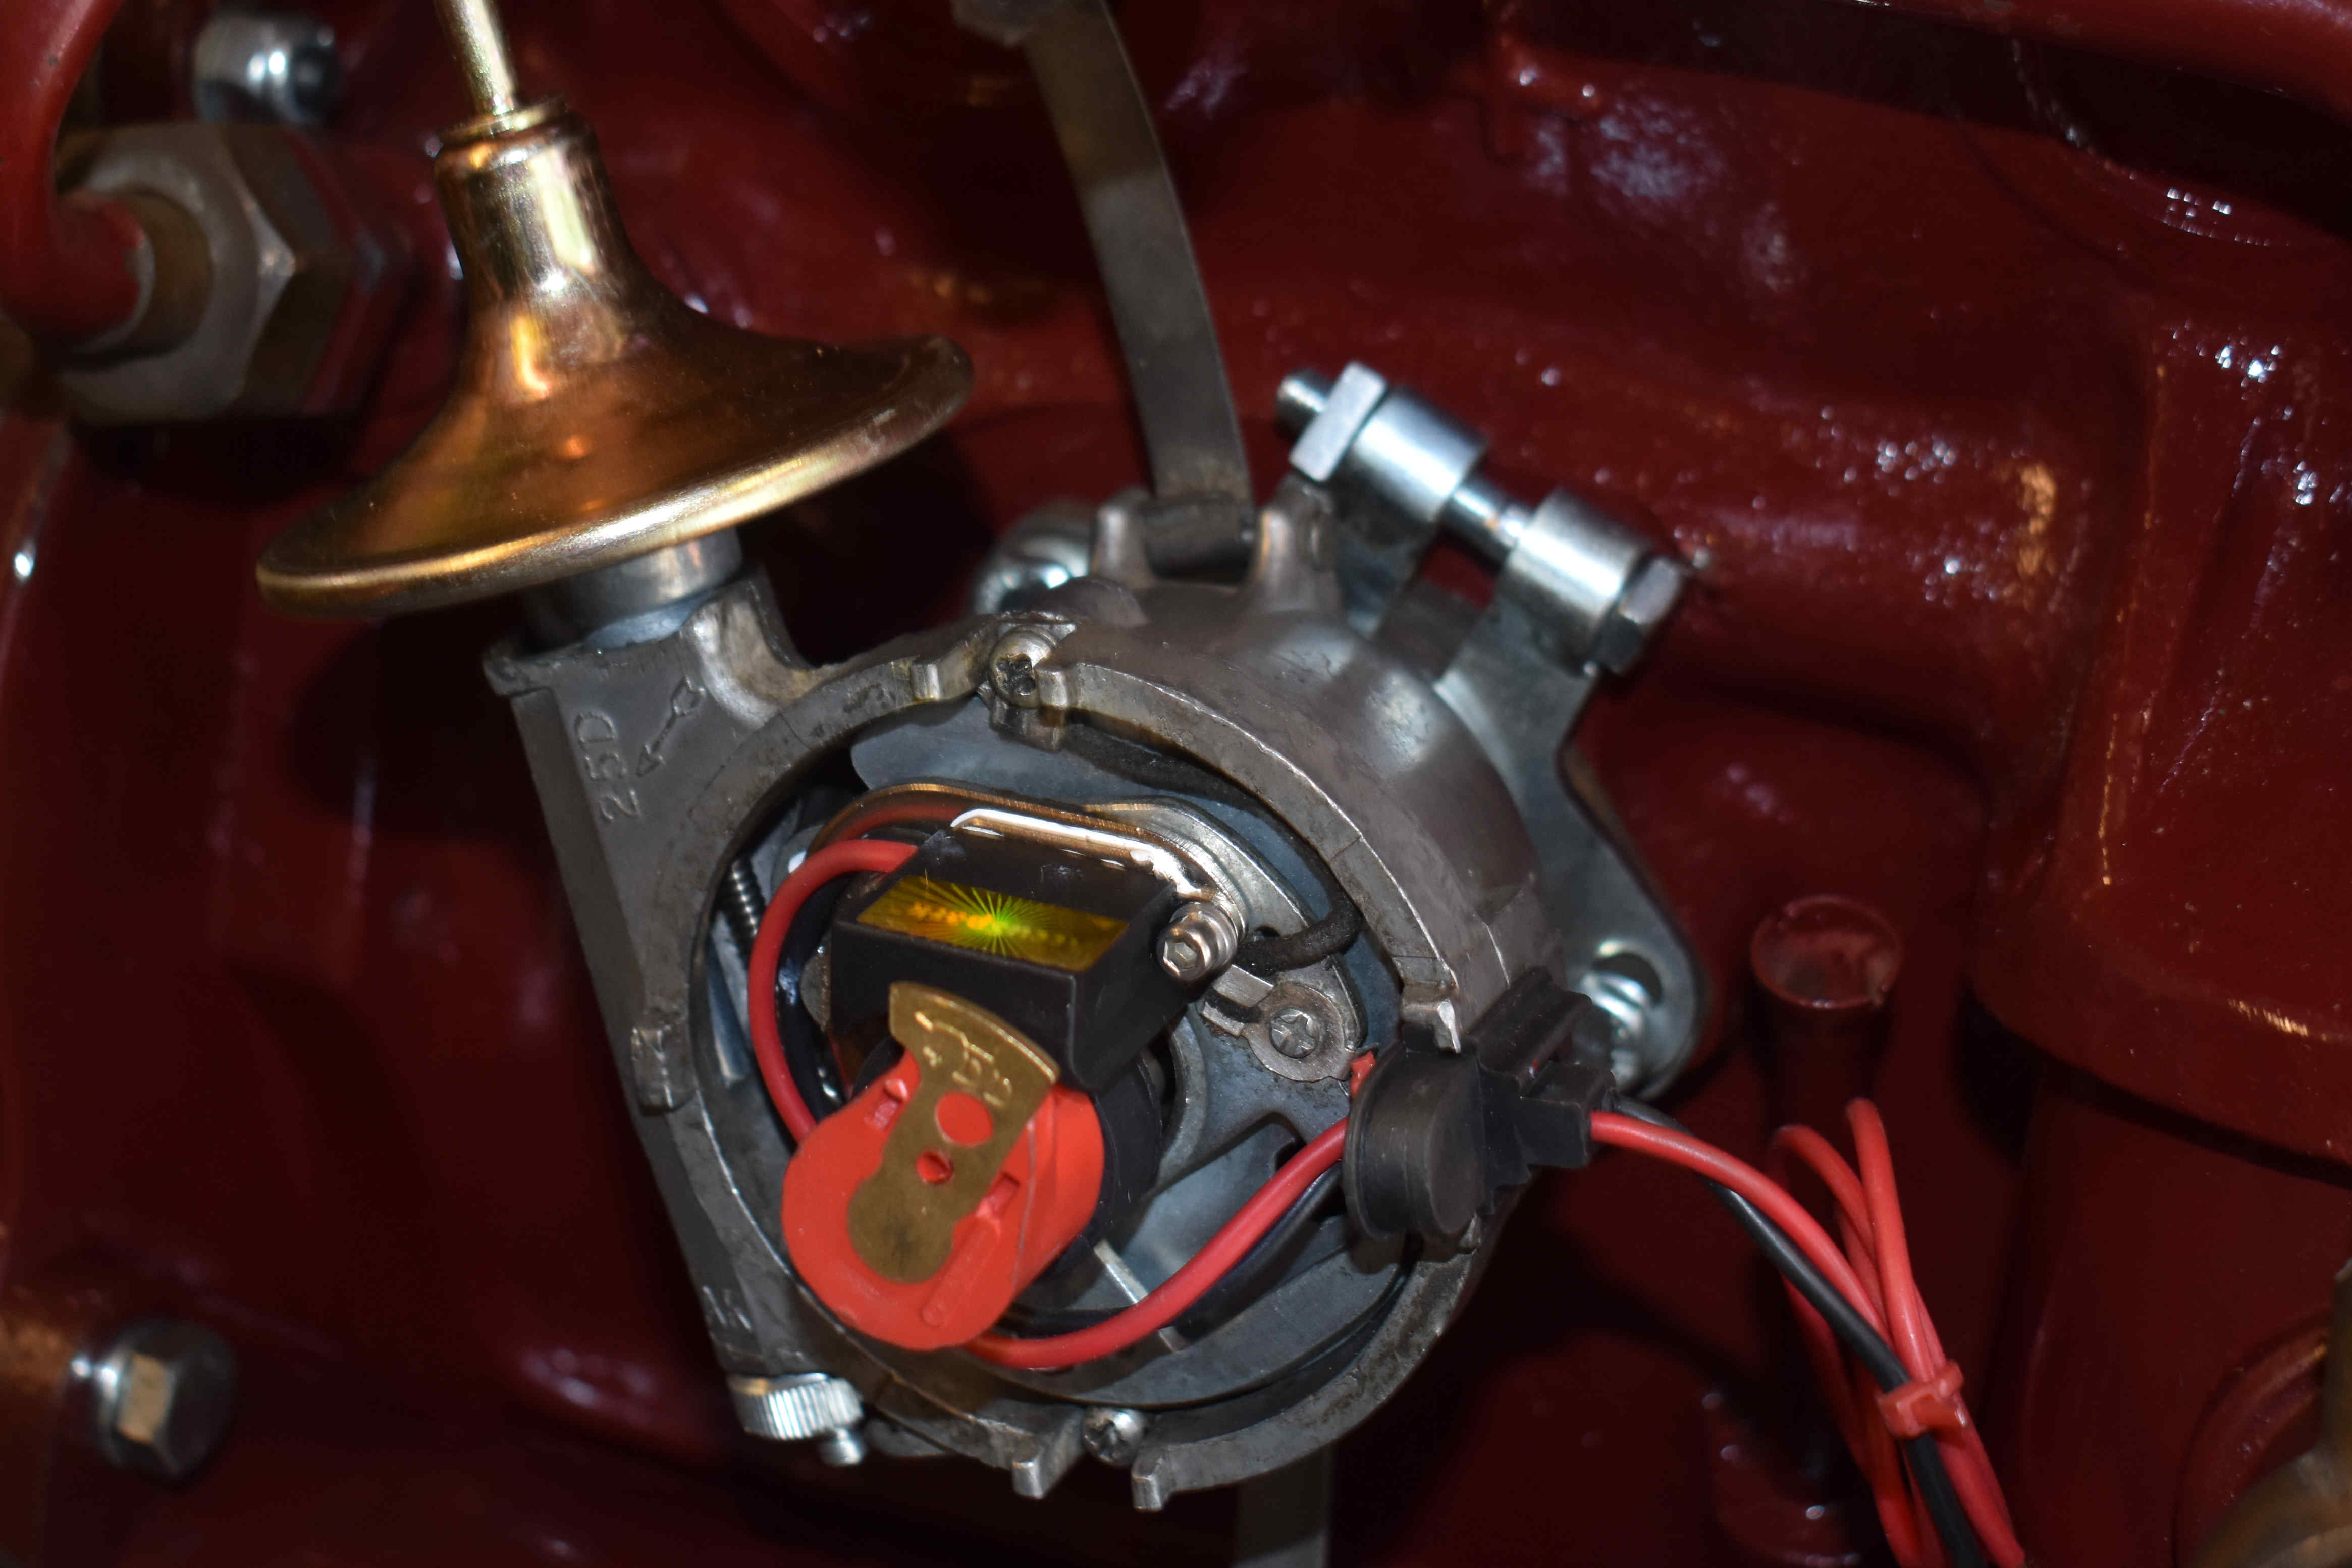 Another source of frustration when starting is the distributor points. Technology has caught up and electronic ignition is common place these days. Accuspark (other makes are available) produce a simple replacement to the points that fits inside the original Lucas 25D distributor so, apart from an extra earth wire, you would not notice this change. Again, another reason to change polarity to -ve earth.
Spin-on Oil Filter
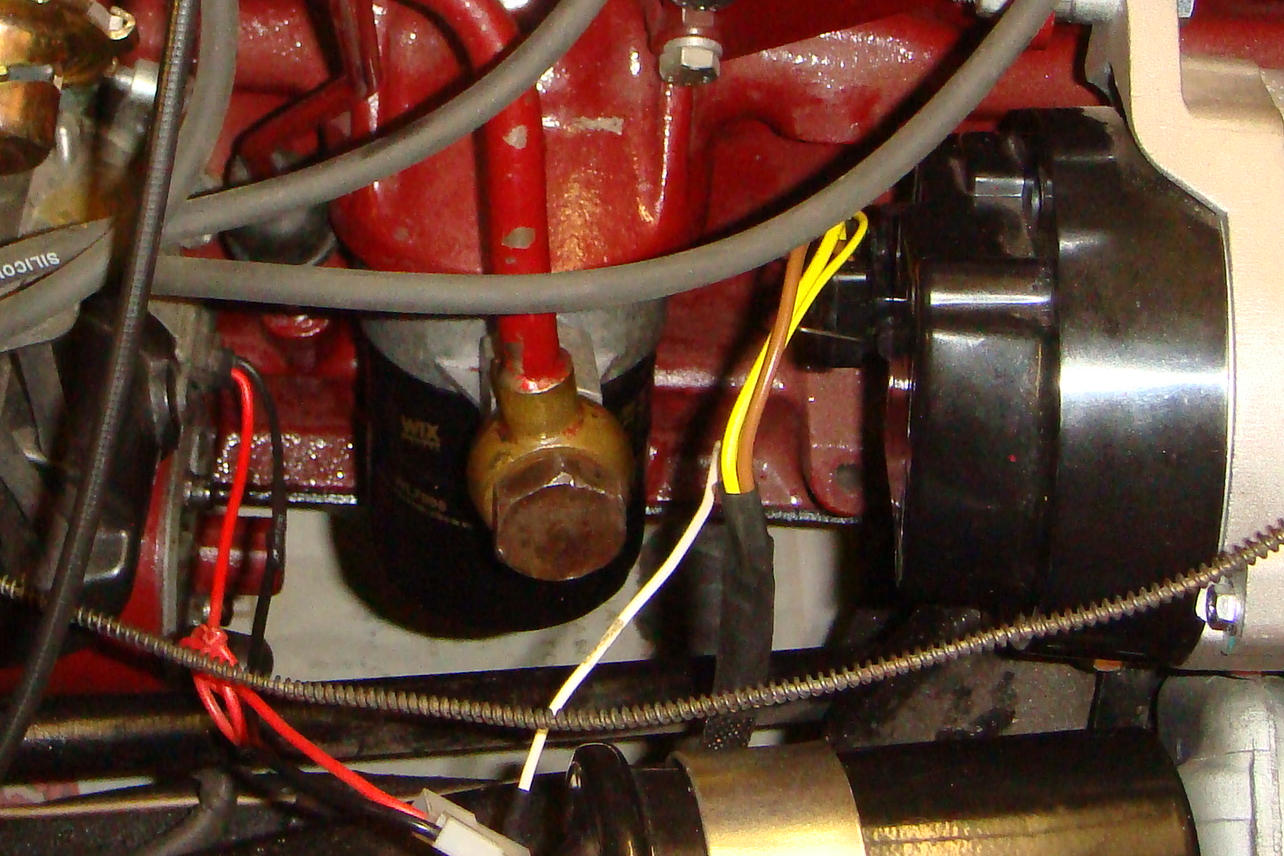 Changing the original Tecalemit oil filter is a well documented fiddly job - I tried it once with the engine out and was hard enough then. Conversion to standard spin-on kits are available from Moss (and others) so this is what I took the opportunity of doing. It is a lot easier using a GFE166 filter for a Mini (I used a Wix WL7098) that can be accessed from the top (especially after moving the coil to the inner wing) than grovelling around from underneath. The oil feed pipe had to be gently persuaded slightly to align easily but that was not too much of a problem.
Contactless Petrol Pump
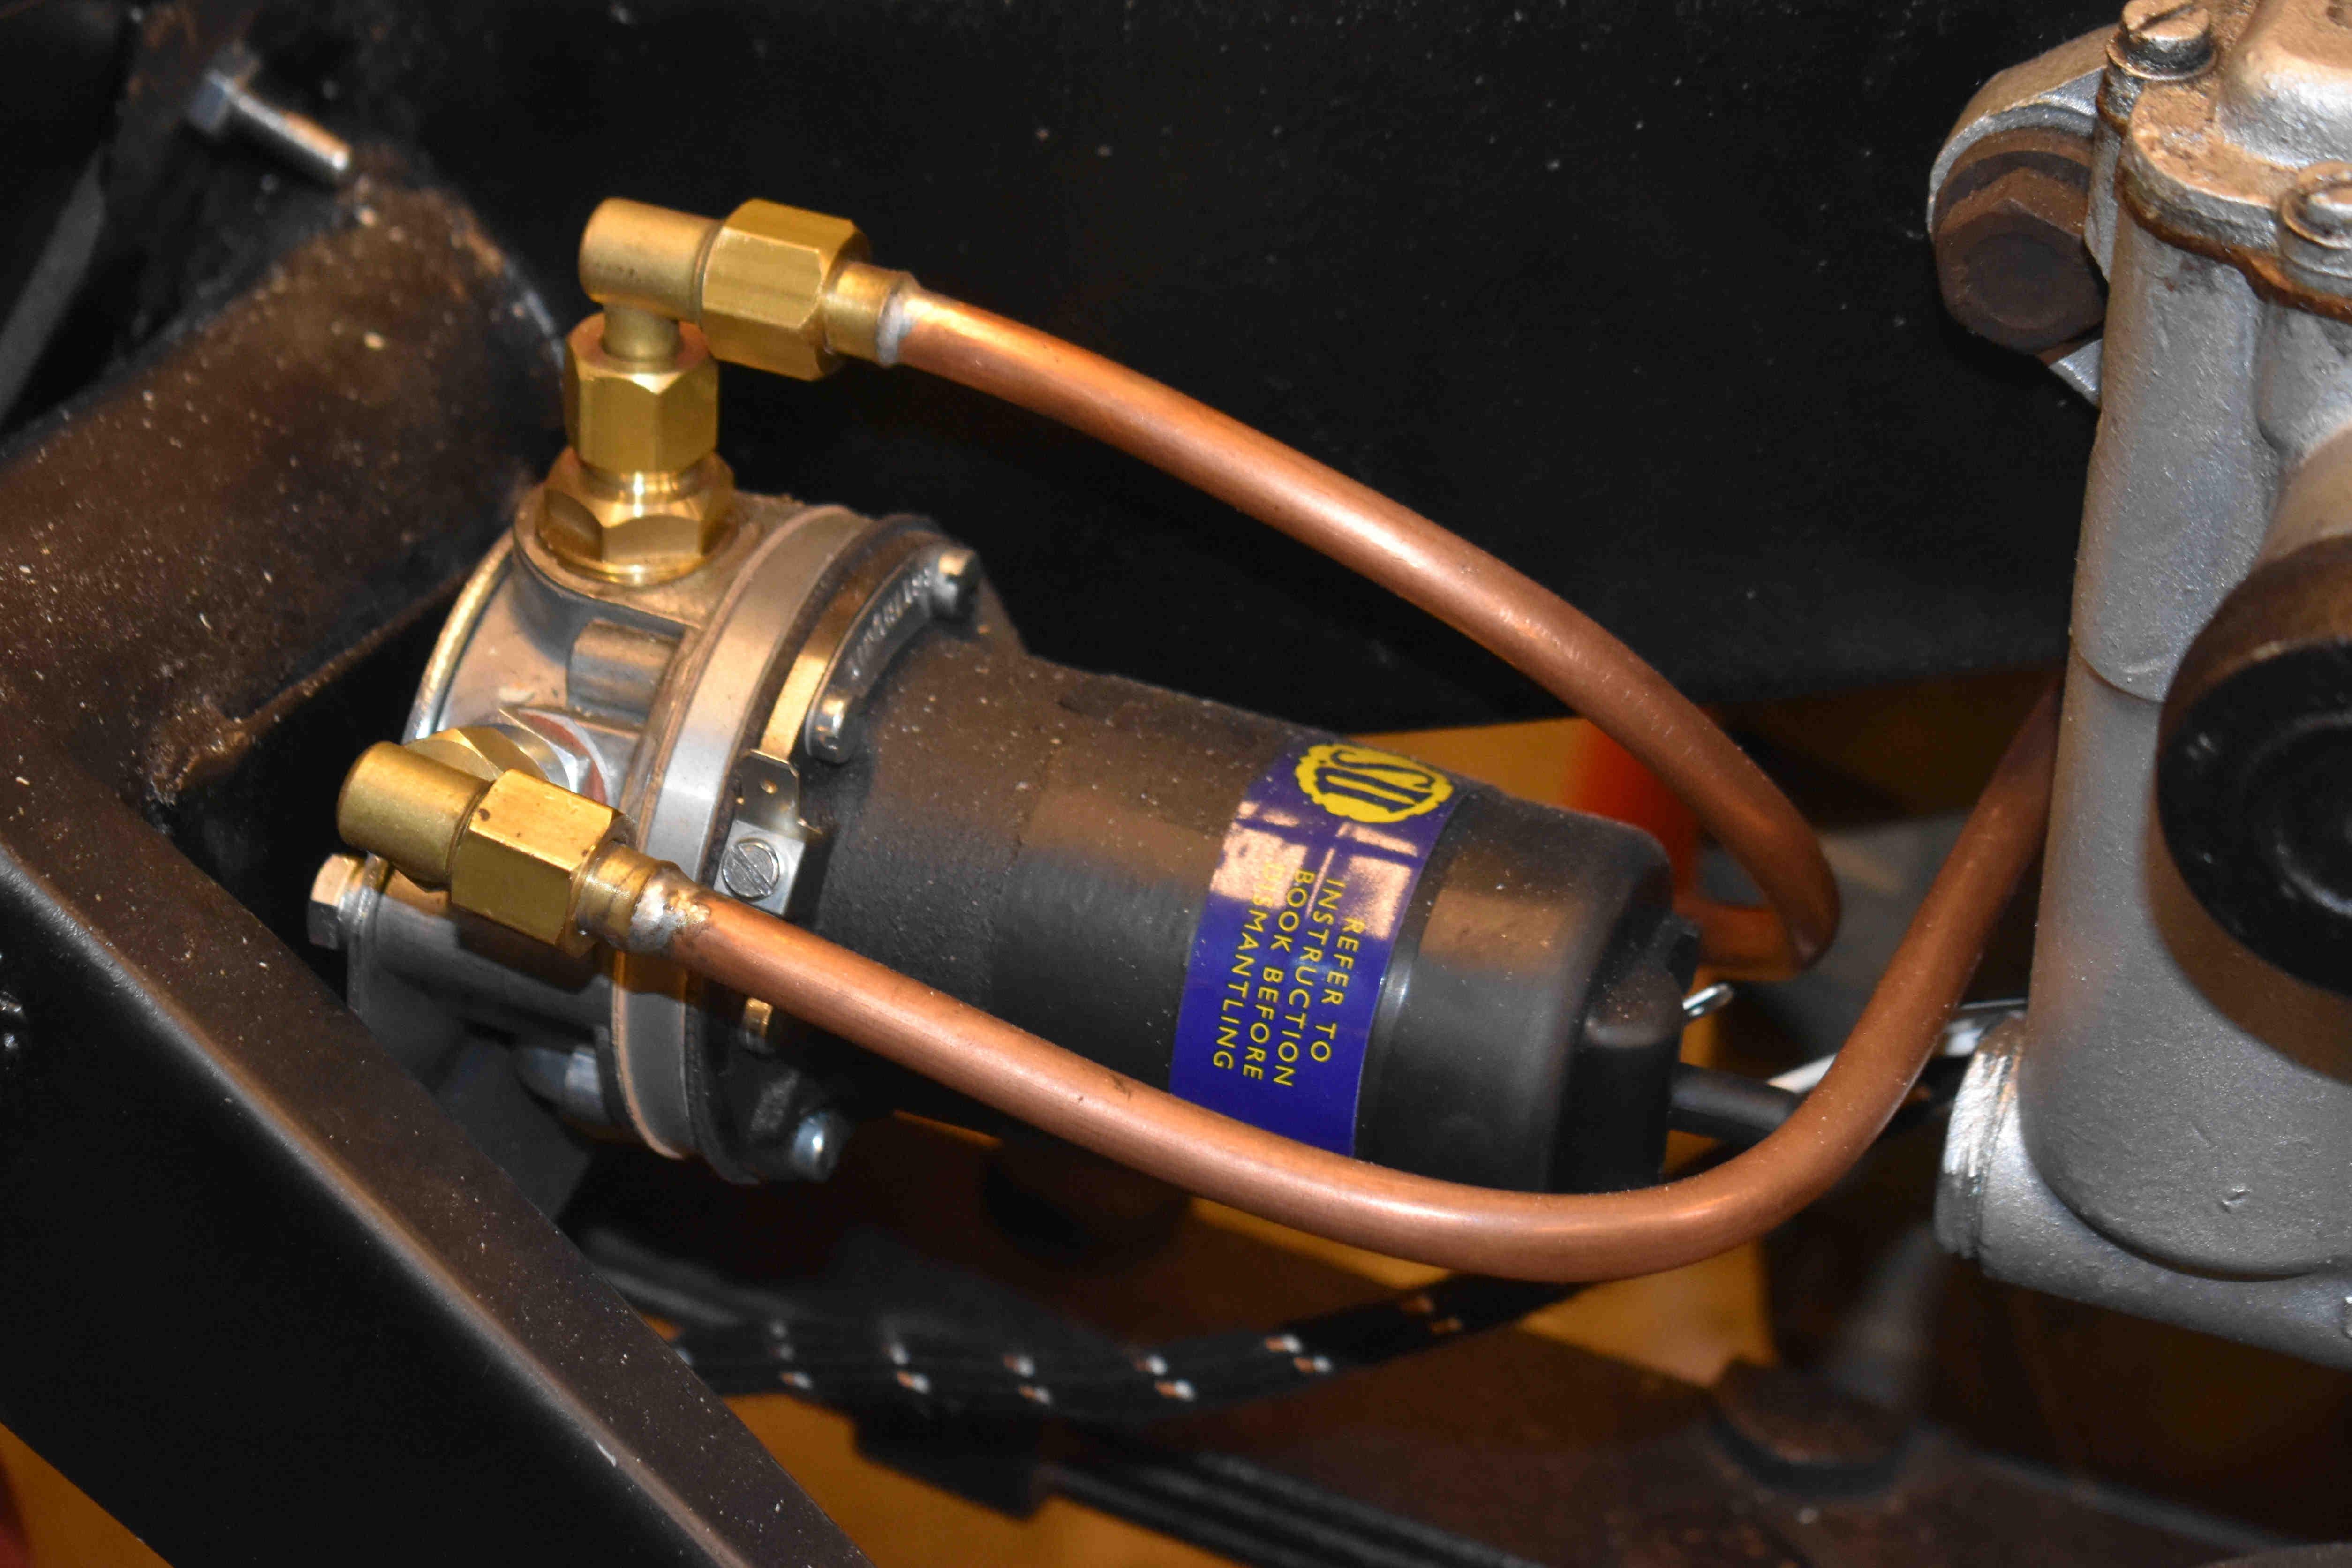 When watching car restoration programmes, it is often a dodgy fuel pump that thwarts the engine from starting for the first time. The original pump removed from the vehicle was fairly well knackered, so replacing with a new SU contactless electronic version was the order of the day. These are polarity specific so pleased I made the decision early for -ve earth.
Anti-Roll Bar
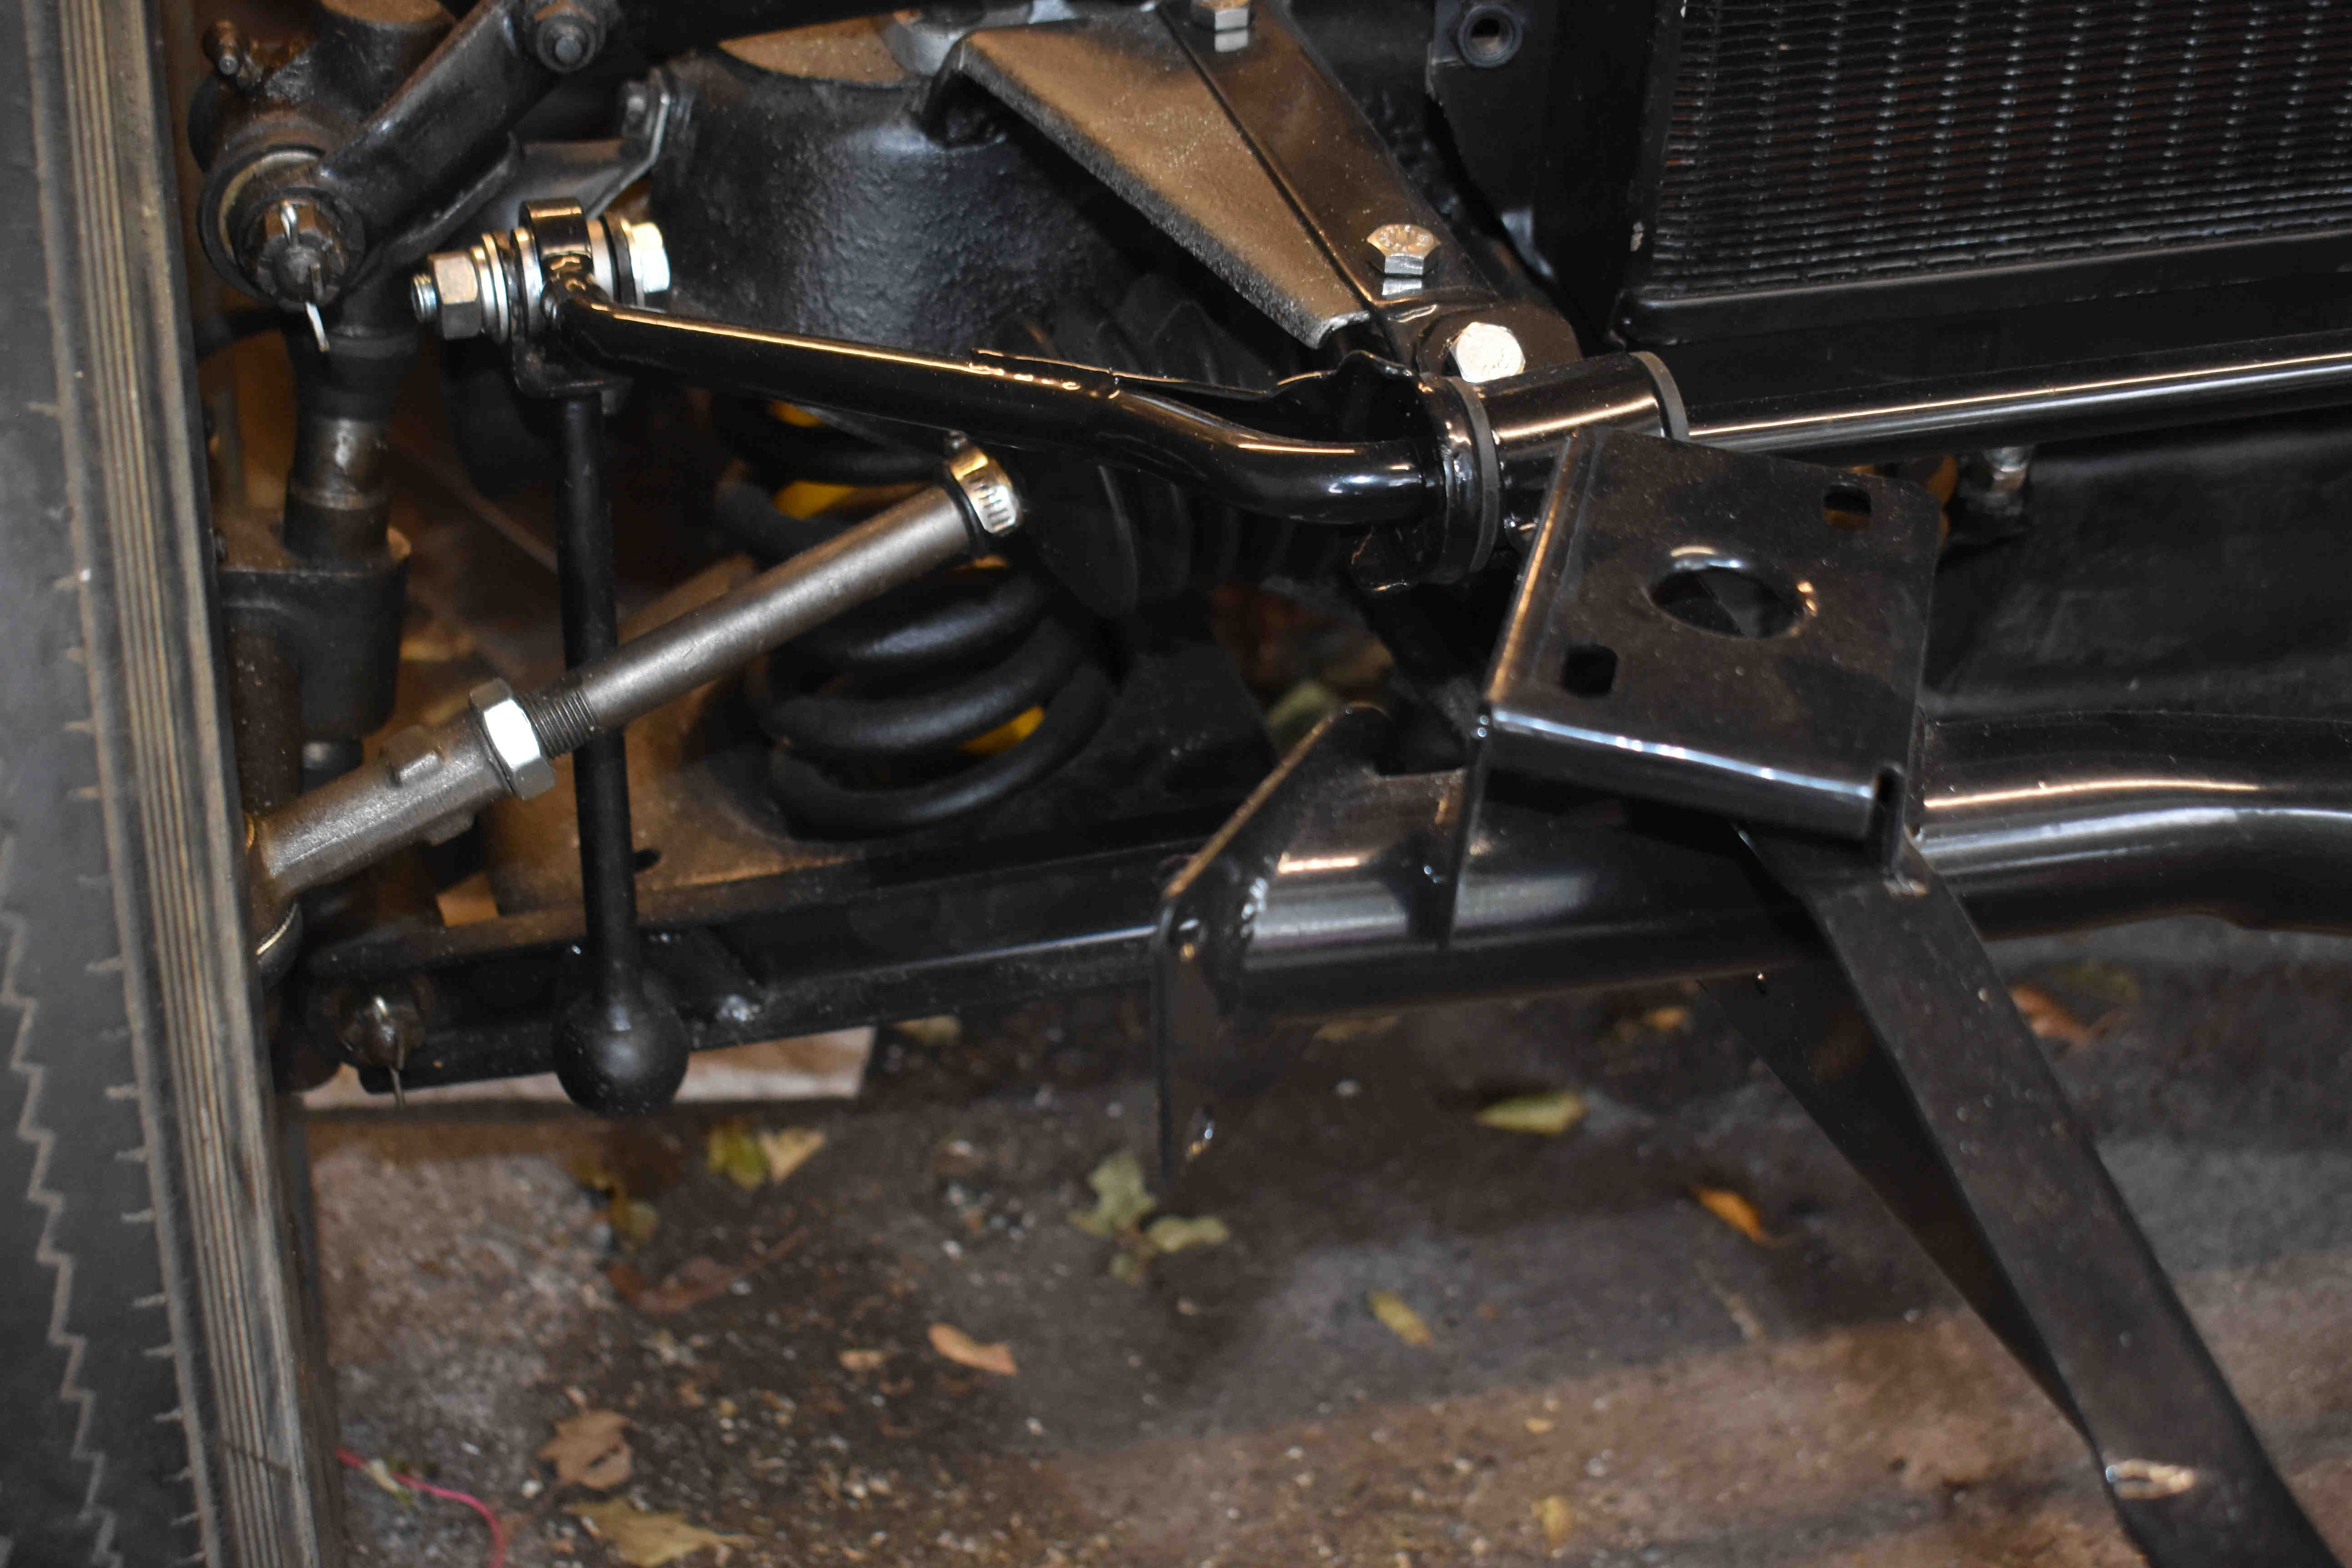 Not really a 21st century upgrade as the later MGAs were fitted with anti-roll bars. John Twist of University Motors says that fitting an ARB is the best mod for improving handling. The difficulty with fitting one is cutouts are required on the chassis extension to accommodate it, although other engineering solutions have been achieved using MGB components (but a bit of a faff). As I replaced the bent chassis extension, all new ones have the cutout so will fit early & late models of MGA, so was easy to fit a new ARB. The only modification required was to the spring pans, allowing attachment of the lever arms.
Hazard Warning Flashers
 In the mid 1950s, indicators were a new thing - hand signals were the order of the day (I remember being tested on hand signals when learning to drive). When they became compulsory for the US market, Lucas produced a nifty relay box to use the red brake lights as indicators, avoiding the need for MG to redsign the wiring loom - amber indicators were later added to the Mk2. Hazard Warning Lights (or Four-Way Flashers) were not thought of for another couple of decades. Adding a HWL switch would be simple in a newer vehicle, but not so straight forward with this Lucas DB10 relay box. Several solutions are out there, but I wanted to incorporate a solution that would utilise the Fog Lamp switch (already on the dash board but not connected), be able to use without the ignition being on, and not require cutting into the wiring loom so can be removed if a purist felt the need. Solutions seen that allow the hazards to operate without the ignition on tend to have a hot feed to the flasher meaning the ignition switch would be bypassed if hazards are on and turn signal is applied - not only a security failure but channels the ignition current along the lightng circuit.
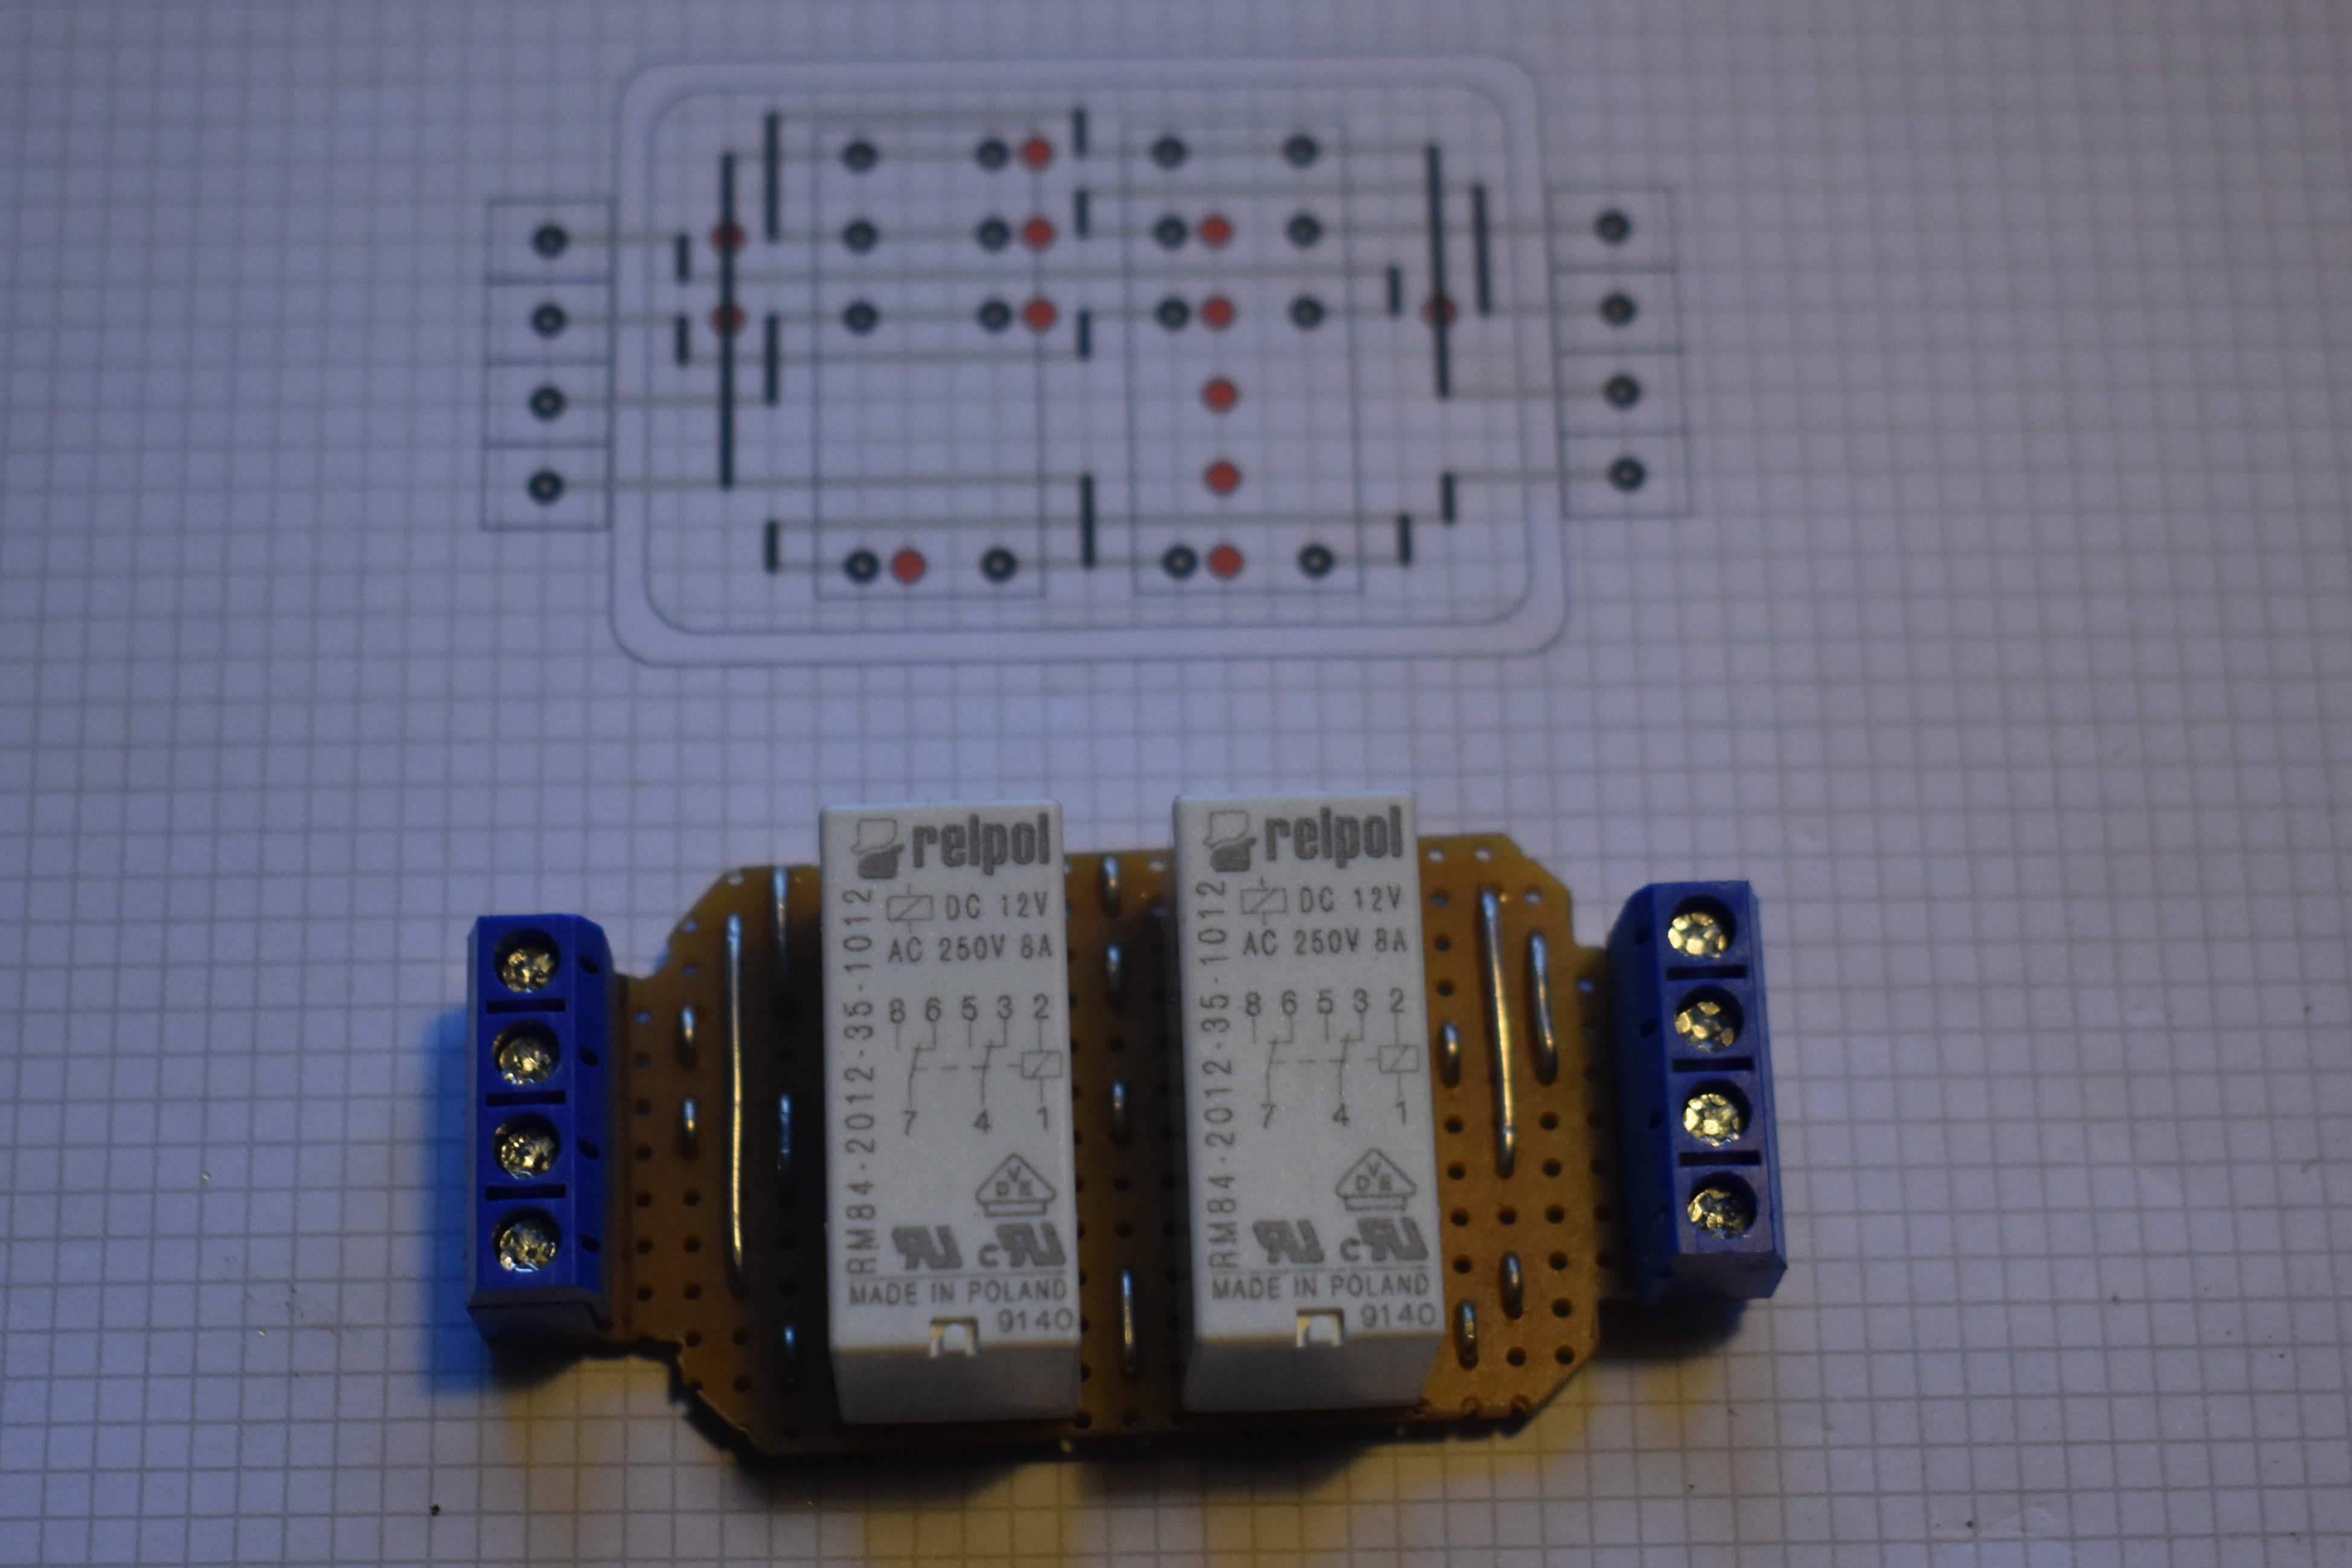
My solution was to build another relay box that uses existing unmolested wiring and interfaces between the Lucas DB10 / Flasher and the switches. Under normal operation, the indicator and brake lights are powered through the ignition circuit, but only switched to a hot source under hazard lights - meaning the hazards can flash without the ignition switched on, and without power going where not required.
Seat Belts
 Manufacturers were not required by law to fit seat belts until 1965 so my 57 MG wasn't even fitted with anchor points - later MGAs had anchor points incorporated and belts available as an optional extra (not many did). I quite liked the idea of experiencing 1950's freedom by not having to wear a belt where other road users were forced (compulsorary since 1983) to wear theirs, but my wife had other ideas - she would not ride in the car without belts (tempting!). Whilst the chassis was exposed I took the opportunity of welding in some anchor points and will fit some belts for peace of mind.
LED lights
 It is now possible to purchase classic style replacement light bulbs in LED form. LEDs produce more light for less power, run cooler, are more reliable and should last longer. Added to that, they also produce true colour light - a normal candescant brake light bulb produces white light that shines through a red lens to filter out the blue and green elements to show red light. In effect this is wasting 66% of the light. A red LED produces just the red wavelength that will pass straight through the red filter lens giving nearer 100% of the light output. The MGA combined rear brake / indicator was never the brightest in the pack, but that was not a real problem in the 50s - today's roads require a bit more warning to those following behind so this is a good solution to that problem without having to re-engineer anything.
The same applies to the amber LEDs for the front indicators. Headlamp bulbs give a better spread without the heat dissipation required of a halogen bulb.
Dip Switch
 I'd never really liked the idea of a foot operated switch to dip the headlights since the days of driving my mother's Mini many years ago. I would get used to it, but let's move on. Instead of the foot switch, the light switch is wired to a relay from a VW Beetle or T2 Bay Camper (part number 111-941-583) and controlled by a long levered momentary flick switch. With the lights on, each flick of the switch will toggle between Dip and Main Beam. With the light switch turned off, the flick switch will flash the dipped headlights - another benefit of this system.
The flick switch occupies the position on the far right of the dashboard (RHD), normal position for the green indicator warning light (see photo). The indicator light is moved to the position viewed through the steering wheel where the panel lights dimmer switch normally resides - a much better location for a warning light, right in front of the driver's field of view. The dimmer potentiometer (if fitted) could reside under the dashboard but, as I've converted to LEDs, this is not required.
No additional holes in the dashboard have been made so the original system could be restored (if someone really wants to), but this was a production / dealer option on the original cars so has not strayed too far from the truth.