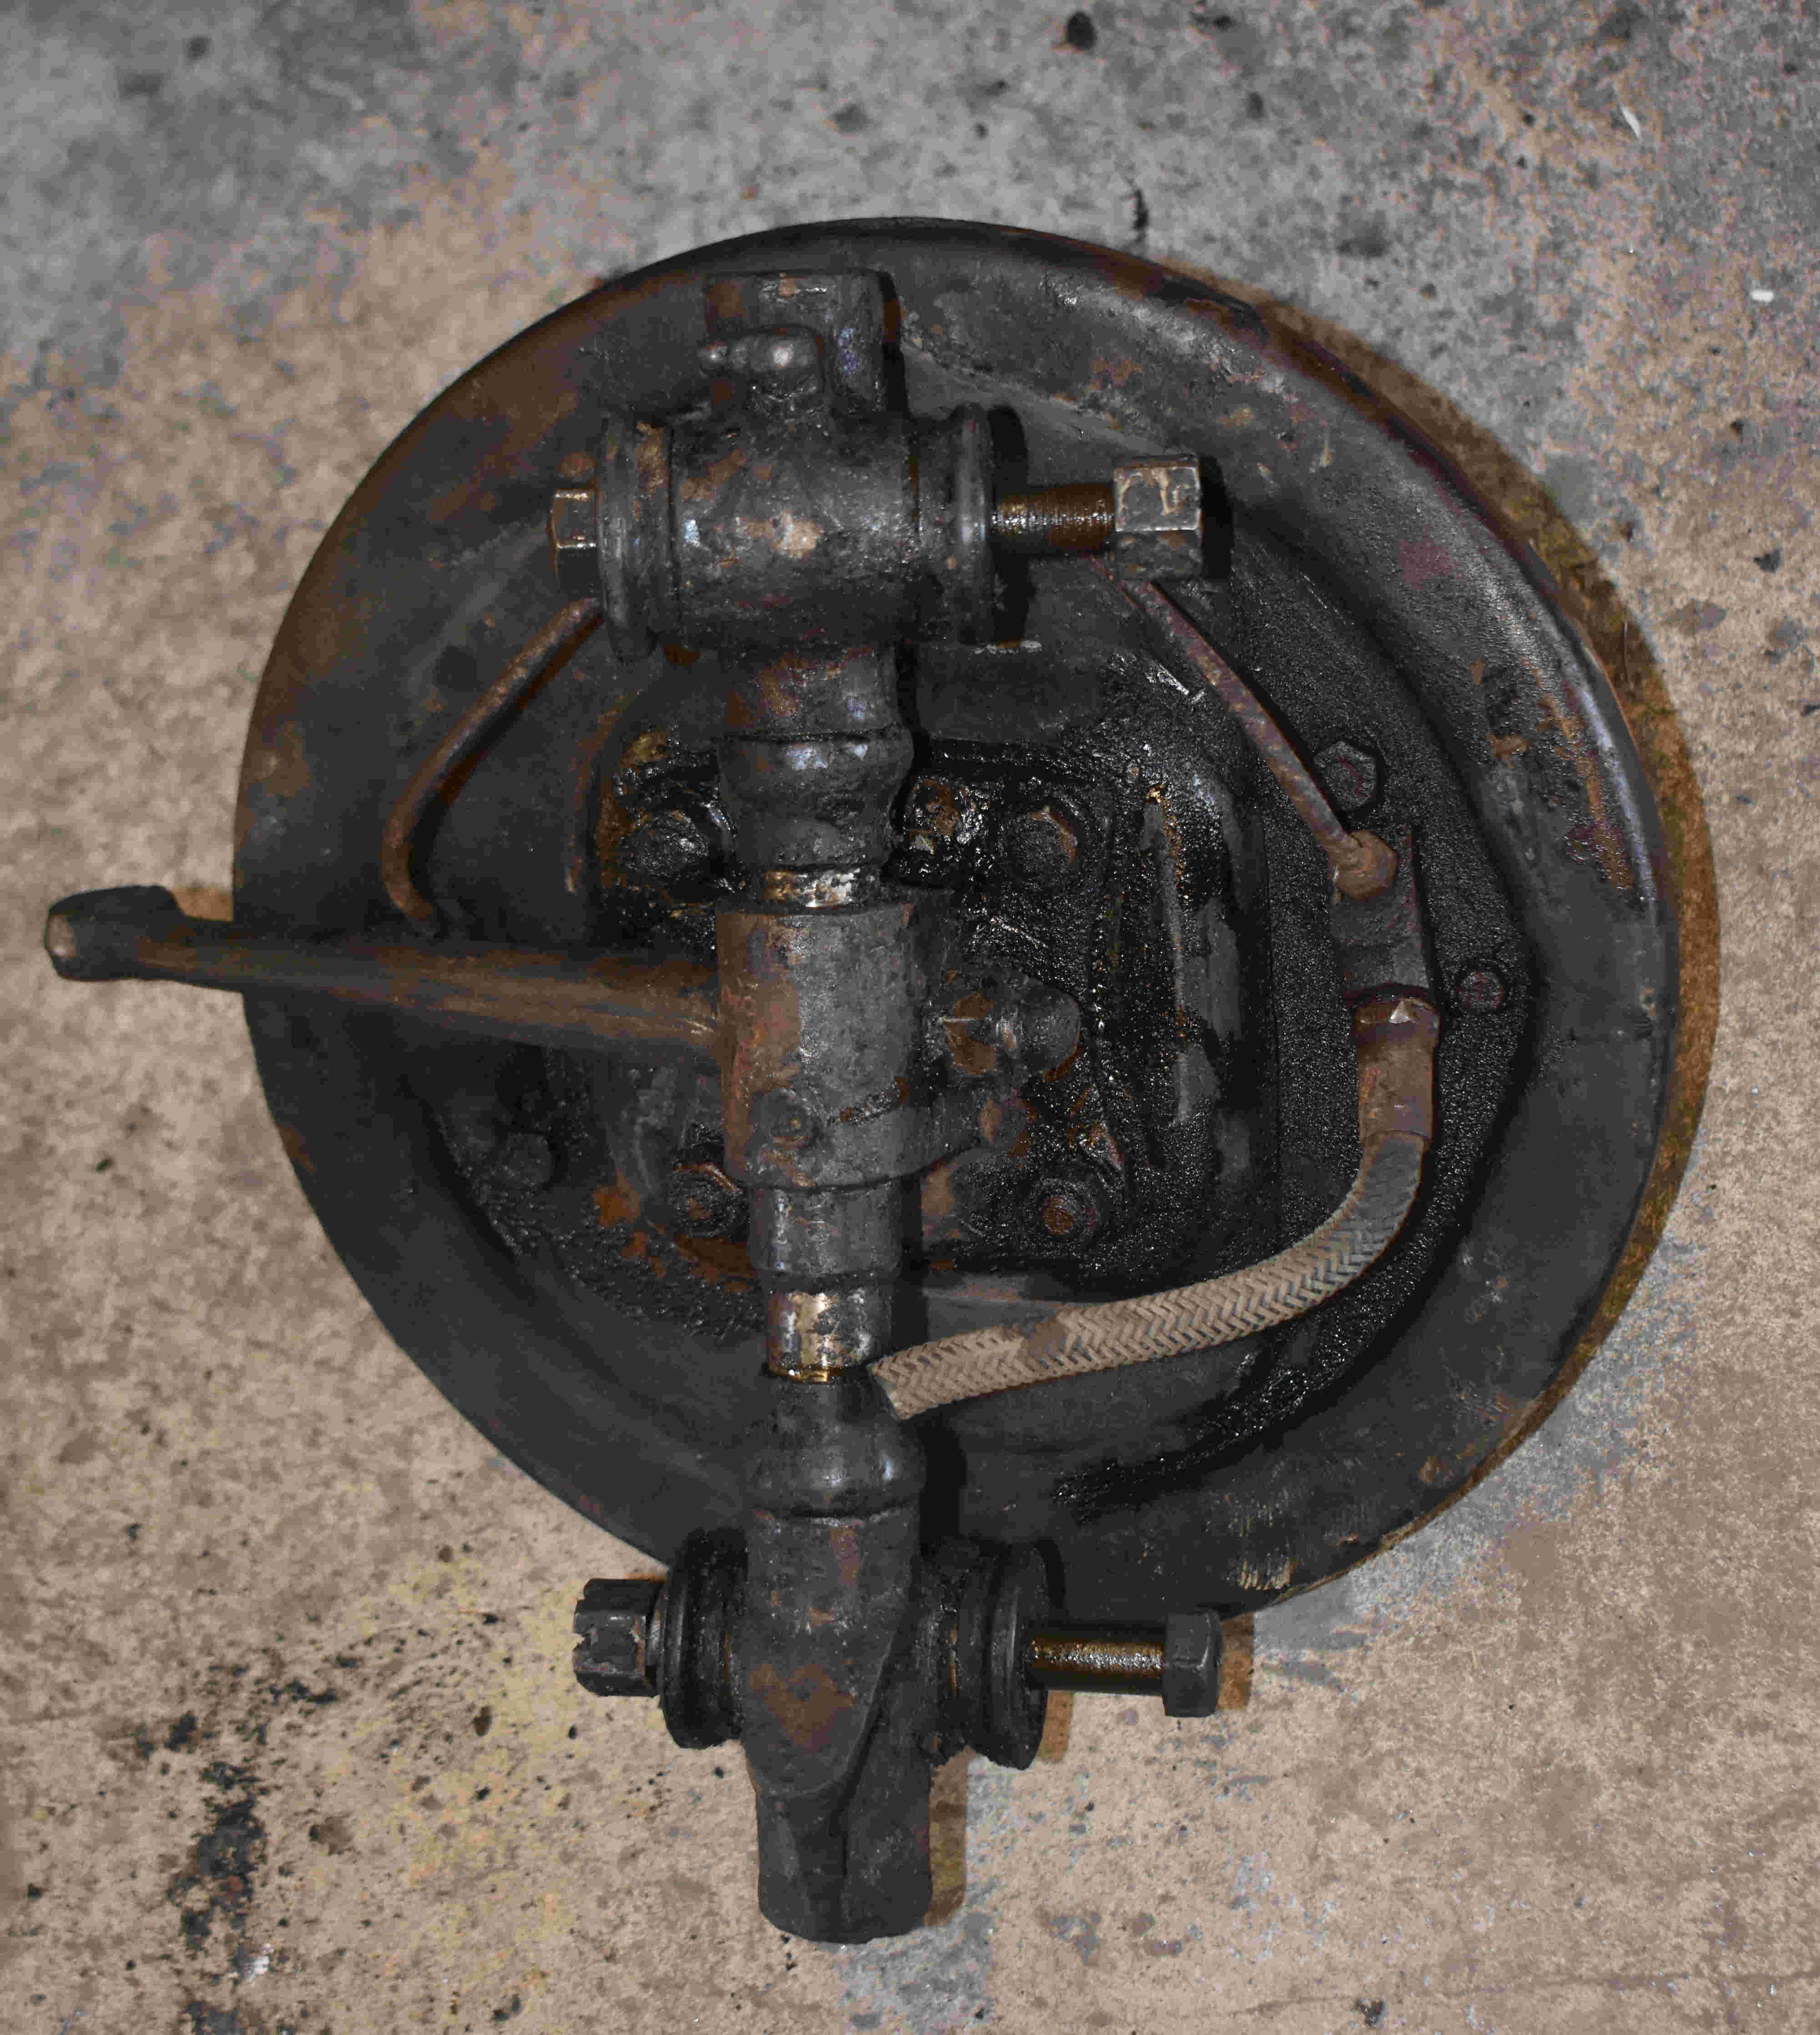
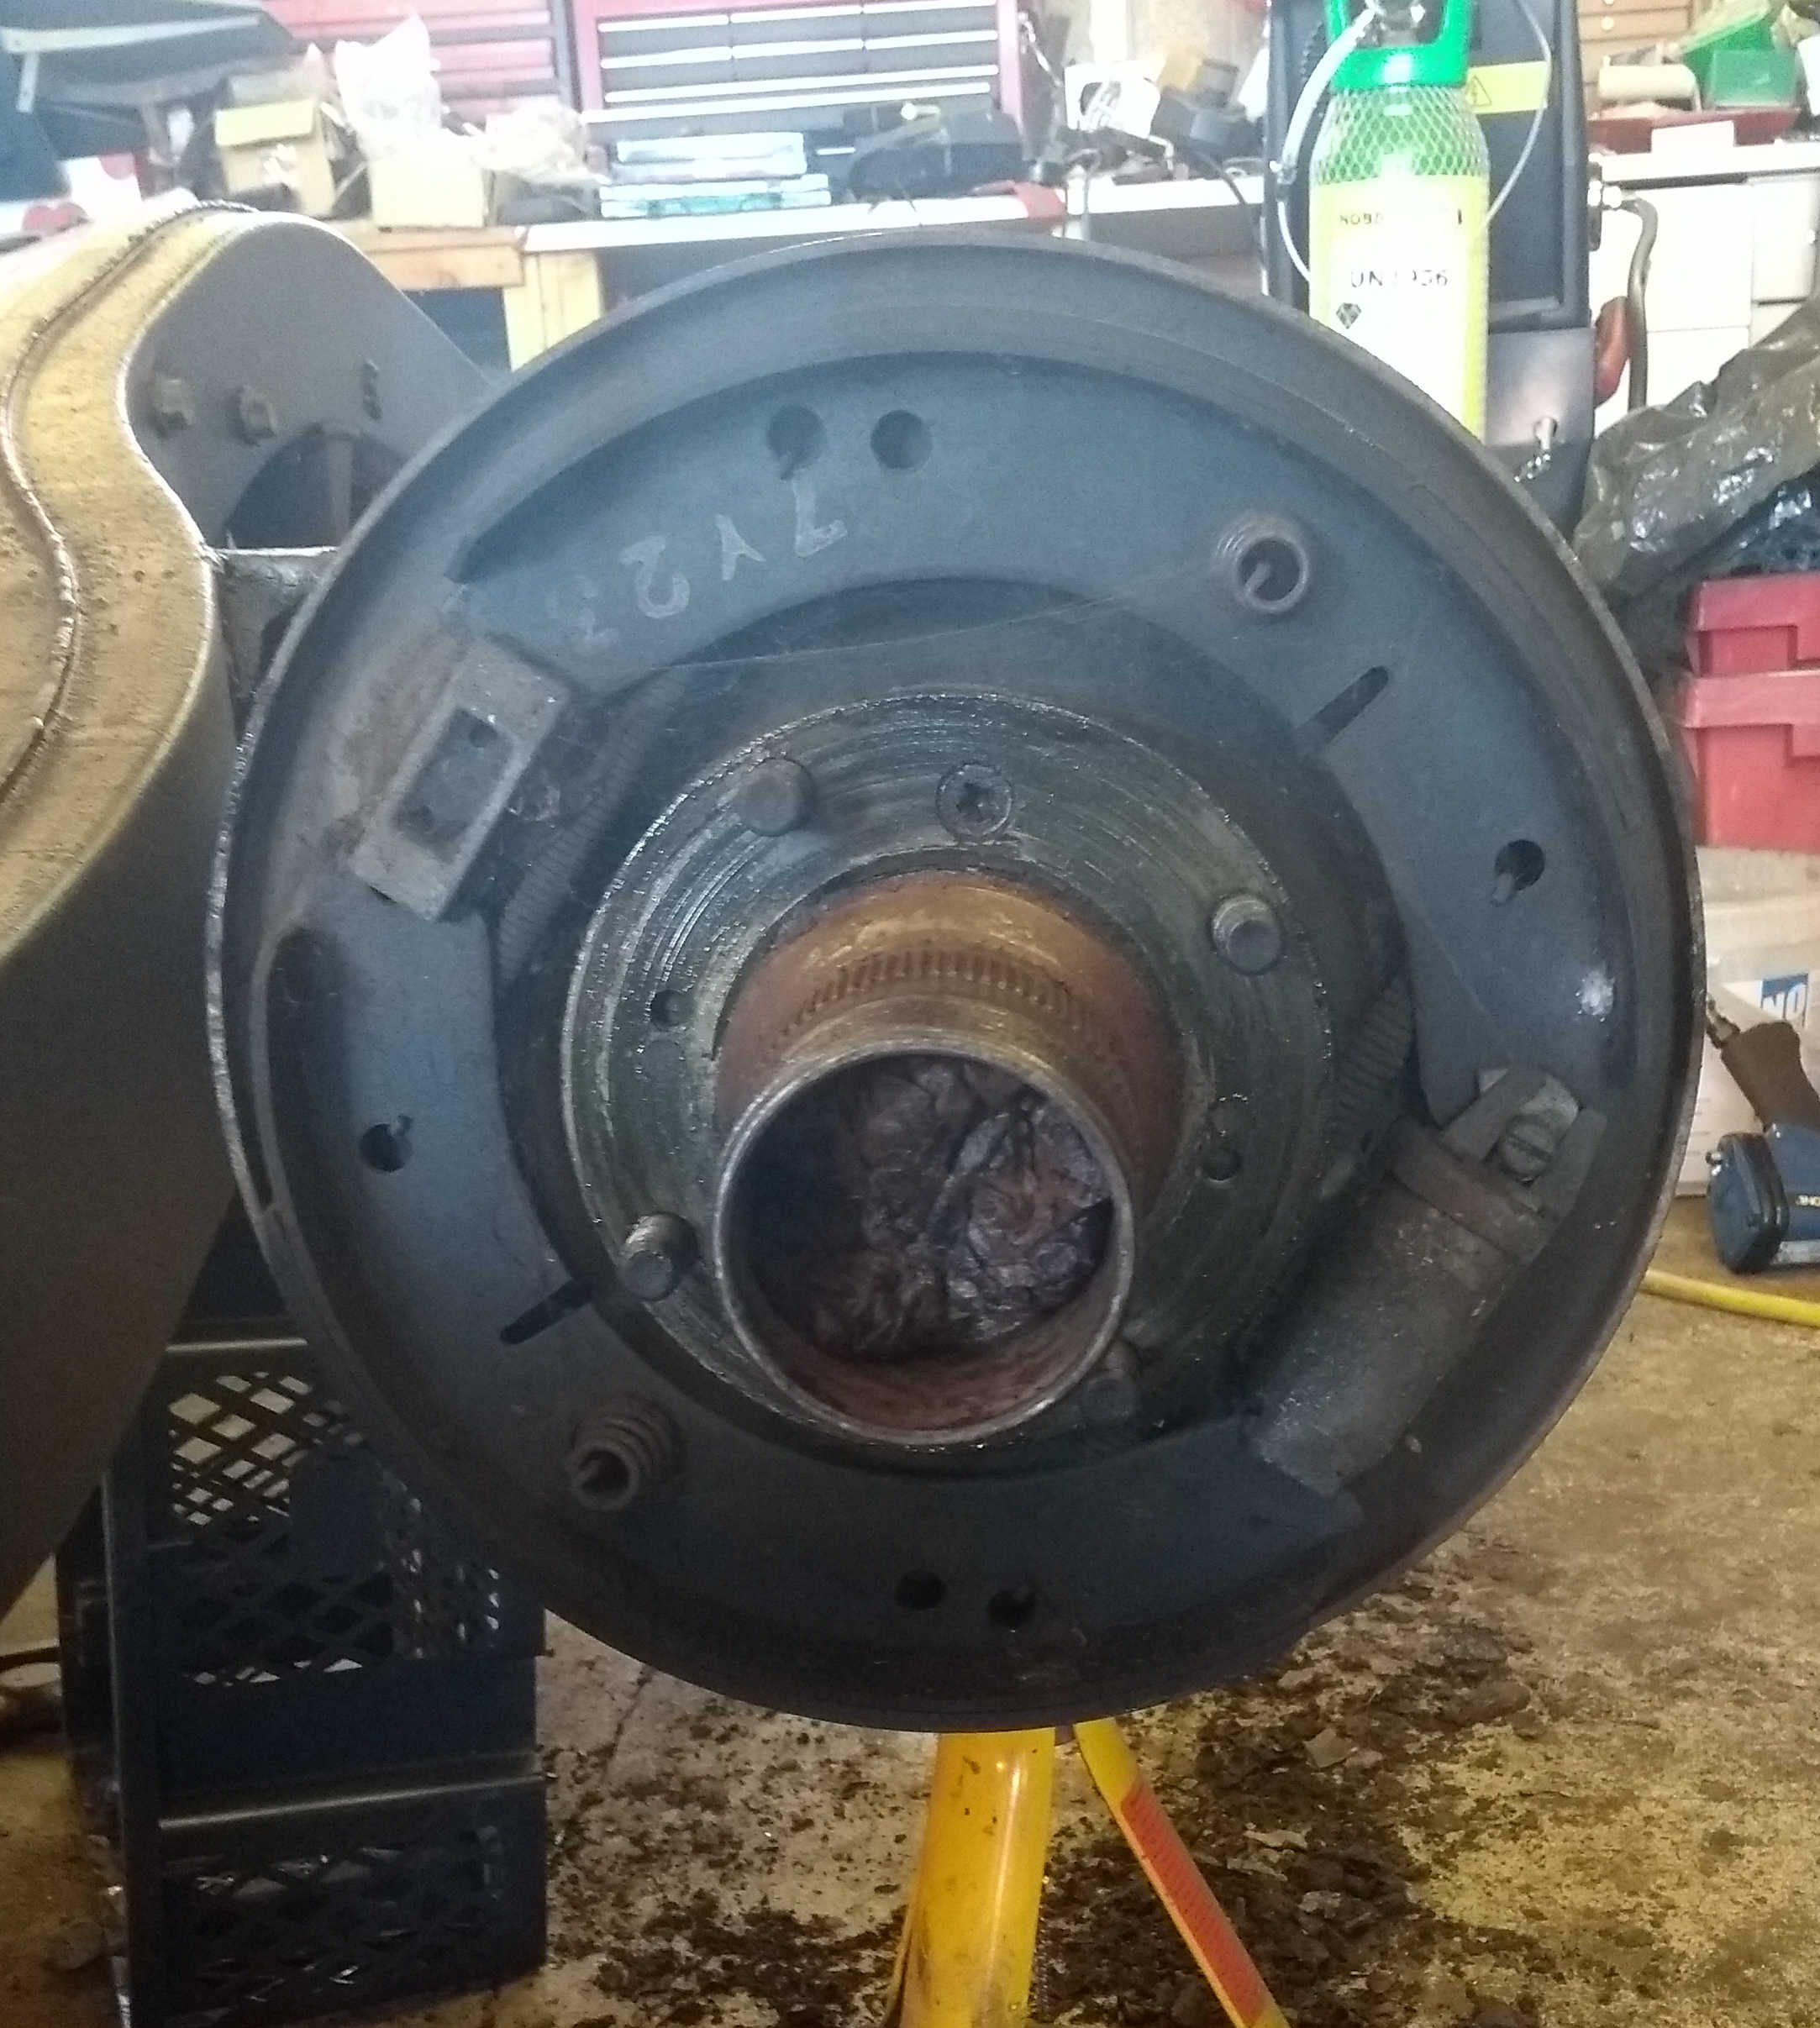
Once the front and rear axles were off the vehicle, the full state of the suspension could be assessed - as can be imagined, both were fairly well caked in a composite of oil, grease, tar and soil that had accumulated over the years which had to be scrapped and cleaned off. In all, it appeared in good condition - the bearings ran well with no play, there was no lateral movement in the king pins, and no fluid in the brake drums from leaky slave cylinders or oil seals - it looks like I will be able to get away with clean, rebuild and just replace serviceable parts. I was a little concerned that there was an oily rag stuffed in the LH rear wheel hub - was this there to mop up a persistant axle oil leak?
Click thumbnail
The front Armstrong lever shock absorbers appeared to be in reasonable condition, but one rear was totally ceased and the other had no resistance was so ever. A secondhand pair of rears were sourced plus new gaskets and shocker oil, then all four were cleaned, stripped, flushed, reassembled and painted back into good working order.
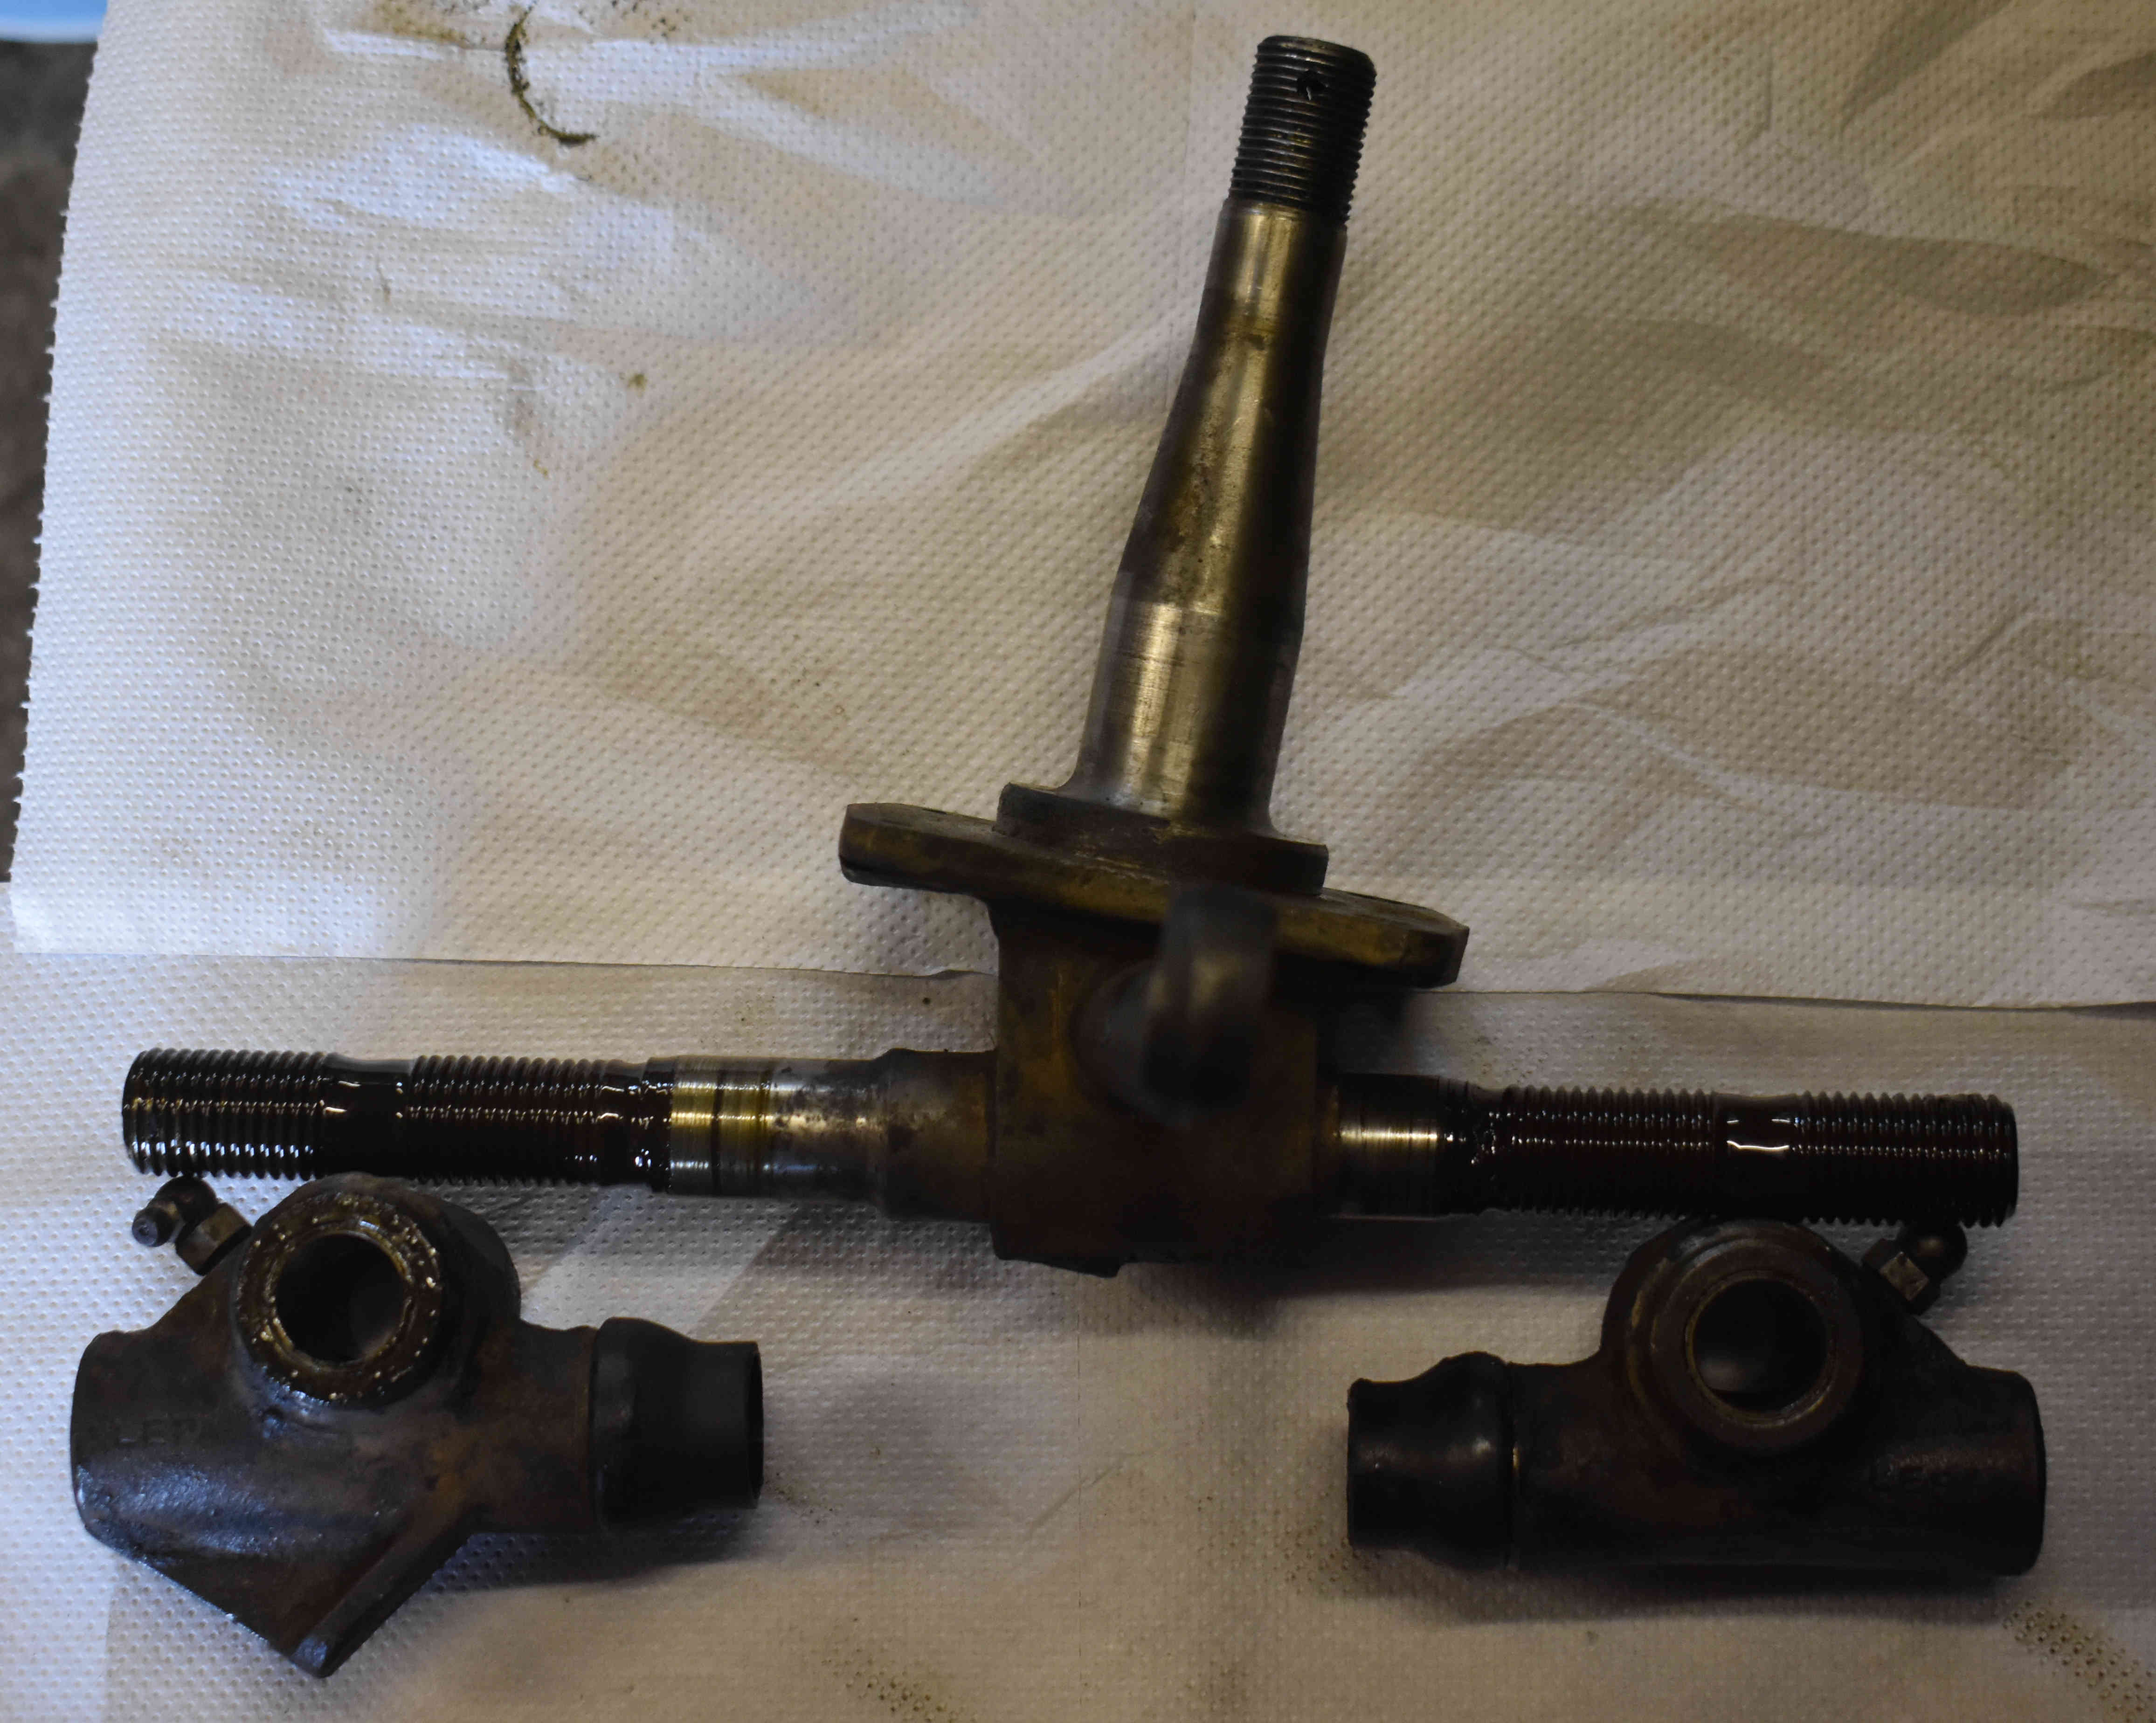
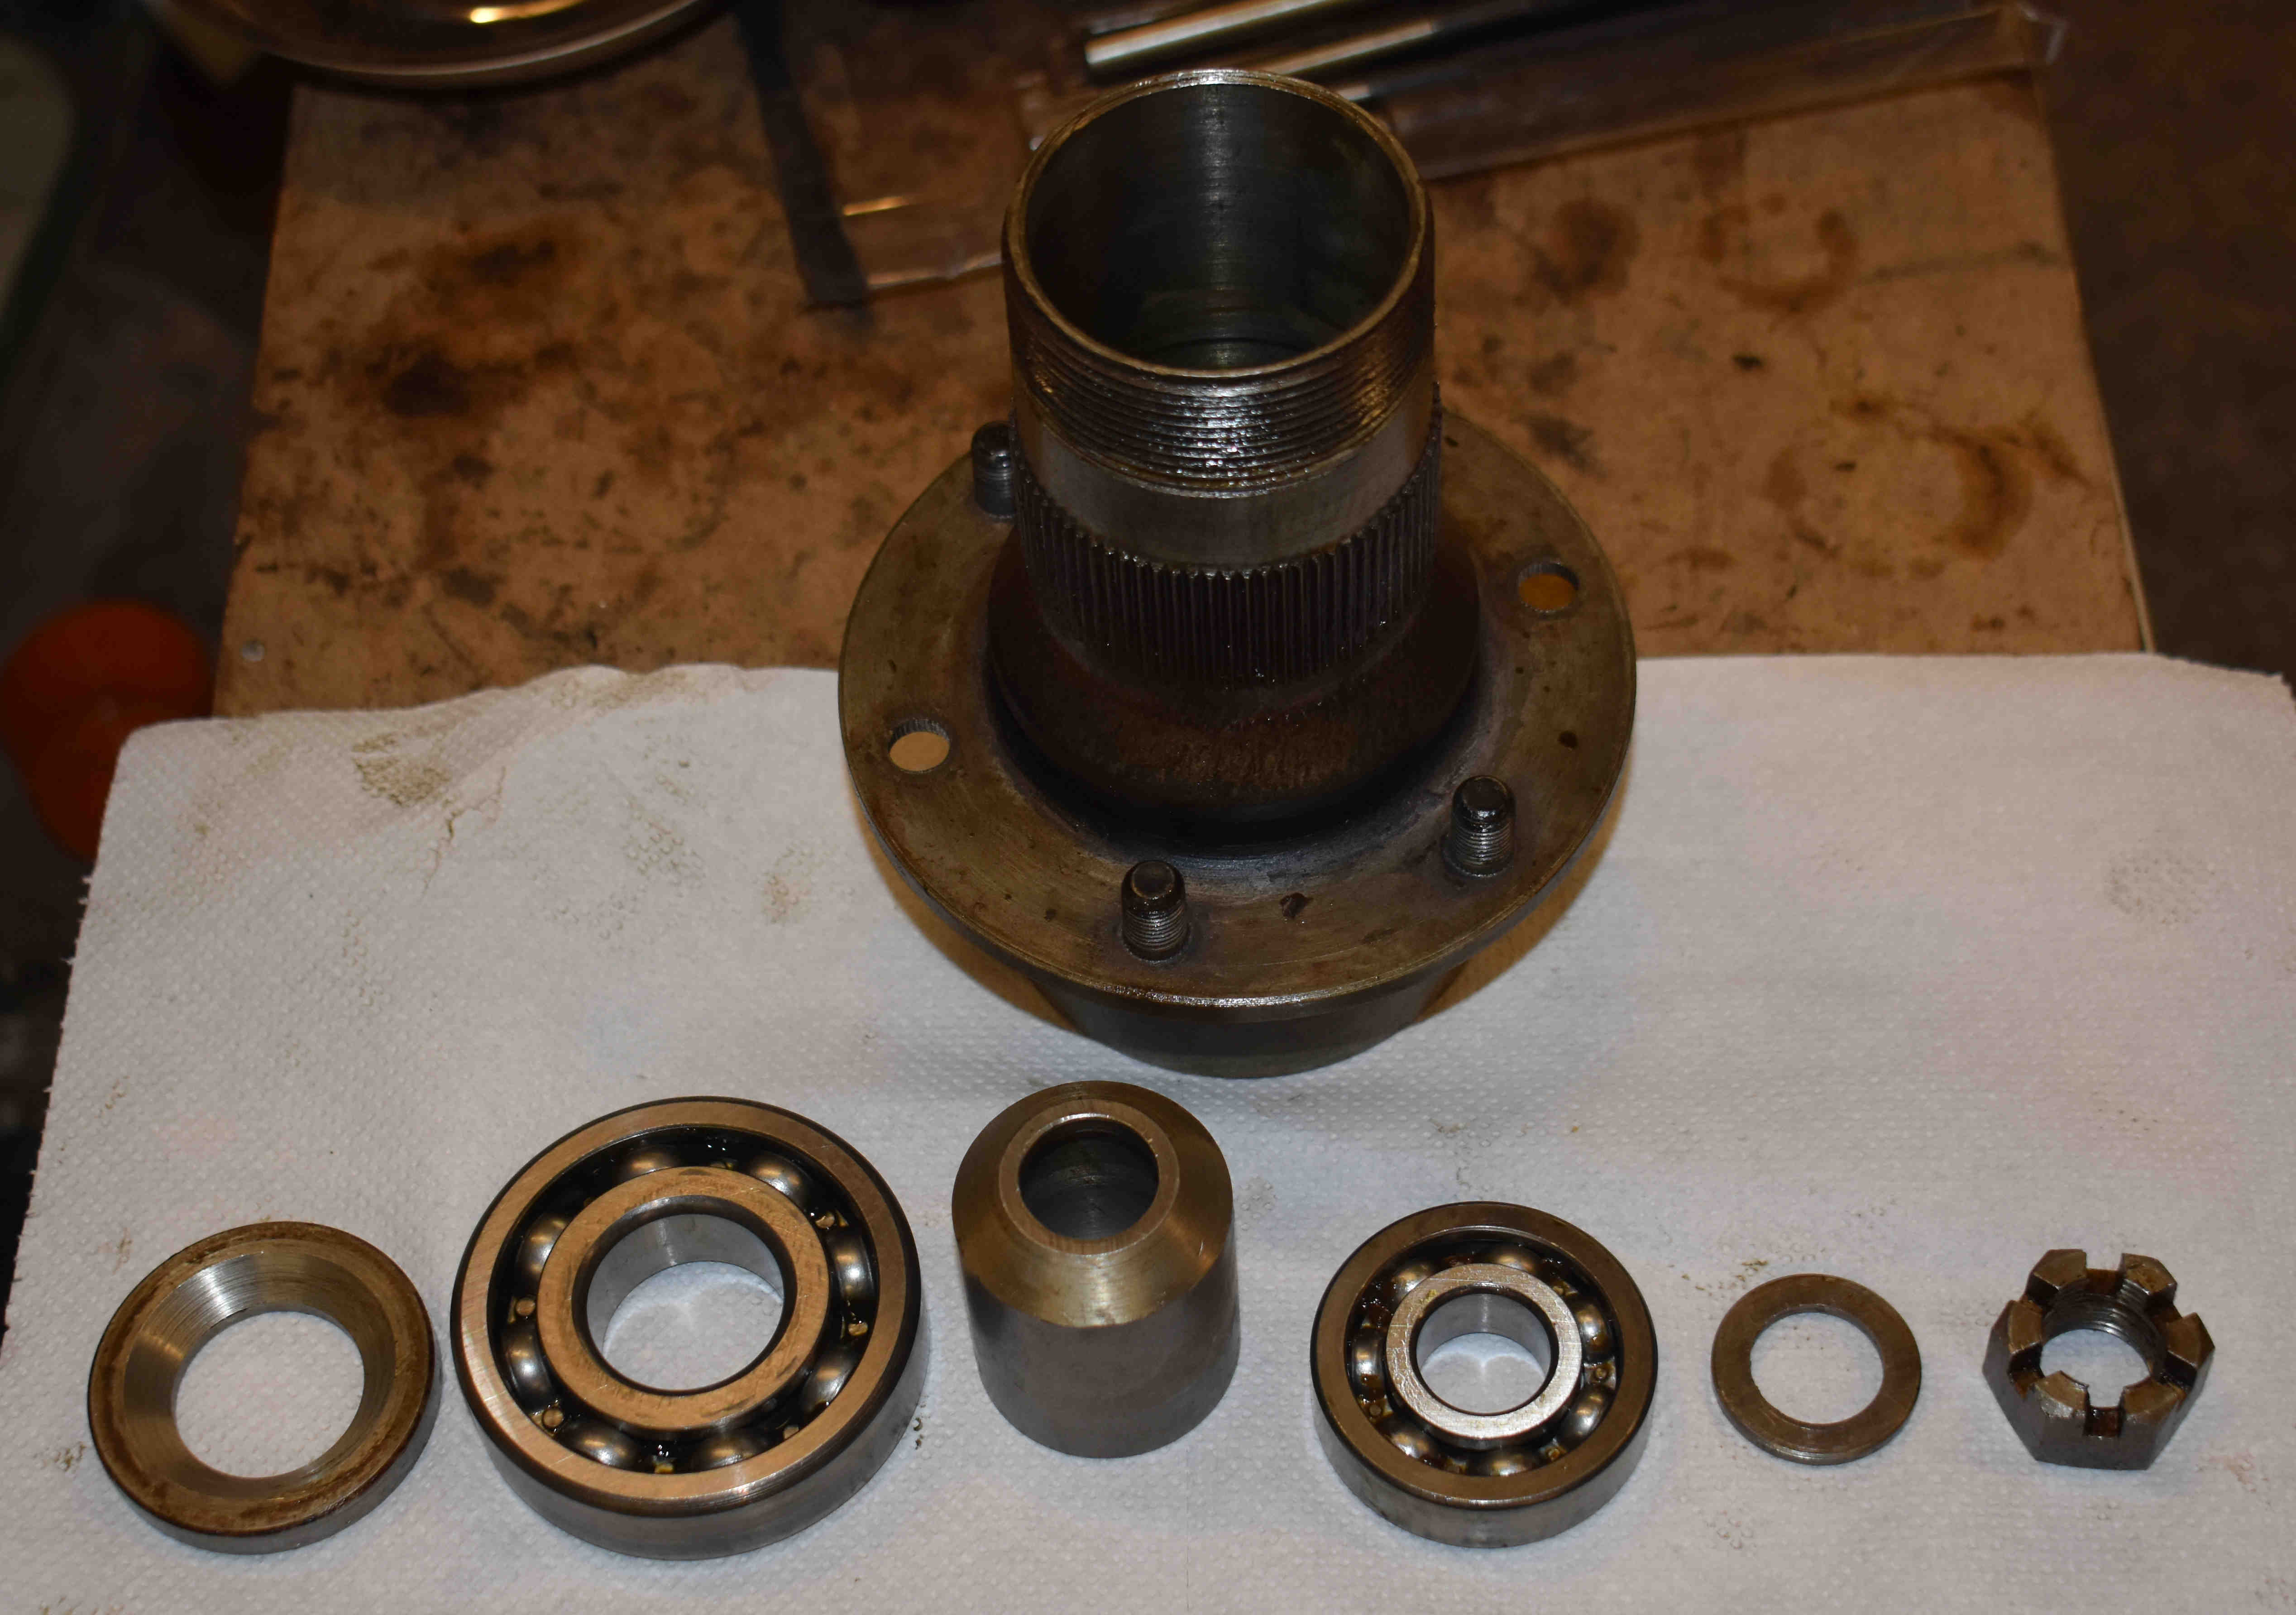
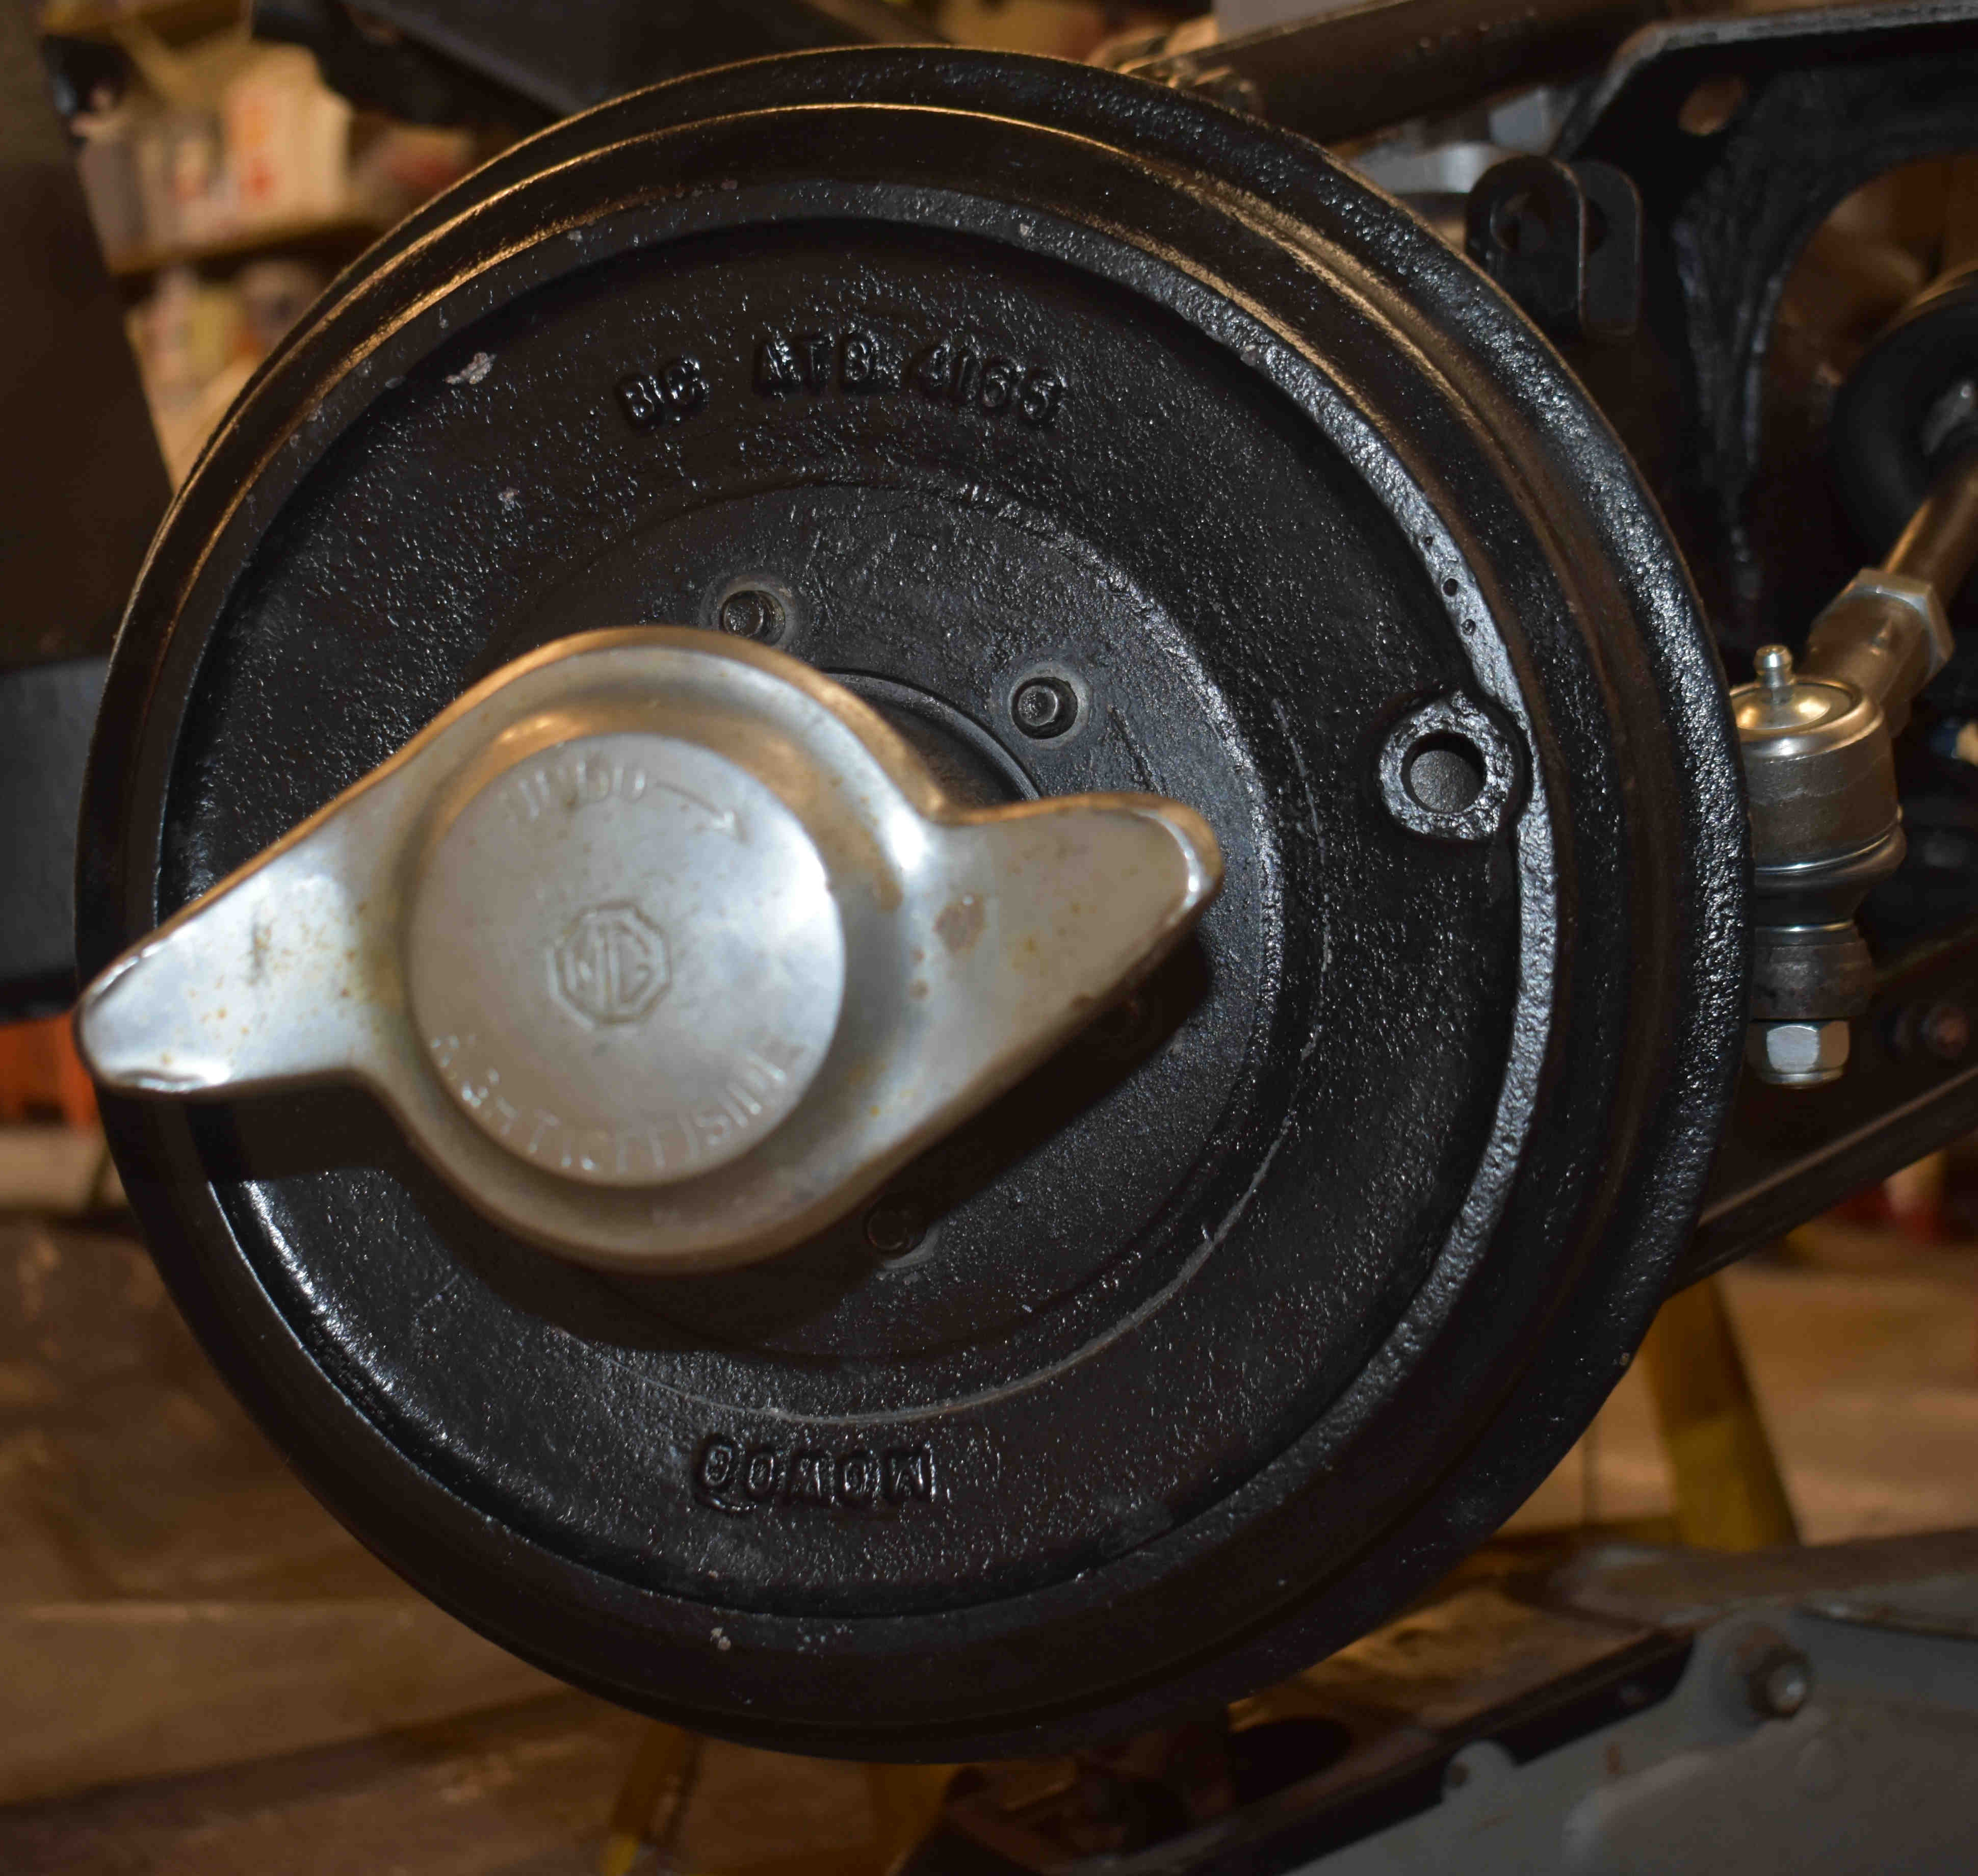
The front hubs were completely stripped down to component parts, cleaned, inspected, greased and reassembled. The bearings were in good order so went back in the hubs, but the right hand hub was renewed with a correct RH unit as the one taken off was in fact a Left hand hub - presumably repaired in a previous life by someone who did not have the correct part - now the hub nuts on the RHS are both left hand thread and say "Right Offside, Undo ->"
Click thumbnail
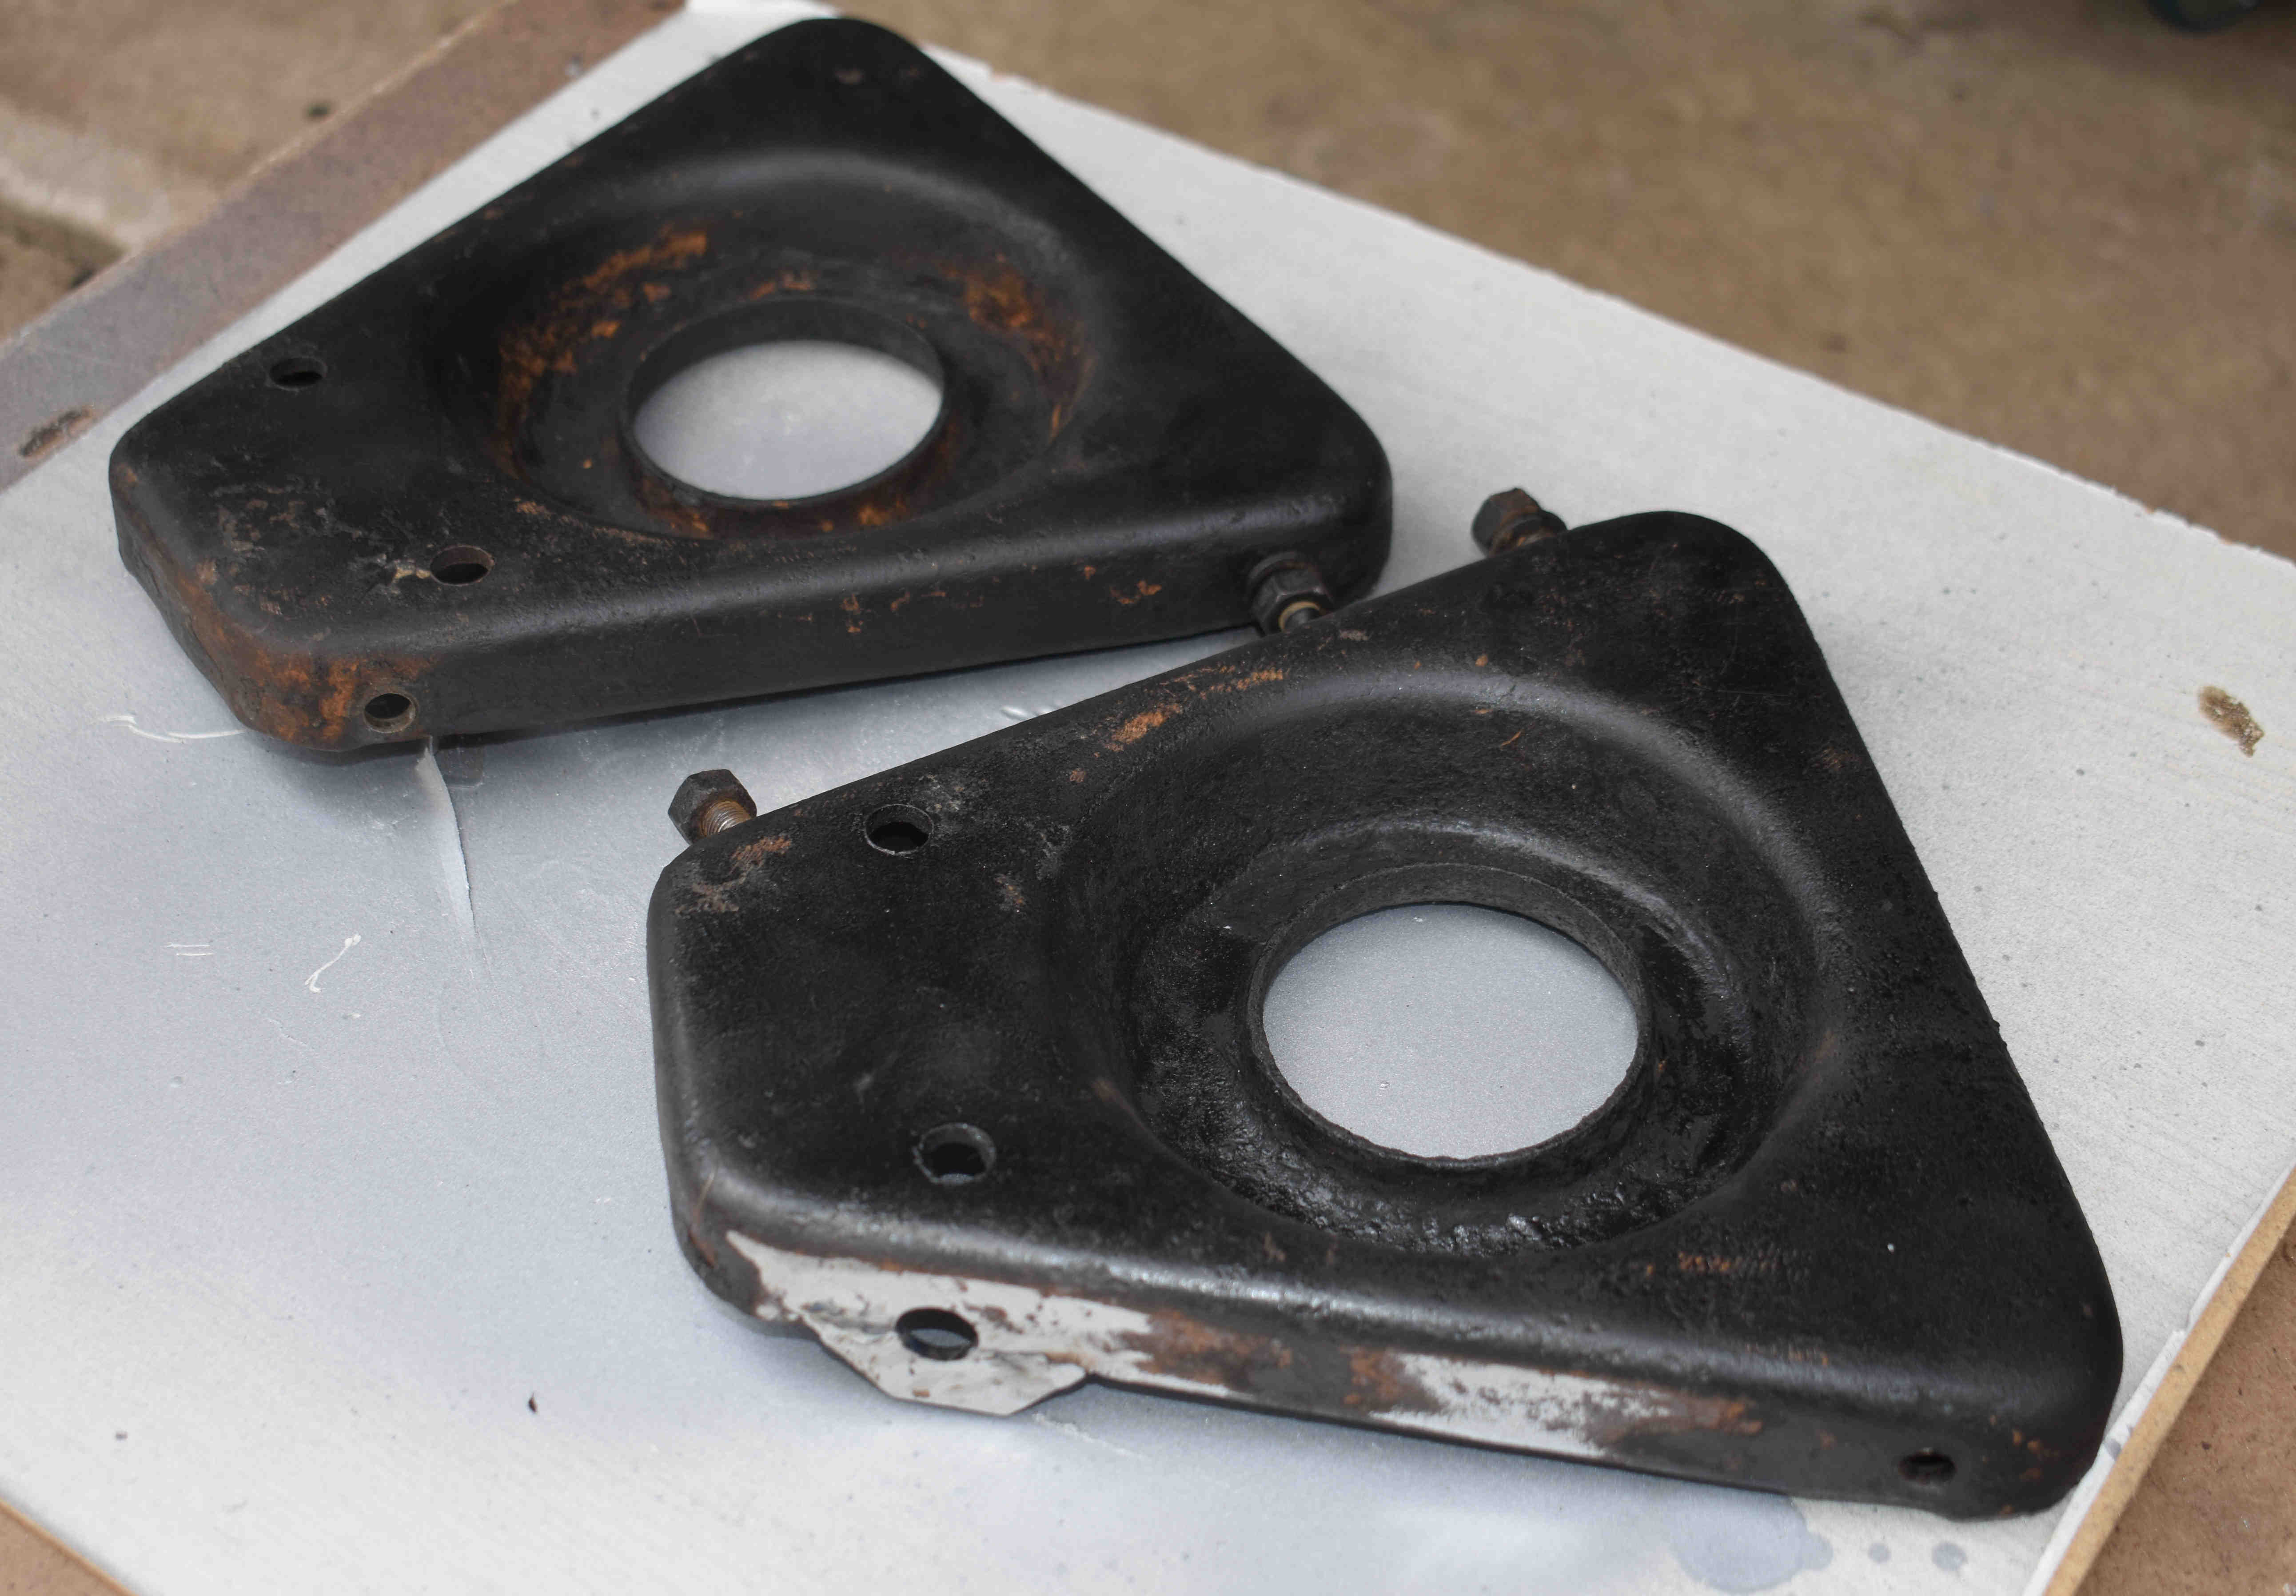
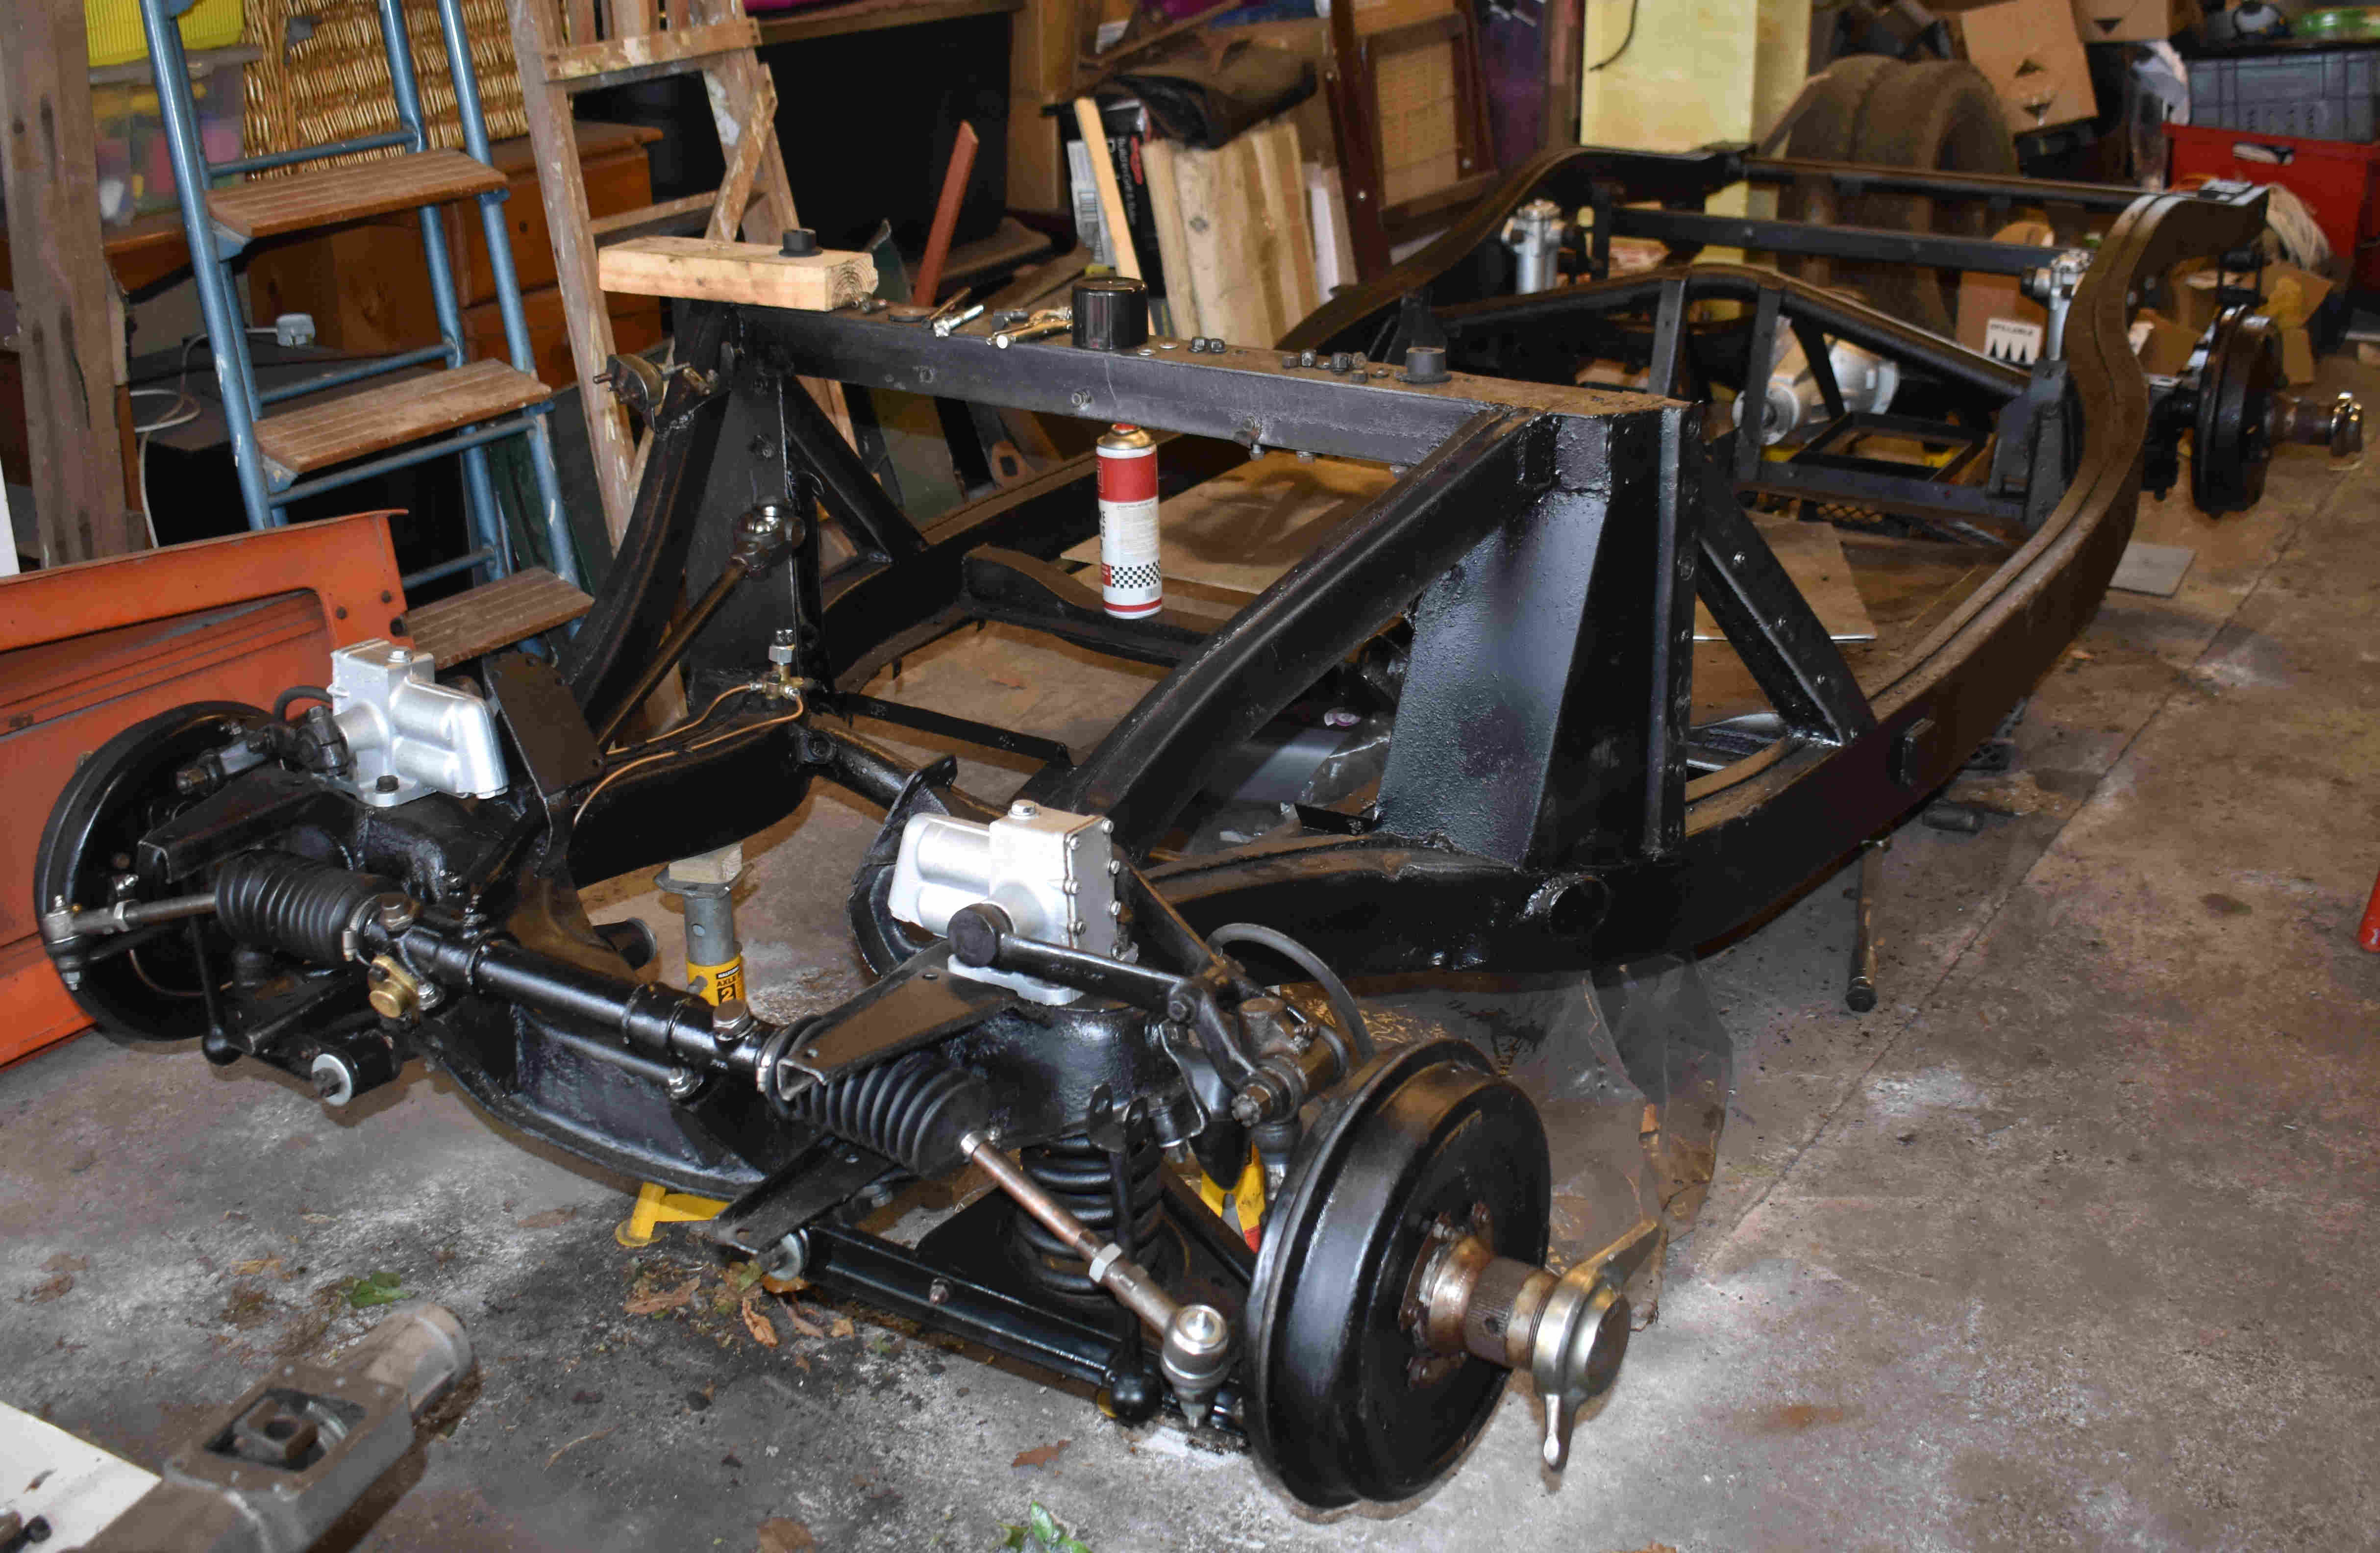
Due to some damage to the front end, I've sourced a brand new chassis extension. To allow these new units to fit all MGA models, they are manufactured with the cut out for an Anti-Roll Bar which were only fitted as standard to the later models. According to John Twist of Univertity Motors "There's no better upgrade you can do on your MGA than fit an anti-sway bar on it" so now's the time to do it. I purchased a new ARB, link, bracket and bushes, but you also need a later model spring pan (again, the new ones have five holes, instead of four, to suit all models) and wishbone arms for the link to attach. The wishbone arms are relatively inexpensive, unlike the spring pans, so I purchased a couple of arms and used that as a templete to modify the pans by adding a tab and drilling a hole for the ARB link - see Barney Gaylord's brilliant MGA Guru site - yes, that's my photo of the adapted spring pans and my technical drawing.
Click thumbnail
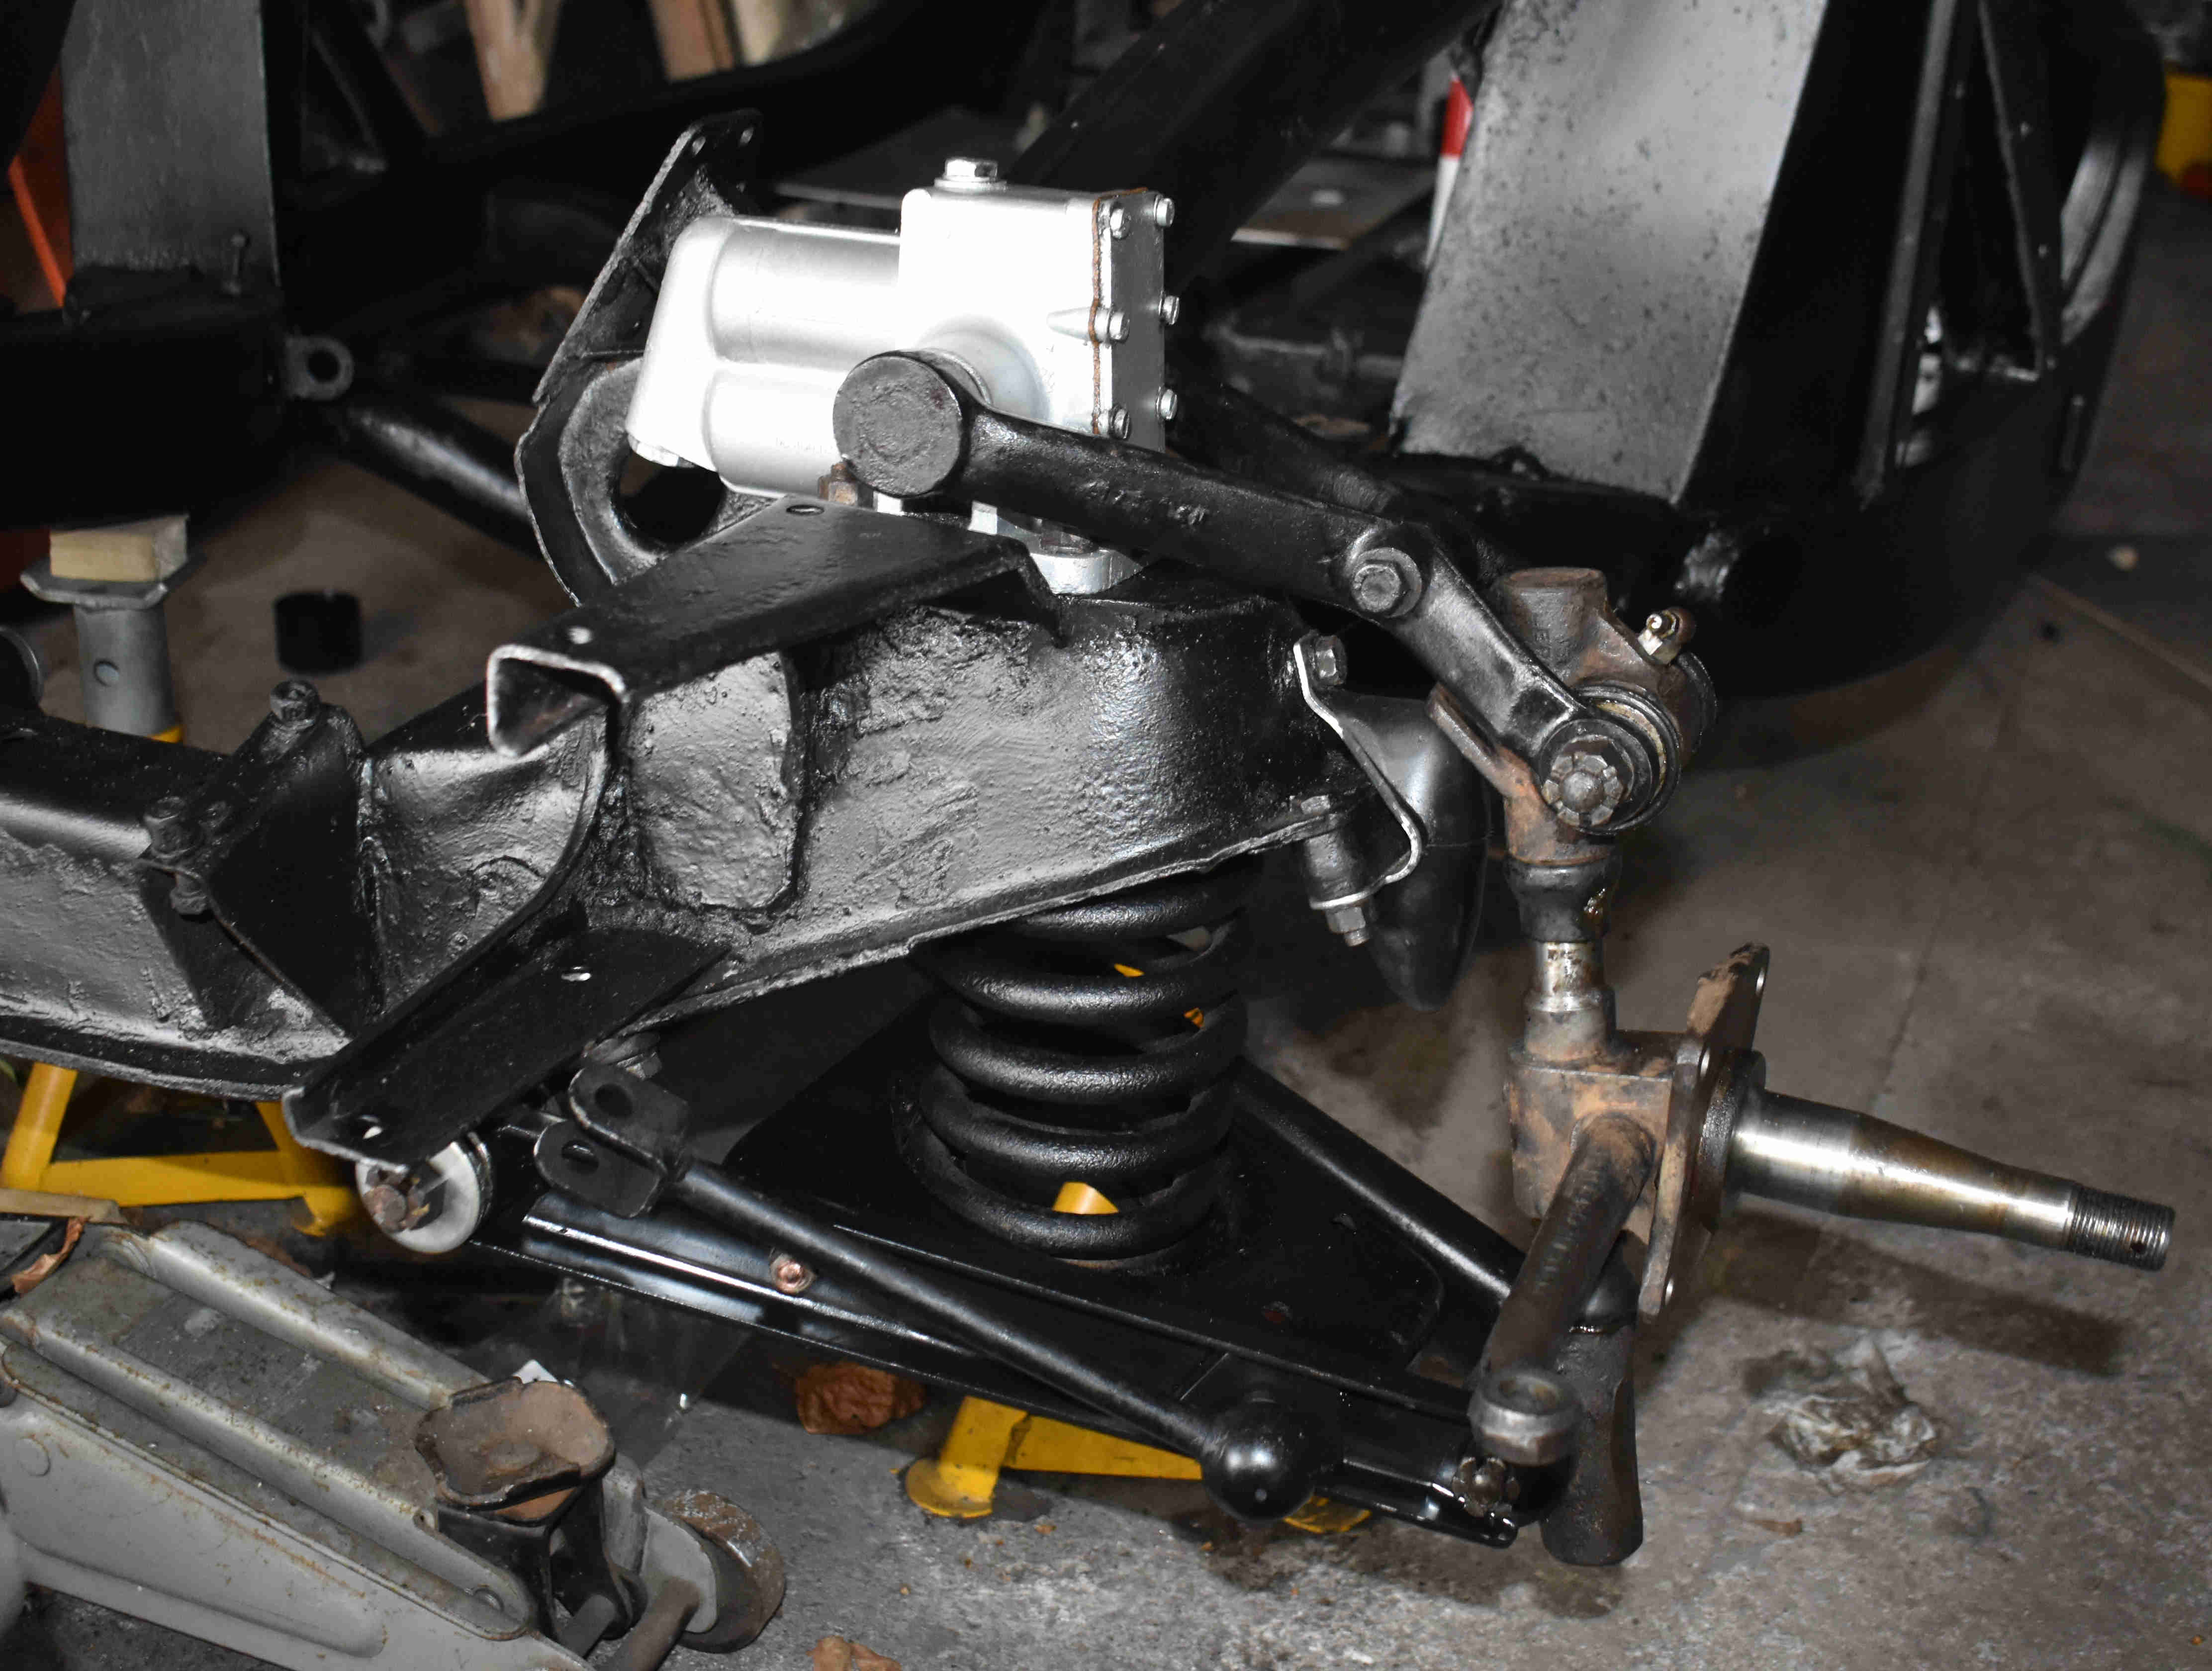
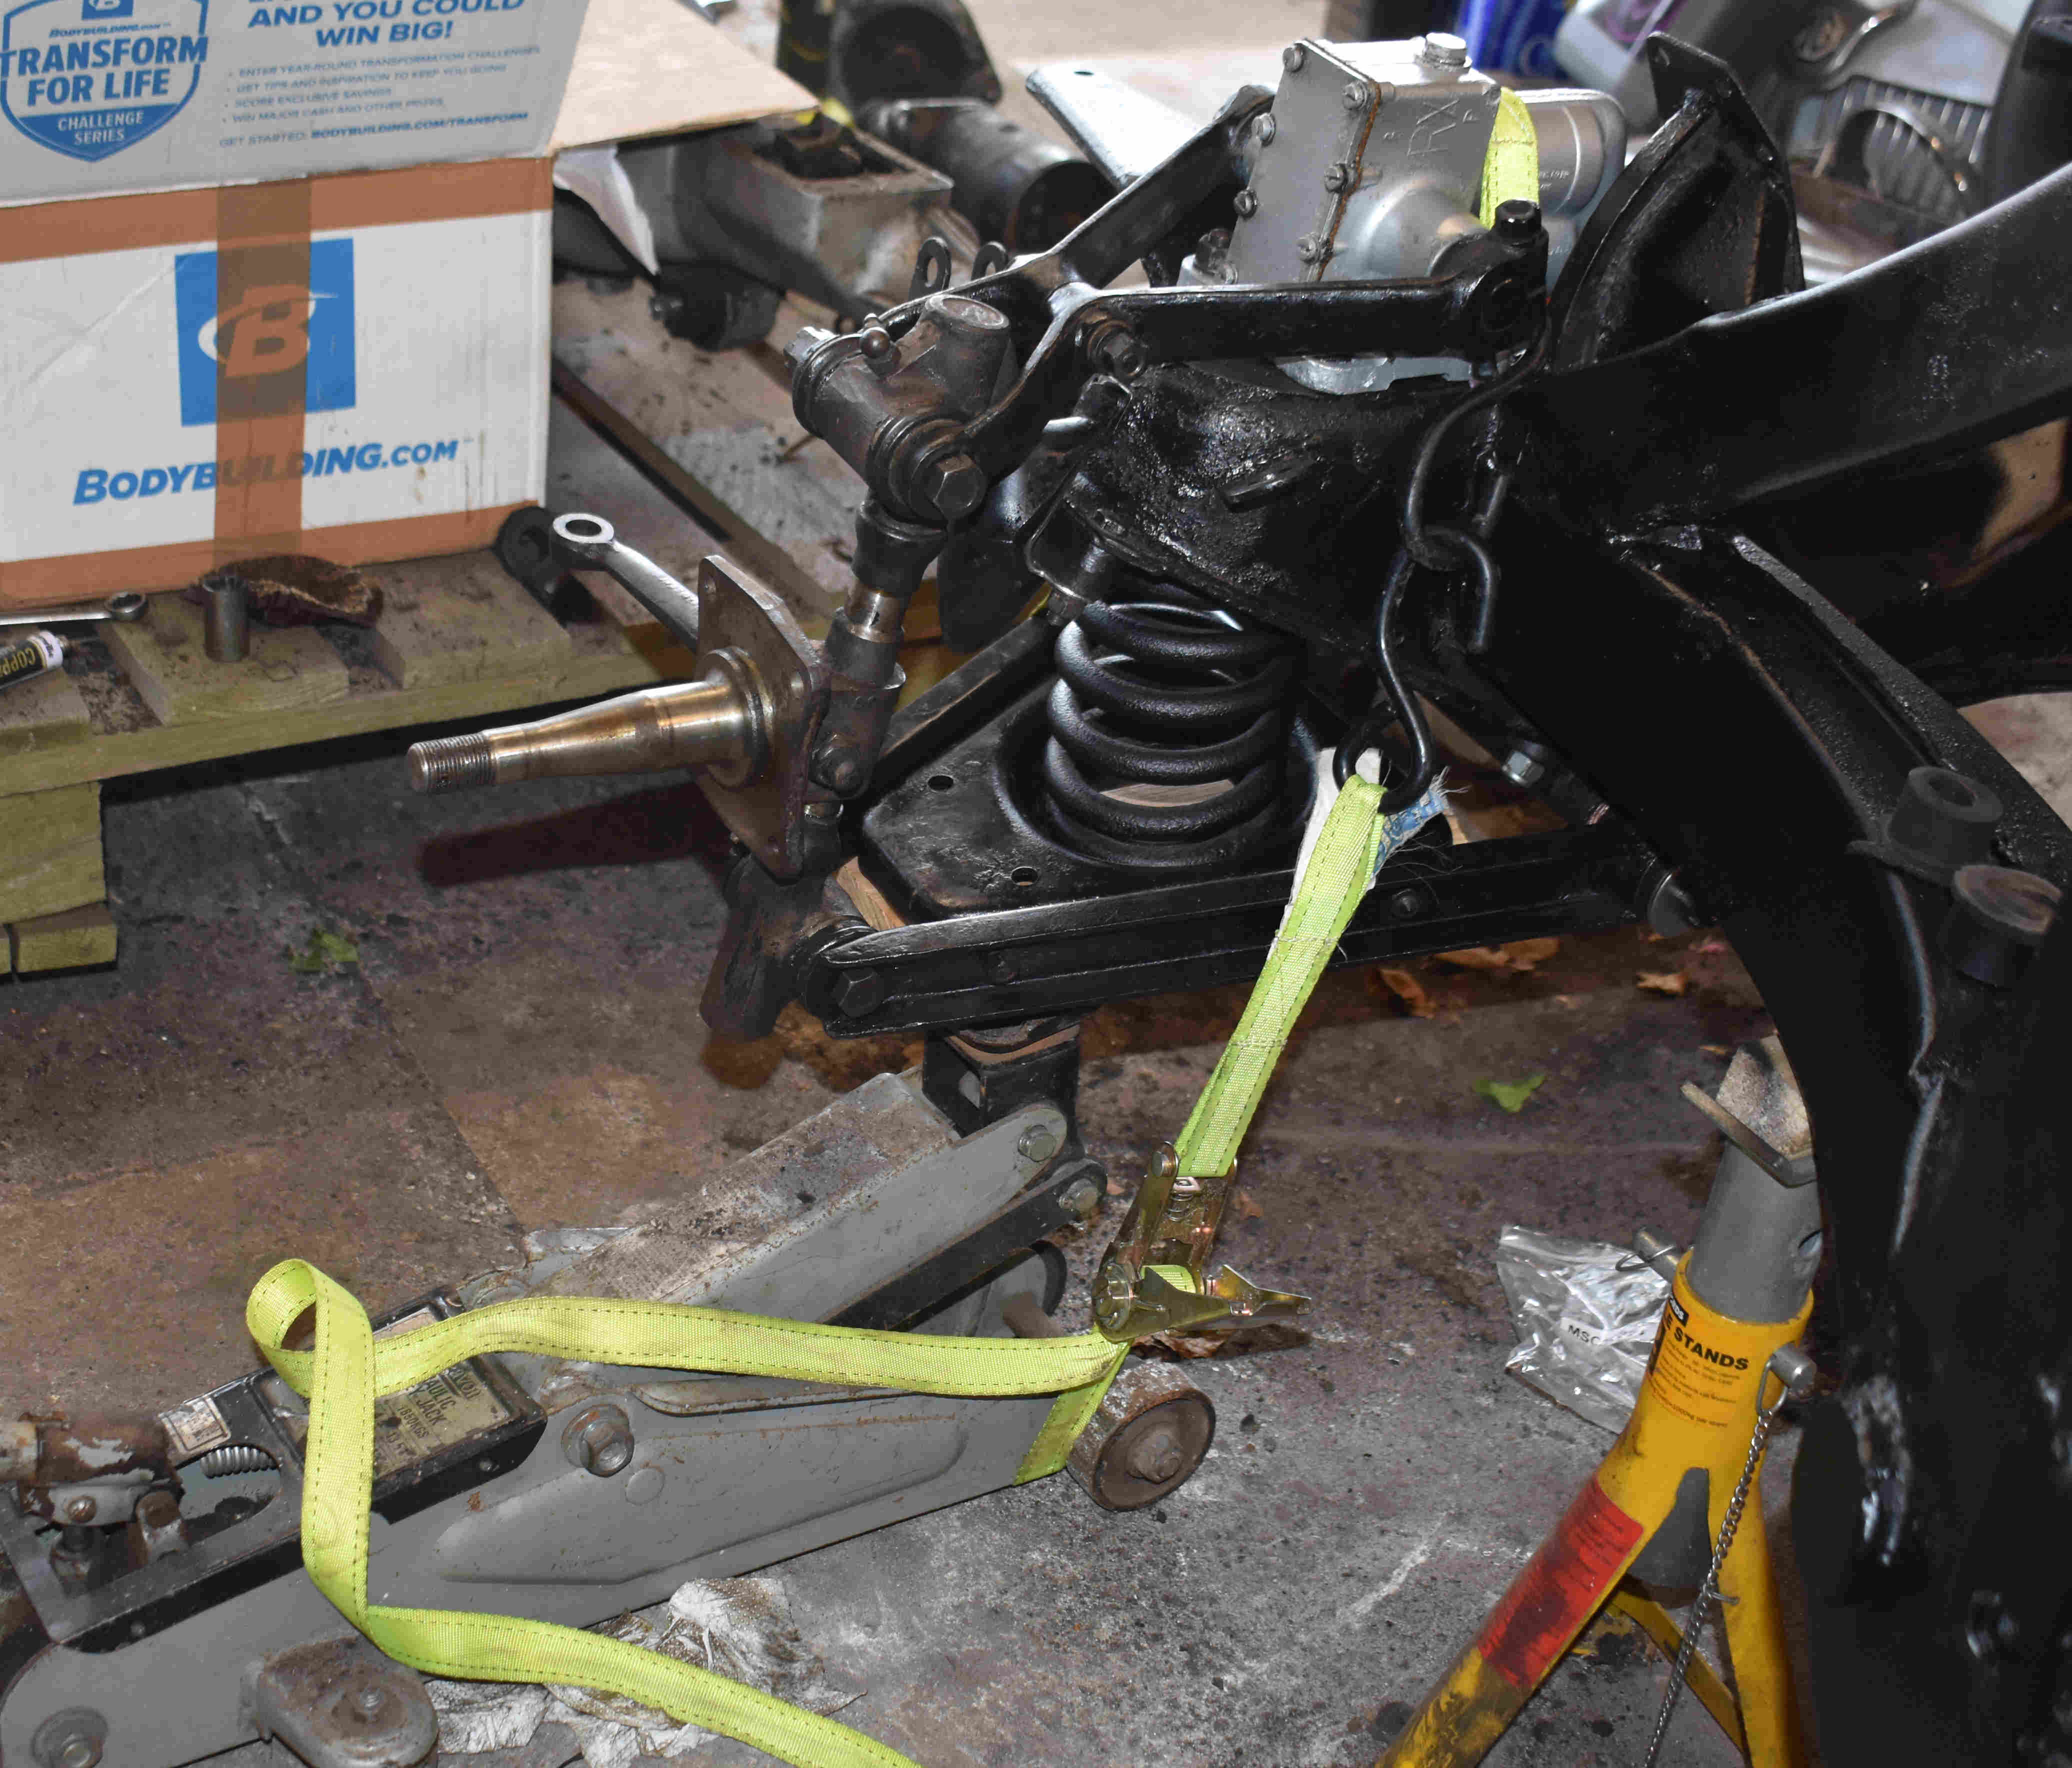
Without the weight of the engine and body, refitting the front axles presented a problem - normally you compress the spring with a jack under the spring pan but, without the usual weight, the whole stripped chassis raises up without compressing the spring. You can purchase special spring compressors but not all these work on this suspension or are out of budget. The simple solution was to use a ratchet strap to tie the trolly jack to the suspension so that it compressed the spring without lifting the chassis. I also used this method on the rear leaf springs to attach the rear axle.
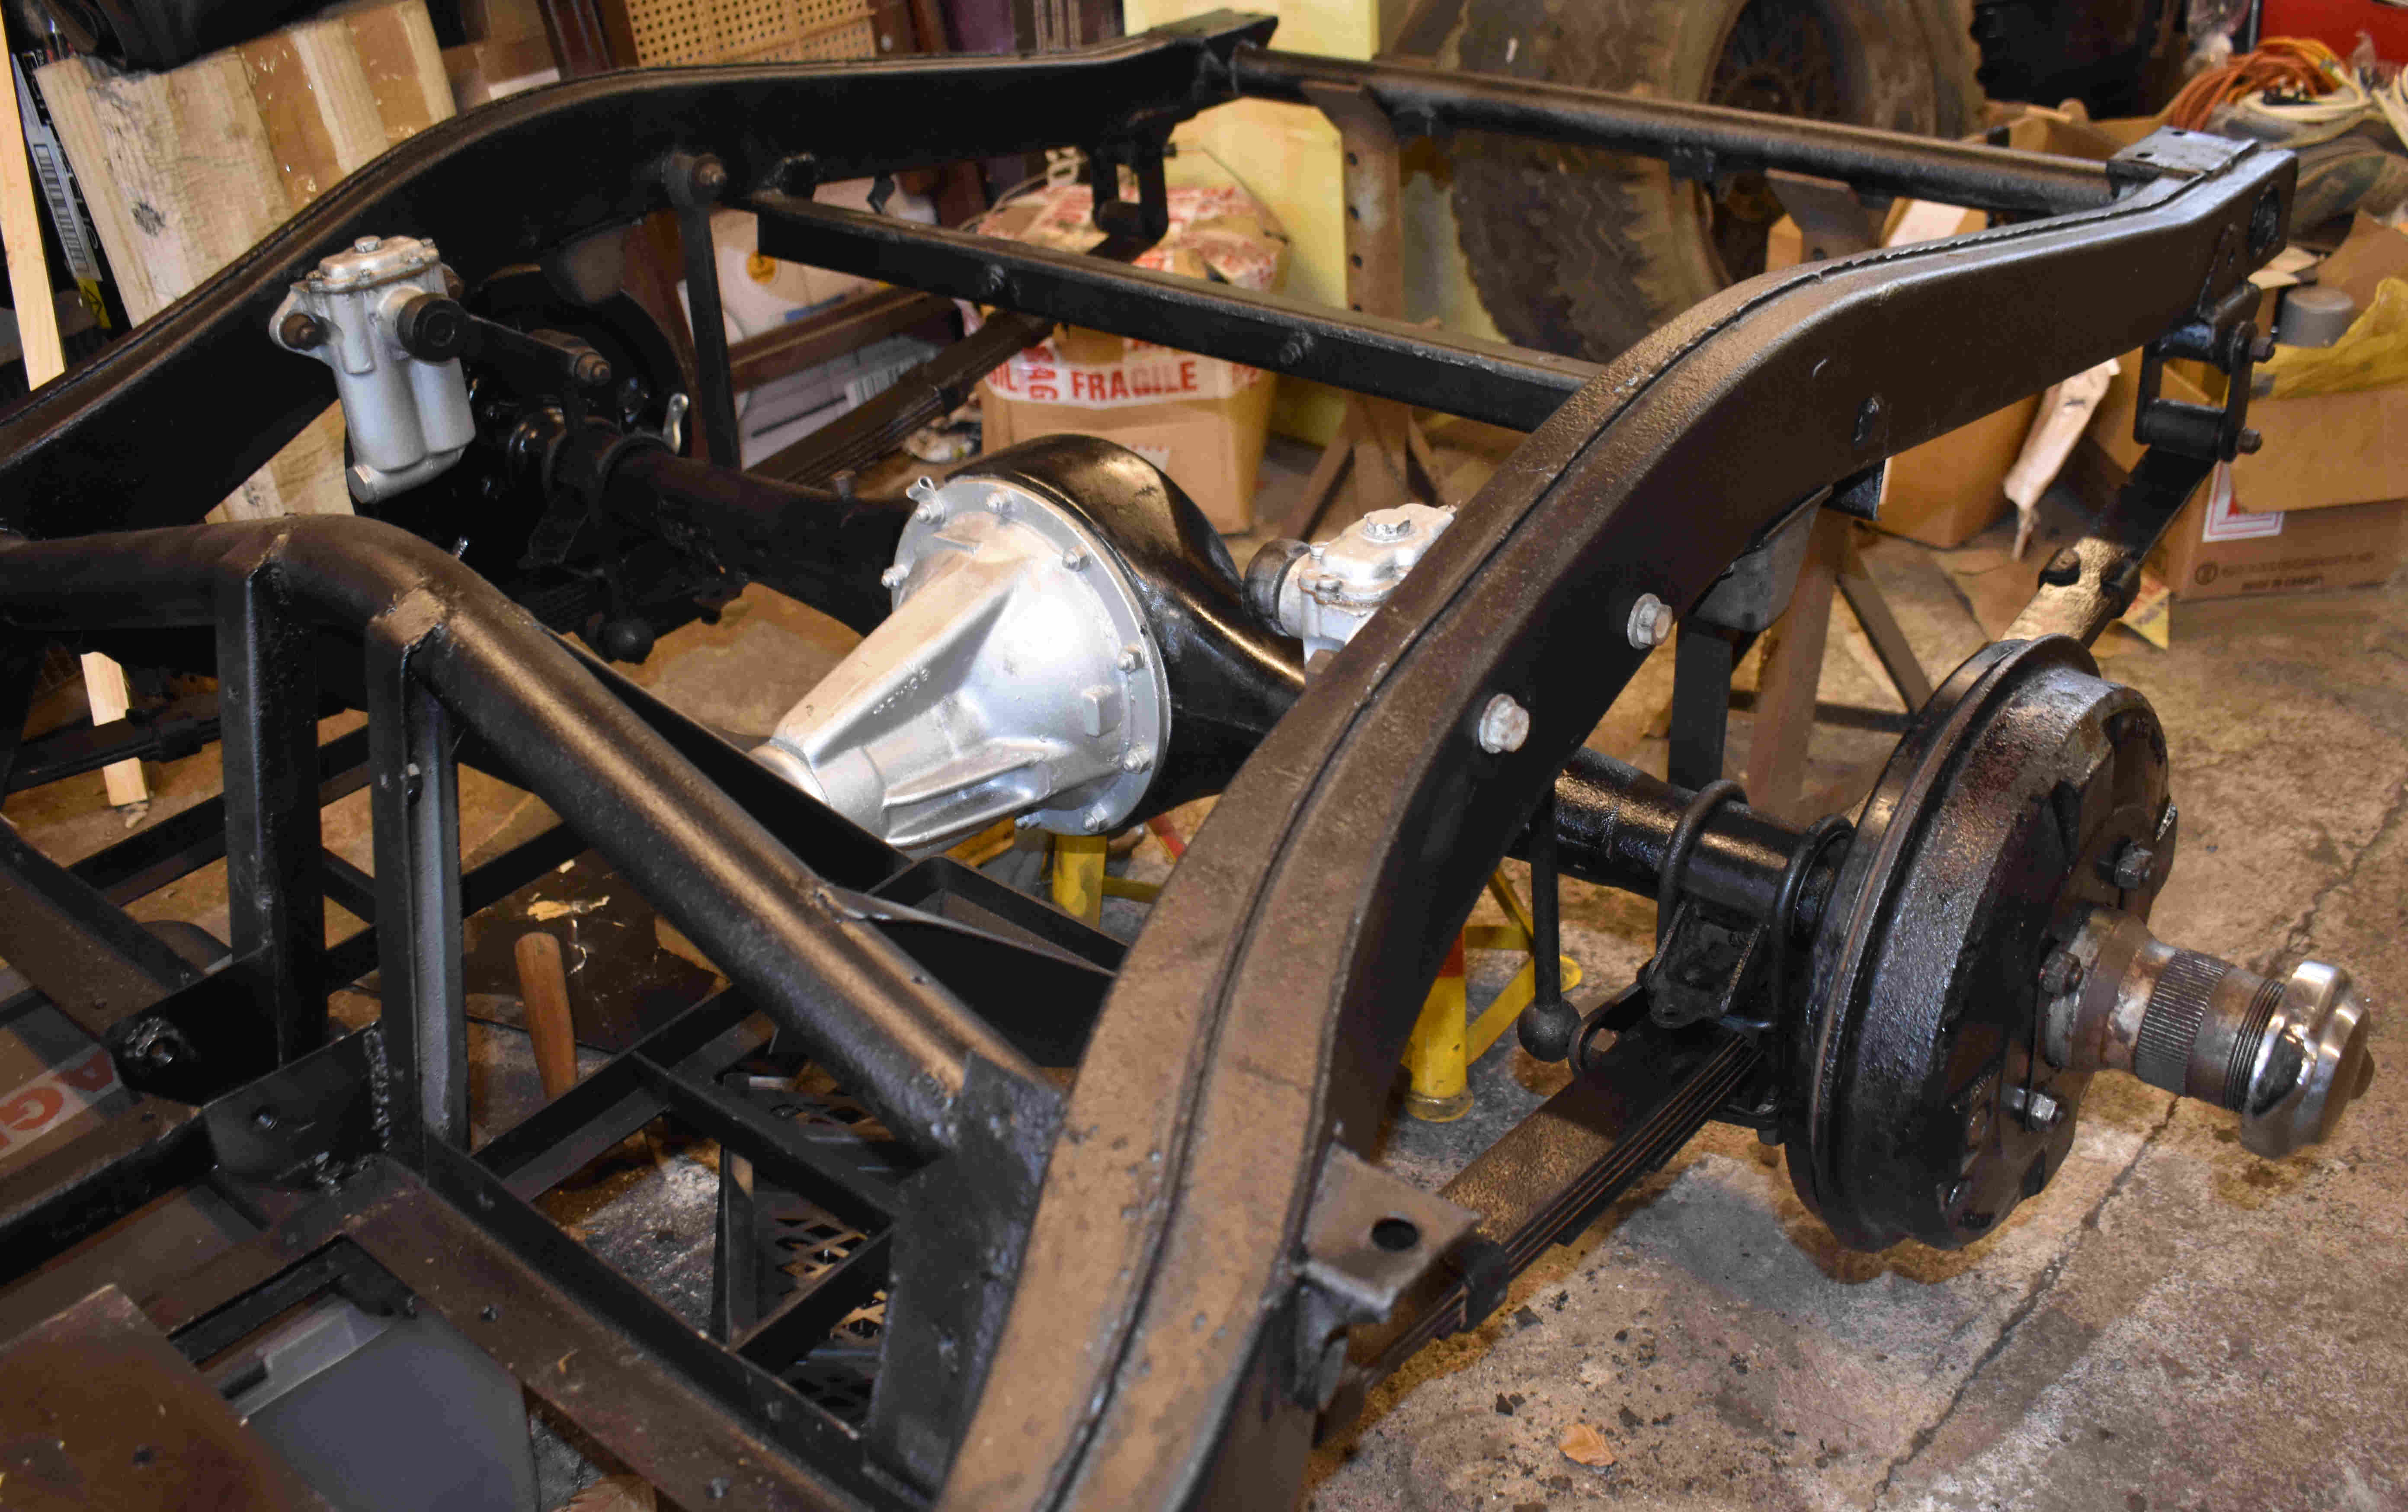
I said earlier that the brake drums were dry, so I became concerned that there was a slight oil leak coming from the rear hubs. This was very odd as, if the oil seals in the hub were leaking, one would expect to see (and smell) gear oil in the drums and oil splashing out onto the tyres - none of this was evident. To replace the seals requires pulling out the half shafts (not difficult as only held in by a single screw) then removing the hub nut which requires 150 lb/ft torque and a special octagonal 1.61/64" box spanner, which I don't have - specialist equipment at specialist price. It then dawned on my that once the four drum nuts had been removed there is only the small screw holding the hub extension, and that's only on one side of the circle. Therefore, over time as I had left the axle on a stand for several days, a bit of oil was allowed to seep out, so I put back the drum nuts without the drums. Reassuringly, I could see a bit of oil seeping as the drum nuts were nipped tight - after a couple of days there was no more oil leaking.
Again, everything was cleaned, painted and brake parts replaced before the rear axle was reattached to the chassis - job done.
Click thumbnail
Just a few bits to do such as fitting the (new) petrol pump, routing the brake / fuel pipes, battery cable and wiring loom whilst the chassis is stripped down, then it's on to the engine!