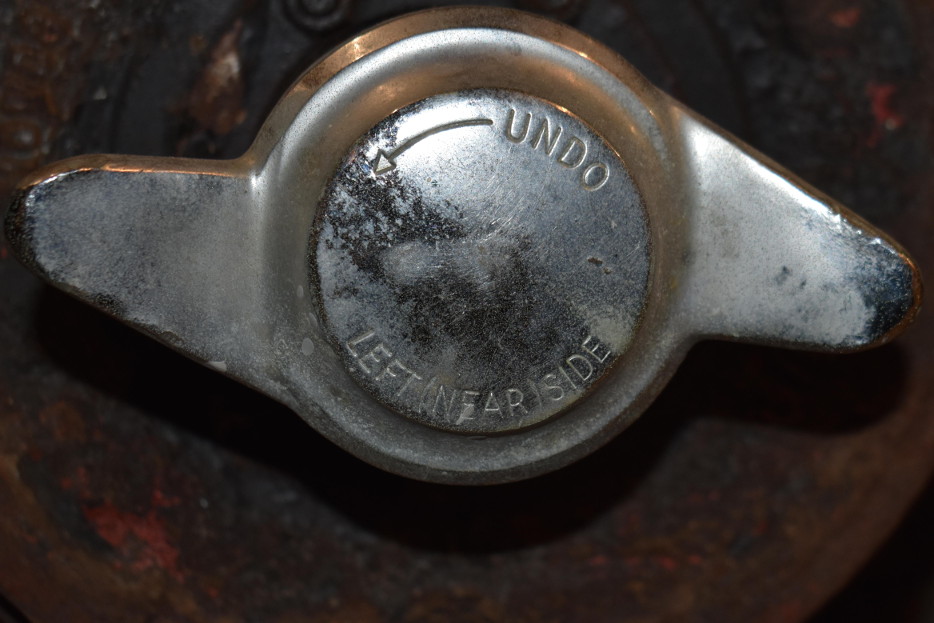
I'm calling this the nearside sill but technically, as a lefthand drive vehicle, it is the offside. On the assumption that the vehicle will never again be driven in its current state as a LHD car, but will be converted to RHD, I'm thinking ahead. Anyway, being a British designed car, the wheel spinners say LEFT (NEARSIDE).
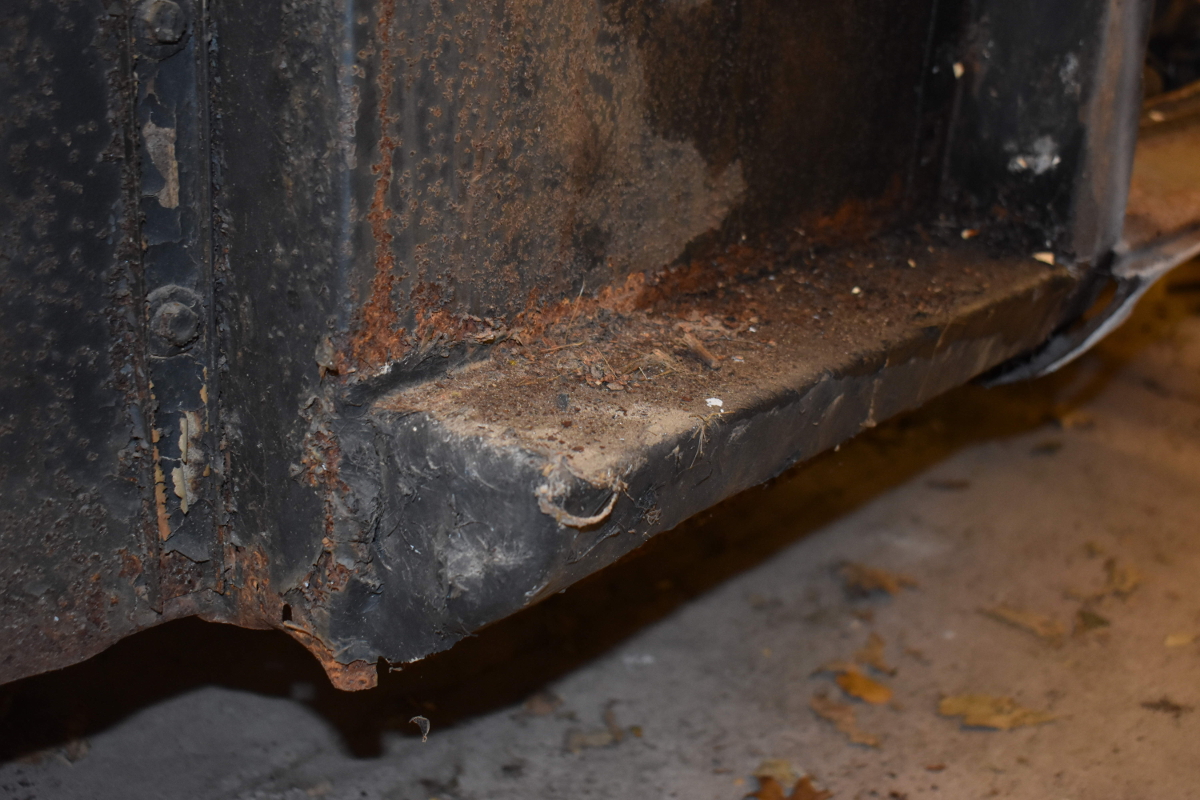
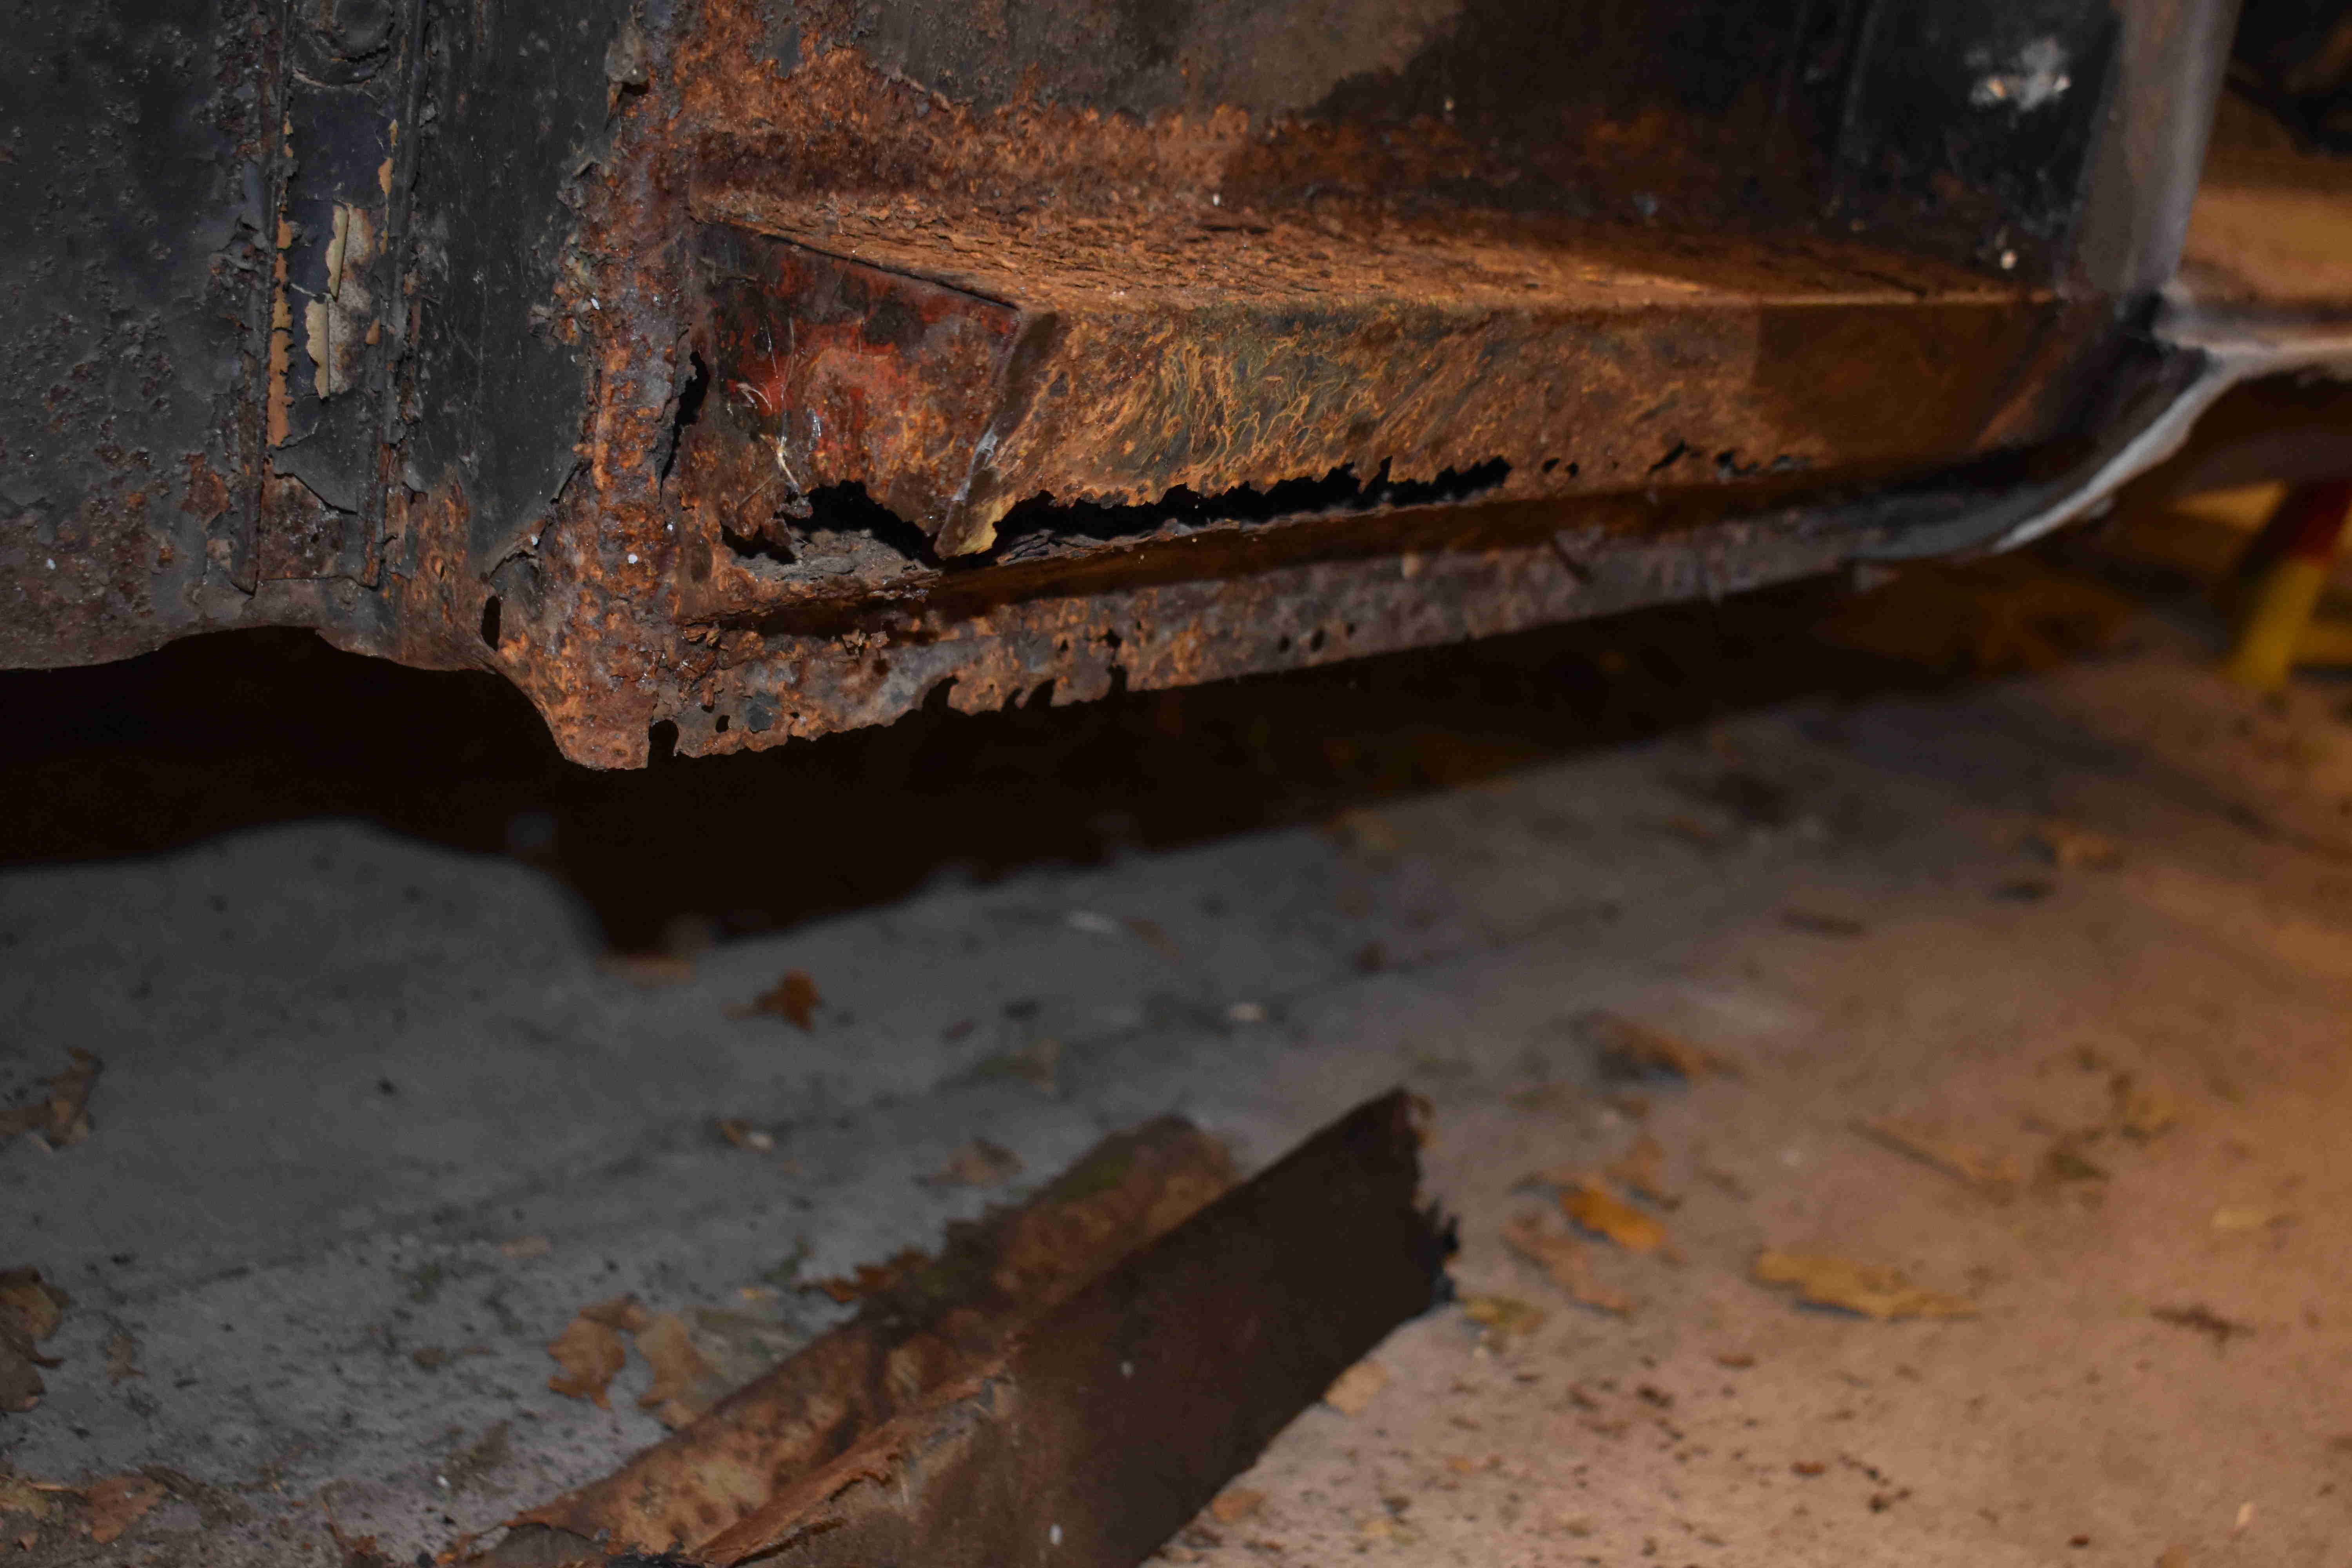
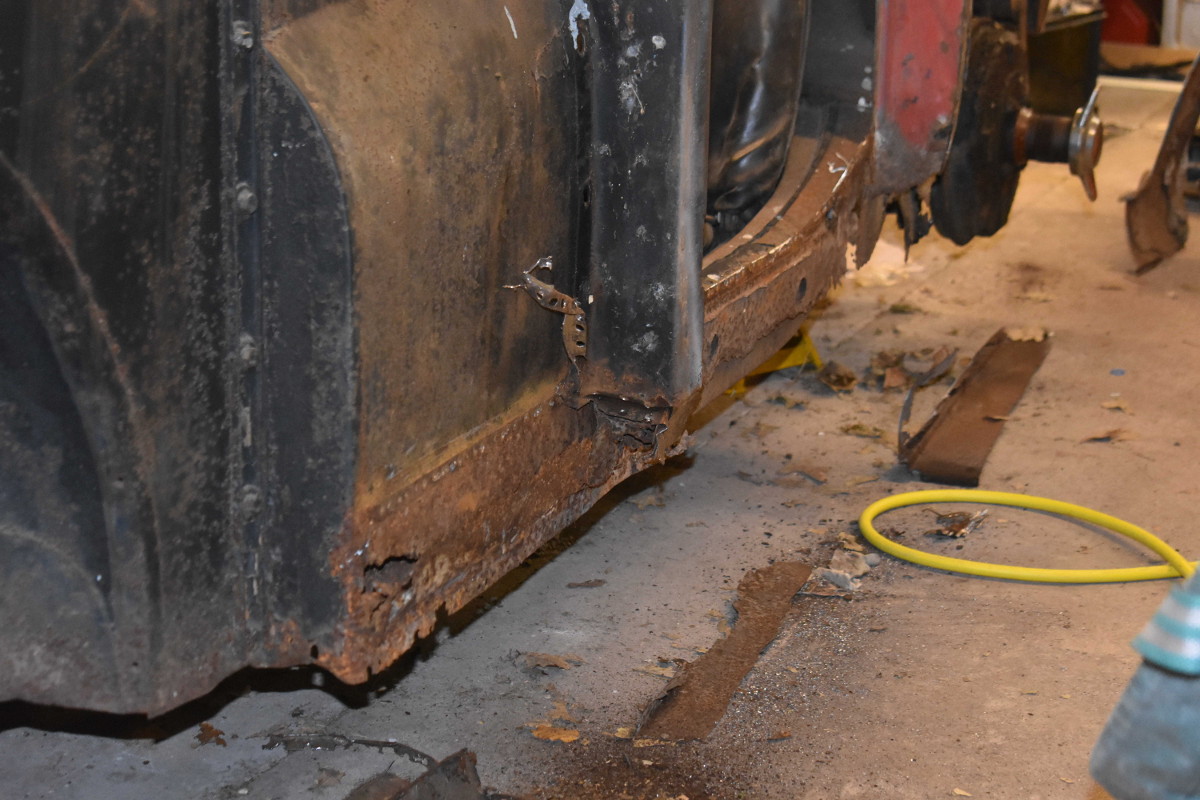
The front of the inner sill looked in pretty good shape but, on closer inspection, seemed to be coated in fibre glass. This was easily prised off with a screwdriver to reveal what you would expect from a 60 year old sill - a lot of rust and lack of structural metal.
Click thumbnail
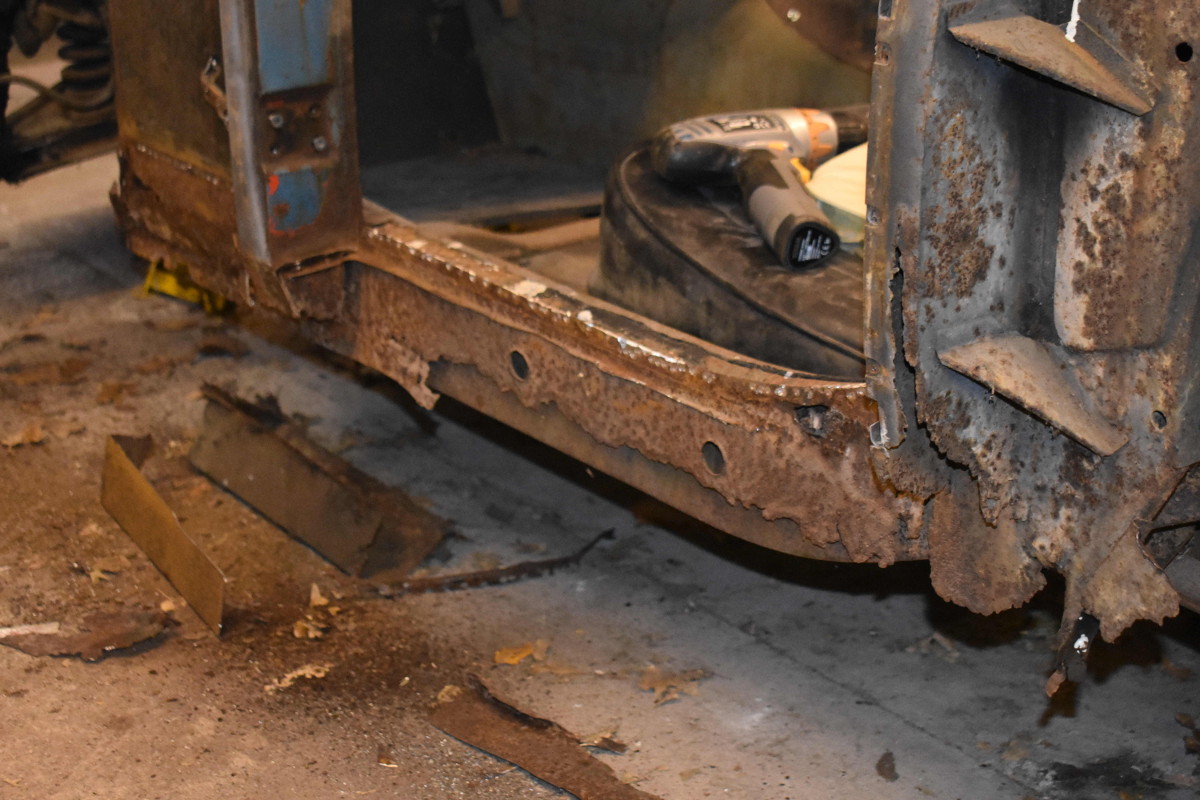
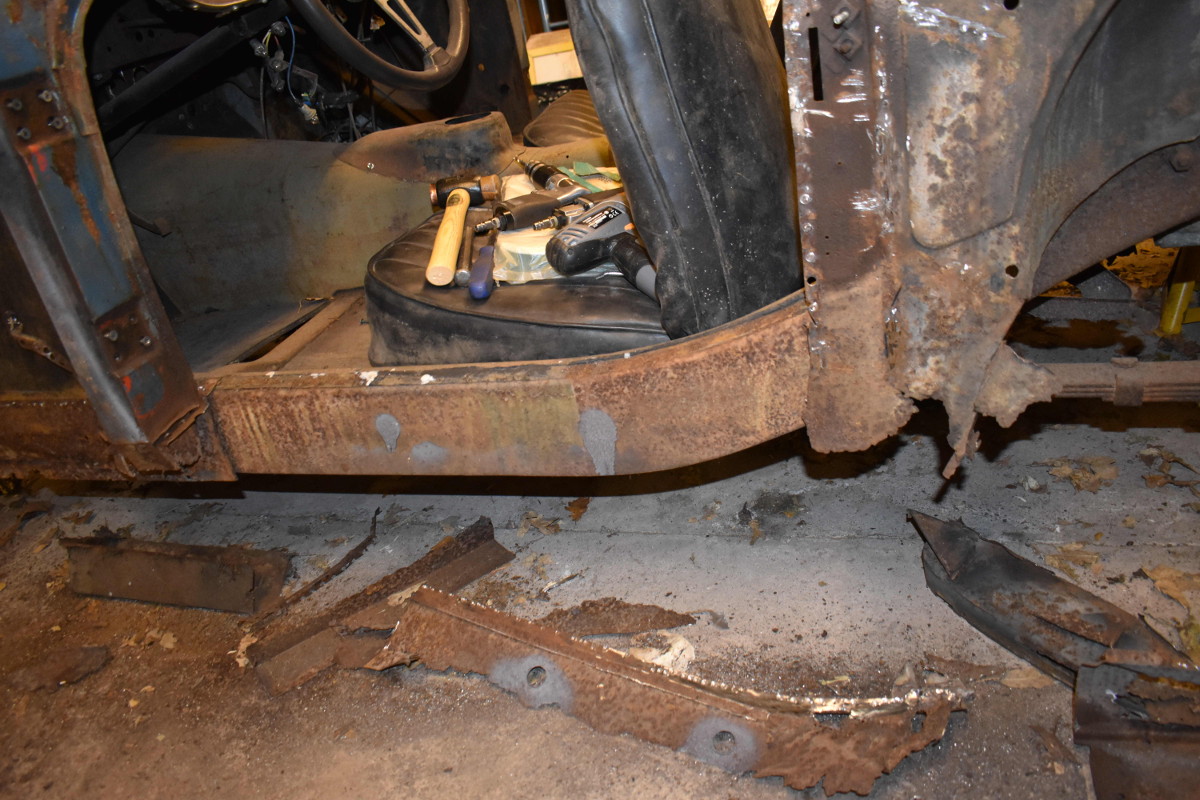
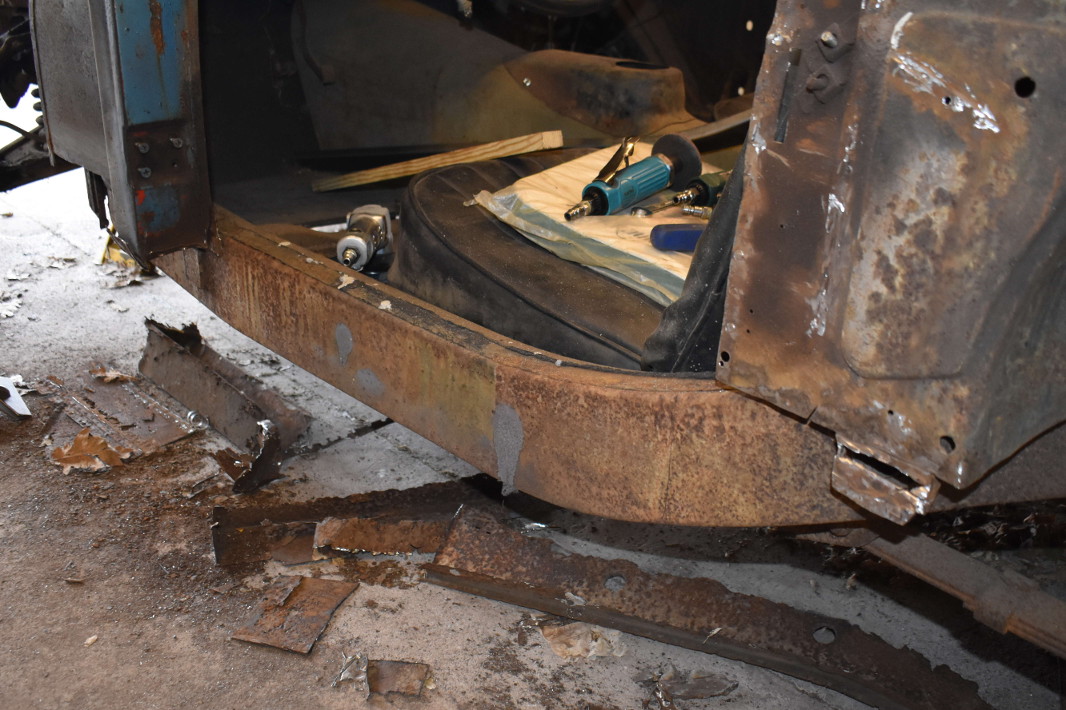
I started carefully dismantling the sill sections by trying to drill out the spot welds. This was partially successful, and useful where good metal will remain in place and be welded to. After a while it became evident that this is a waste of effort for metalwork that will finish up in the bin, so I attacked it with the cutting grinder and reciprocating saw - I may learn to regret that when I come to weld in the new panels but time will tell.
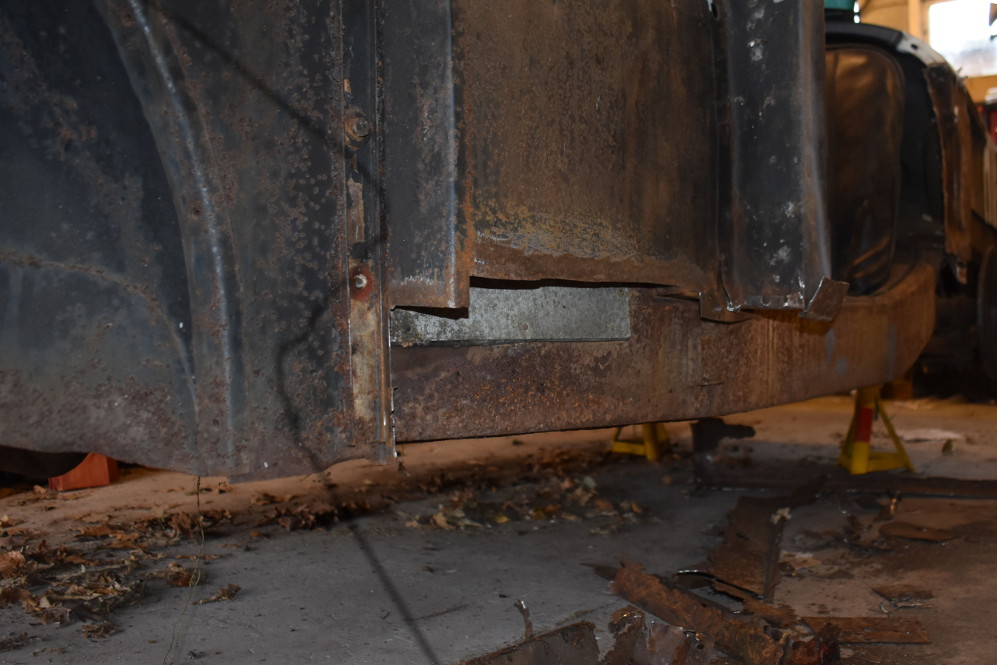
Removal of the outer sill revealed the rear of the inner sill and closing panel were formed with 'structural' filler, which proved quite robust when grinding off.
Click thumbnail
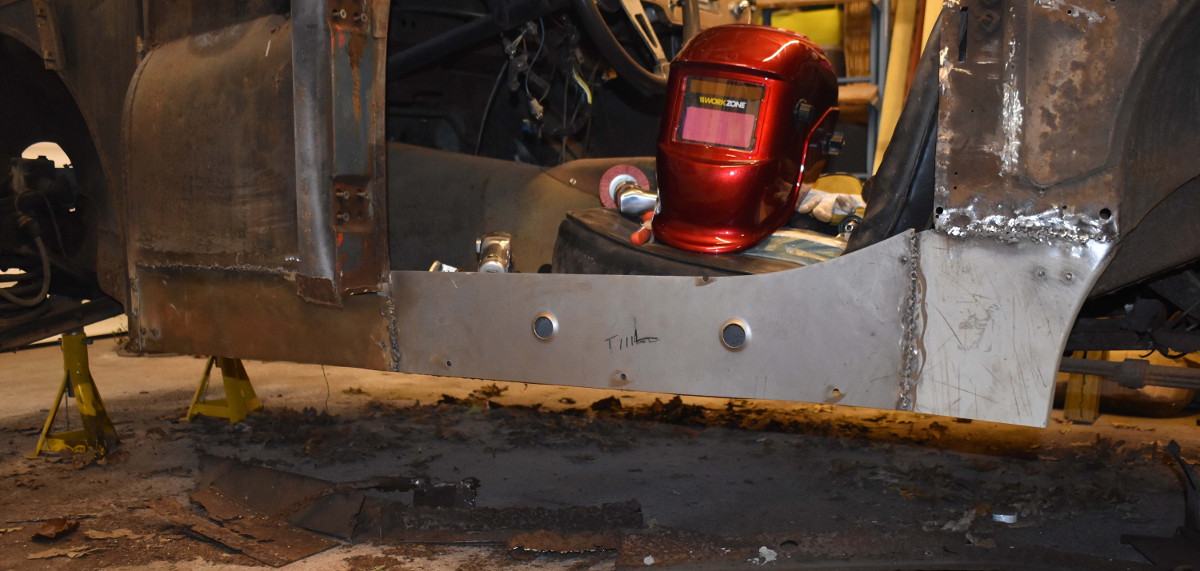
(Update 10/3/2019) All sill related rot has been cut out and new panels (both purchased and self fabricated) trial fitted with self tapping screws to ensure correct alignment. I remembered the advise given in so many rebuild articles "Start with the doors and ensure they fit properly". So, the door was re-hung and, sure enough, it didn't fit. That called for a bit more fettling and realignment and, for now, it does fit.
Click thumbnail
All edges have been cleaned up ready for welding and the hidden surfaces of the new panels sprayed with Zinga
(Update 24/3/2019) Inner cover plate, sill extension and rear repair panel tack welded in place. Before going further I thought I'd offer up the outer cover. Sure enough, it doesn't align properly. Taking measurements from the other side between the chassis and top of sill, I think I know where the problem lies, although it does mean grinding off the new welds to reposition. With a rush of confidence, the cover plate is re-welded and the inner sill plug welded in place, using the B pillar to ensure correct alignment. Again, as these surfaces will remain hidden, they are given a coat of Zinga
Click thumbnail
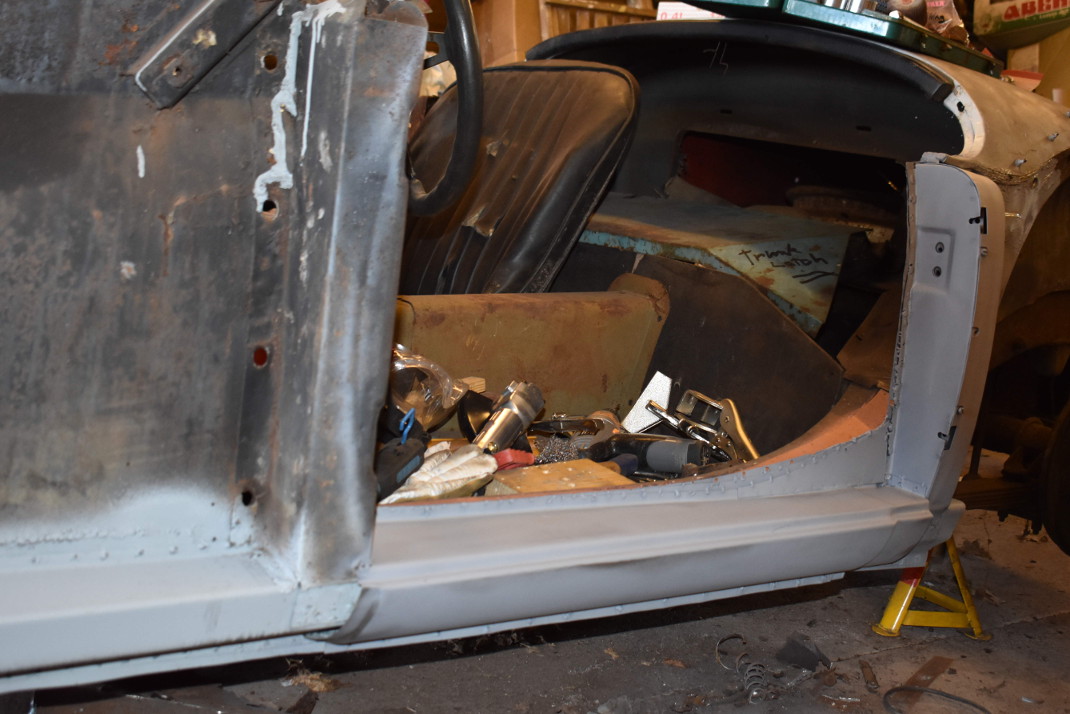
(Update 27/4/2019) Finally got the B Pillar aligned the same as the other side and, most importantly, aligned with the door. Actually, I managed to purchase a new (secondhand) door as I discovered someone in the past, instead of adjusting the front wing to align with the door, ground off the front edge of the door meaning the door skin wasn't attached at the front edge. New skins are available but, at £200, a secondhand one was much cheaper and it fits. Just to make sure, the front wing was temporarily refitted and the outer sill put in place before welding in the B Pillar permanently.
The original panel onto which the pillar affixes, although solid, has some surface rust so was rubbed down and painted with two coats of Eastwood Platinum Rust Encapsulator (which shows up a bit shinier than the primer in the first picture below)
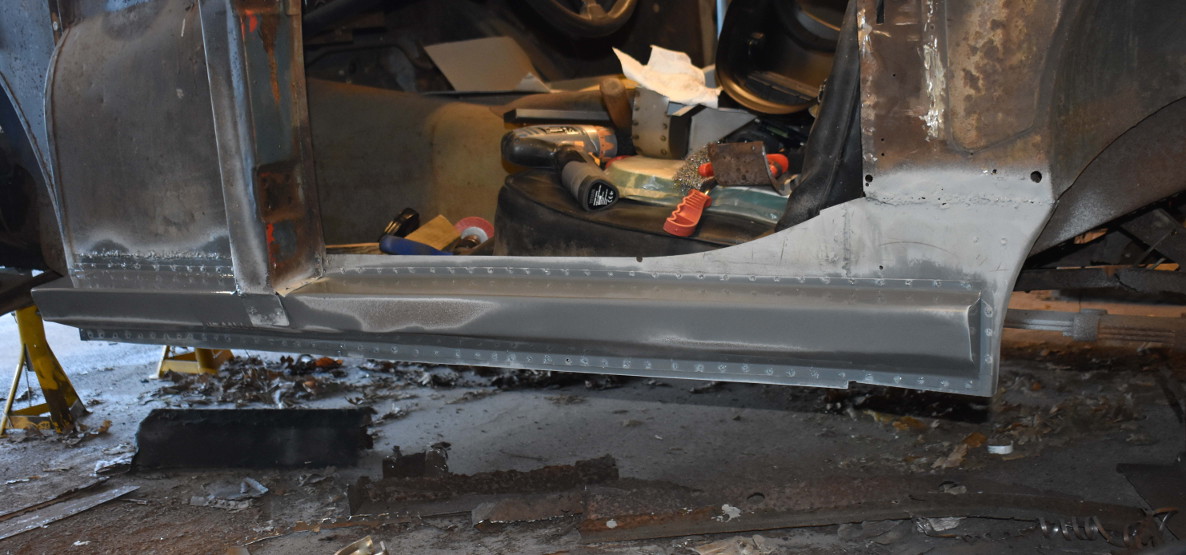
That just left the outer sill which, after a little fettling, is welded in and the whole structure is strong enough to stand on (which I did)

Click thumbnail
That's the lefthand sill complete - it may receive a bit more tarting up during the general body panel refurb. I can go off on our holiday with a sense of achievement, and look forward to tackling the righthand side on my return - hopefully it will not take as long as I have a better understanding of what to do.